How to build a raised garden pond

In this blog we explain how to build a raised garden pond using WoodBlocX, quickly, easily and without the need for any specialist tools. Read our Pond Information Pack.
The beauty of using a raised pond is that you don’t have to dig a great big hole! By using a WoodBlocX you can create an above ground pond that can be built on any surface, even a patio, allowing you to incorporate water into your garden very easily. Our ponds are just as quick and easy to assemble as our raised beds. Choose from a pre-designed pond kit, use our pond calculator tool to design a pond that fits your garden space.
Create the perfect raised pond
We have two styles of raised ponds which are available in a range of different shapes and sizes:
Single Wall Ponds

Max size 1.875m length x 1.875m width x 0.65m height.
These small ponds are ideal for small gardens or tight spaces and are a great way to incorporate water in your garden. Designs in this range, due to water pressure restrictions, have a max size of 1.875 length x 1.875 width x 0.65m height.
Double Wall Ponds

Available in larger sizes however these ponds feature a surrounding planter for added strength.
Our large pond designs are able to cope with much more pressure and can be built to any size up to 0.65m in height. Our double walled designs always feature a surrounding planter (minimum 0.375m on all sides) for extra support and stability.
Water Blades & Pond Liners
We don't supply water blades for your pond but we can adapt your WoodBlocX design to accommodate one. For ponds up to 1.875m length x 1.875m width x 0.65m height, we sell a PVC pond liner which can be added to your kit when you order. For larger ponds, we offer quotes for bespoke liners - please contact us for more information.

Building raised ponds on different surfaces
You will be prompted to select which surface you plan to build on before you purchase a WoodBlocX raised pond so that we can send you either ground spikes or angle floor brackets. Learn more about our fixing options.

Soft ground
For raised ponds being built on grass or soil, we will supply a set of ground spikes which are added to the first layer of BlocX and secure the structure to the ground.
")
Hard ground
For hard ground types such as patios, concrete, tarmac and decking, we supply angle floor brackets. These are attached to the inside of the structure and to the hard surface and are drilled in place using a set of screws, anchoring the structure to the ground.
Here's how to build a garden pond using WoodBlocX...
1. Unwrap your pallet and check kit components

Your WoodBlocX delivery will look similar to this. Everything you need is included on the pallet. This includes wooden blocks, lengths of finishing capping, two sets of dowels colour coded - clear bags for the main structure and green bags for the capping layer, ground fixings (angle floor brackets or ground spikes) and a pond liner (if added to your kit / sold separately).
All wooden parts are cut exactly to the size so there’s no waste at the end of the build. A PDF copy of your layer-by-layer instructions will be attached to your order confirmation email, or you can buy a printed copy to be sent out with your order.
2. Ground fixing options


When you have decided where your raised pond bed will sit in the garden, you will need to ensure the ground is level using a spirit level, once this is complete, carefully set out the first layer of WoodBlocX. Refer to the instructions to check where the angle floor plates or ground spikes need to be positioned. Watch our pond build video for more insight.
3. Building the first layer

If you are building on soft ground, add the dowels to the first layer away from the spot where you plan to build. This will ensure the level ground doesn't become uneven and then position the BlocX ready for the second layer. At this point you’ll also install ground spikes.
Our clever dowel system holds the structure together, simply knock these into the recess holes, make sure you refer to your instructions to ensure you’re putting them in the correct places - we provide full step by step instructions with every pond kit.
4. Building on hard ground
")
When installing hard ground fixings (angle floor brackets), we recommend building the pond structure up by two layers, this will provide more stability to add the angle floor brackets and you can also easily move the structure, if needed, to get the perfect position before attaching it to the ground.
To attach the angle floor brackets, secure it to the structure first using one screw (in case you decide to reposition it), double check that you’re happy with the positioning and secure the first bracket to the ground. Repeat this step to secure all brackets. It’s important you use the correct drill bit to avoid any issues.
5. Adding a pond liner underlay


Continue to build the structure up to the final layer of BlocX before the finishing capping layer is added. At this point, we recommend adding a liner underlay to protect the bottom of the liner - you can opt to add a pond fleece insert, underlay fabric, old carpet or even bubble wrap. You can also add this to the sides of the structure if desired.
6. Installing your pond liner


Now it's time to add the pond liner. Carefully unfold the liner sheet over the structure and gently tuck it into the corners. The best way to get a really good fit is to start filling the pond with water, this will help the liner to naturally fit itself within the walls of the structure. As the pond fills with water, make some neat folds at the corners to ensure a tidy finish when the final capping layer is added.
7. Final layer dowels


Once you are happy with the corners of the liner, following your layer by layer instructions, make slight insertions into the liner over the dowel holes using a retractable knife. These only need to be small as the action of knocking the dowel into the hole will pierce the liner just enough to hold it in place. Add the final layer dowels to the last layer of WoodBlocX - these shorter dowels are used to attach the capping layer (they are packaged in green coloured bags).
8. Installing angle corner plates & capping layer


Install the angle corner plates provided at each corner - they are installed over the top of the final layer dowels. It’s now time to knock on the finishing capping. You will need to secure the capping using a lump hammer - some force may be required to close the gap between the liner and the capping layer. Use a spare piece of wood and place this on top of each length of capping to knock it in place, this will protect the capping from any damage.
9. Trim excess liner

Once all capping is in place, use a sharp knife to cut the overhanging liner. You can do this by carefully following the underneath of the capping whilst pulling slightly on the liner.
10. Fill with water, plants and fish. JOB DONE!

All that is left to do now, is to continue filling the pond and think about adding some plants and fish, or creating a natural water feature in your garden!
The benefits of raised garden ponds
")
Water in a garden has an enormous value to wildlife, bugs such as pond skaters and water boatmen live in the water, birds can drink and bathe in it, and amphibians such as frogs, toads and even newts will make a home there too. With this additional wildlife in residence, your plants will benefit too; the amphibians are great slug-eaters, and the increased insect diversity will attract other bugs that will feast on aphids and other plant pests. Plus, of course, all this life is fascinating to observe!
Best plants for garden ponds

All ponds benefit from a variety of plantings. Broadly they can be divided into three types – the oxygenators, the floating plants and the marginal plants. However you plant up your pond, always make sure you include some kind of ramp for creatures such as frogs and birds to get in and out of the water safely, otherwise they may drown.
Here are some good choices from each of the plant groups to really get your WoodBlocX pond off to a great start:
- Marginal plants. These are the plants that live at the water’s edge – and while they like their roots to be in permanently damp soil, their foliage and flowers are borne above the surface. Yellow flag irises (Iris pseudoacorus) and a variety of rushes and reeds will give a natural look. You’ll need to construct shelves around the edge of your pond (standing the pot on a brick is fine!) for the plants’ pots to sit on at the correct depth – check the label for this information.
- Floating (also known as aquatic) plants. Water lilies are the most popular of this group, and lovely to include. They are available in a range of colours, but Nymphaea odorata types will add fragrance as well as beautiful flowers.
- Oxygenators. These are essential to keep the water healthy, but can need reducing every year to prevent them taking over the pond. Most live submerged in the water. Good ones for smaller ponds include Hottonia palustris (water violet) which bears purple flowers on the water’s surface in spring and Eleocharis acicularis (water grass).
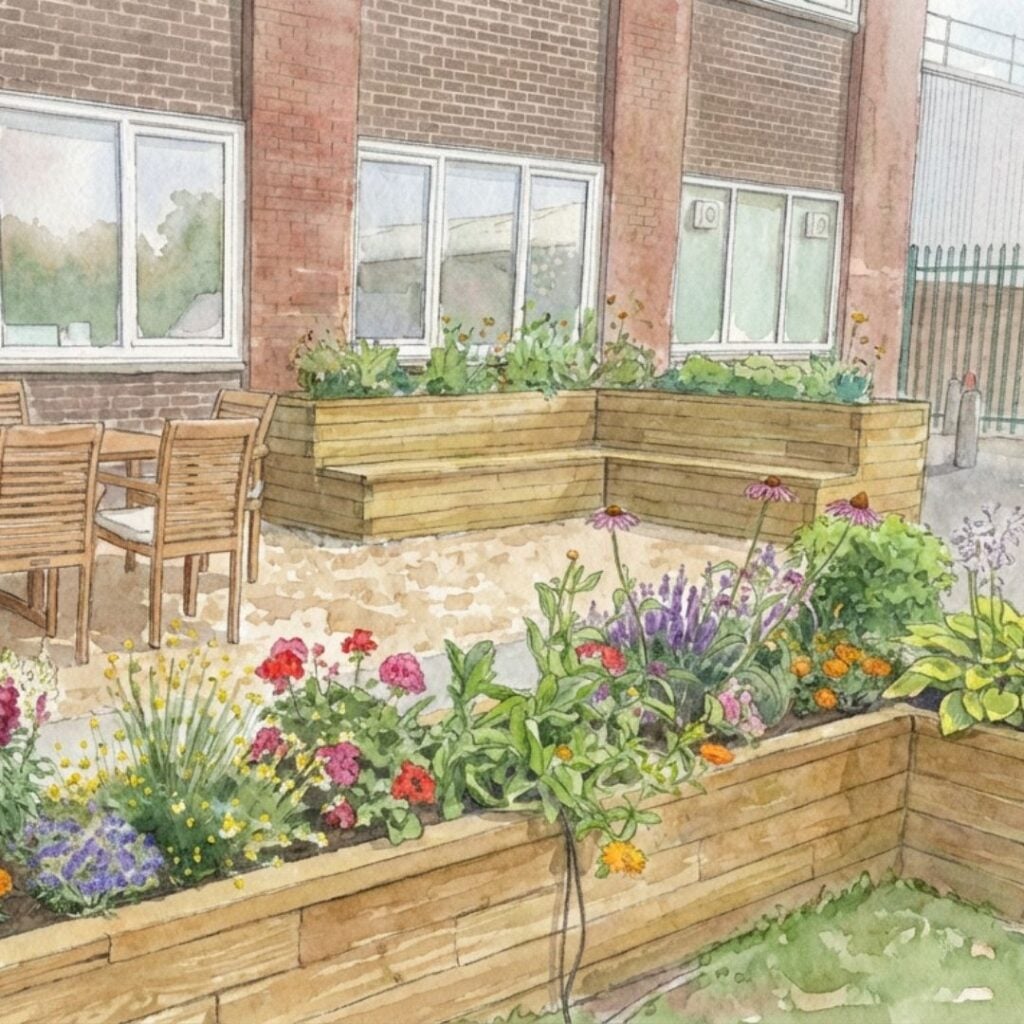
To really complete the look, some WoodBlocX ponds are designed with planters at the side of, but not part of, the pond – plant these up with a bog garden and you’ll have a beautiful, calming and wildlife-friendly pond in no time.