How to build a retaining wall with WoodBlocX
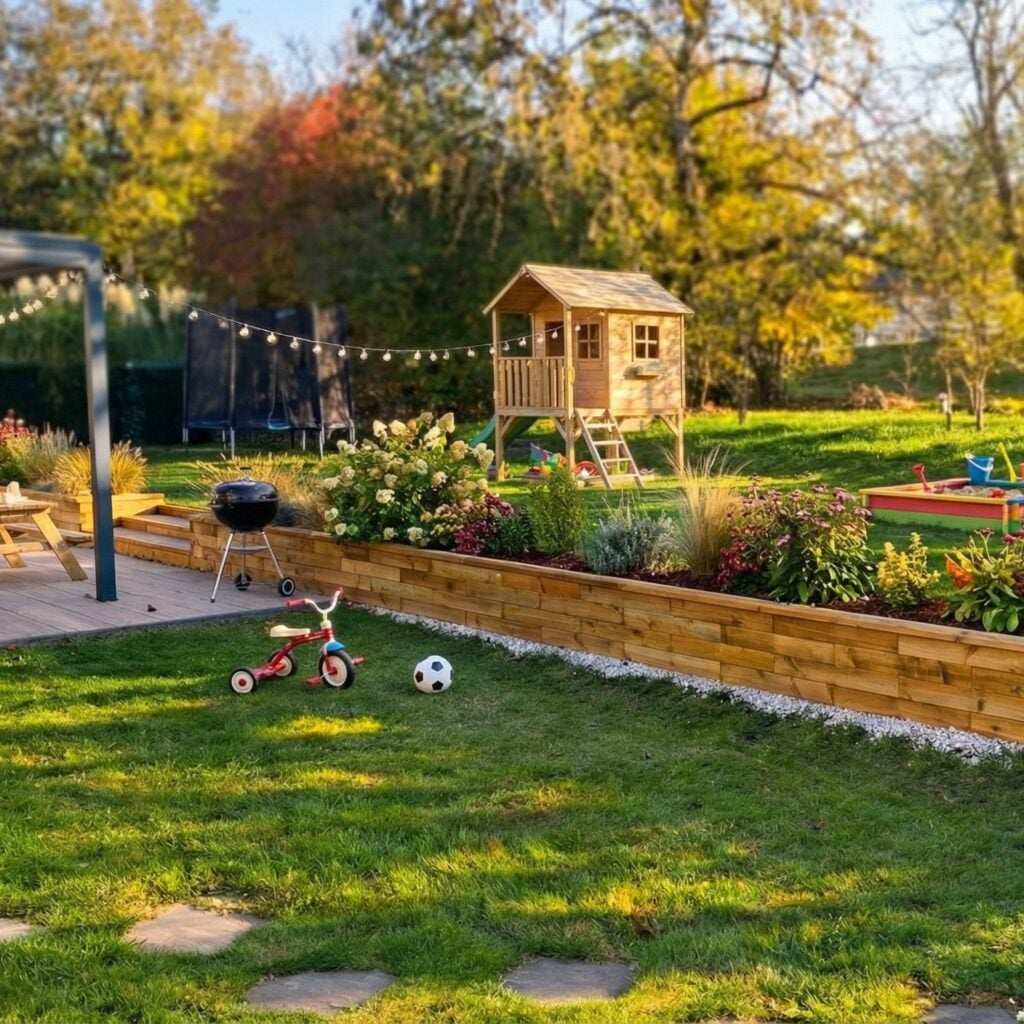
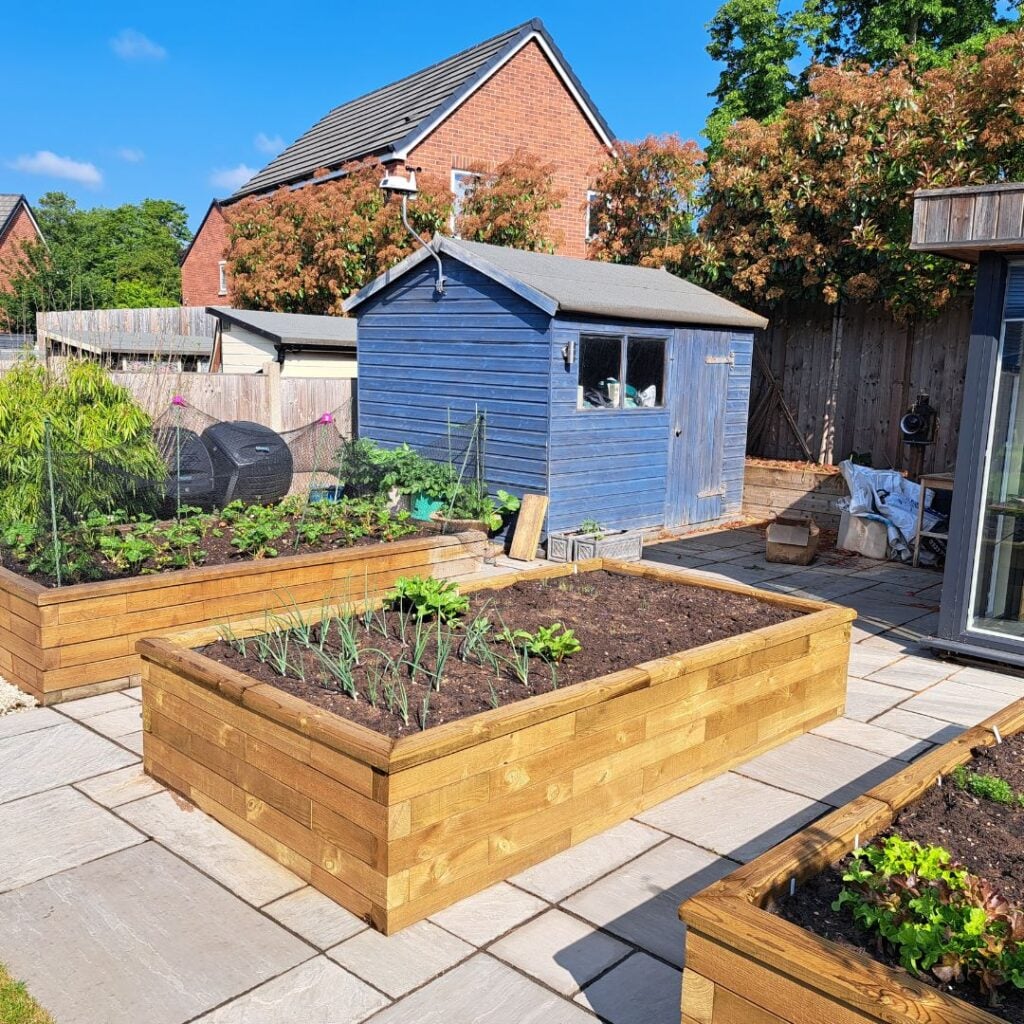
Here in the UK our gardens comes in all shapes and sizes, if you’re lucky enough to have a flat garden you may not need a retaining wall, garden edging or curbing may be better suited to you, but if your garden slopes up or down retaining walls can help to transform the space by allowing you to level the ground out, or create a series of terraces.
There are various materials that can be used to build retaining walls including bricks, railway sleepers, natural stone, gabions, breeze blocks and of course WoodBlocX - check out our what to use for a retaining wall comparison blog to see the cost for each and also information on materials and any labour required to help you make your decision on which is the best material for you.
One of the main benefits of WoodBlocX retaining walls is that they can built by you, whether you’re a skilled DIY’er or if you think you have zero DIY skills, the modular nature of the system makes it really straightforward to build, plus you will be armed with step by step instructions and videos to help you with every block.
WoodBlocX walls are built from numerous individual pieces of timber (rather like bricks), that are pinned together using strong plastic dowels. Each piece of timber – selected to use only the strongest parts of the tree and never the heart – is then pressure treated twice, and because the dowel holes are pre-drilled, the treatment penetrates almost 100% of the wood. The dowels can each withstand 0.9 tonnes of sheer force, making the walls strong under both tension and compression and strong enough to withstand frost and ground movement without distorting or cracking under pressure.
How to build a WoodBlocX retaining wall
Tools needed
- Spade or rake for levelling
- Spirit level* or laser level
- Lump hammer*
- String line*
- Gardening gloves*
- Garden scissors or a stanley knife for the liner
All starred items are available in our Building Kit
Materials needed
- DPM liner
- Building sand
- Subbase or compacted type 1

Preparation
Mark out the space using a string line, this will help to ensure you have a perfectly straight edge to work to. There is no need to include concrete foundations for a WoodBlocX retaining wall, simply level the area where you plan to build the wall.
We do recommend using a layer of subbase - which is available from most high-street DIY stores or builders merchants - this helps to distribute weight and improve the ground’s ability to carry weight. We also recommend using a layer of compacted building sand or sharp sand which will help to ensure the BlocX are level before they are laid.
Base layer
Once you are happy that the ground is sufficiently levelled and prepped lay out your first layer of BlocX according to your step-by-step instructions and match up the dowels to the BlocX, fixing the dowels into the BlocX on the base layer before placing them on the ground will help to ensure you don’t knock your base out of level.


Securing the structure to the ground
When ordering a retaining wall kit you will have been asked at the point of purchase if you plan to build on grass or soil, if the answer is YES then you will be provided with a series of ground spikes, these are 40mm in length and need to be placed through the dowel holes on the first layer of BlocX and in every buttress to secure the structure to the ground. If you are planning to build WoodBlocX on a hard surface such as tarmac or concrete we would advise you replace our ground spikes with heavy-duty angle brackets which will be included with your kit - see our ground fixing options information sheet.
Build up the layers
Follow your step-by-step instructions to build the layers up adding the dowels as you go. We include buttresses in all of our designs to provide added strength to the structure, these are particularly important when building retaining walls as they act as cantilevers with the weight of soil pushing down on them to keep the main structure supported. The buttress will always finish one layer below the main height of the structure and are spaced every 1500mm along the wall.
Angle plates
Our angle plates, which are made from hard wearing galvanised steel need to be placed at every point where the buttress meets the main structure to tie the structure together. They also need to be placed on the corners of the last layers of BlocX before the capping is added to the structure.


Capping layer and liner
When you've reached the final layer of BlocX and added the final layer dowels and angle plates, install your liner (or lengths of liner) to cover the inside of your structure, cutting small incisions to let the dowels through, this will hold it in place, cut off any over hanging liner and secure the capping using a spare block between the capping and your lump hammer to fit it - this will prevent any impact marks being made in the capping - how to fit a liner information sheet.
For information on lining your WoodBlocX retaining wall and drainage read our blog.
Maintenance
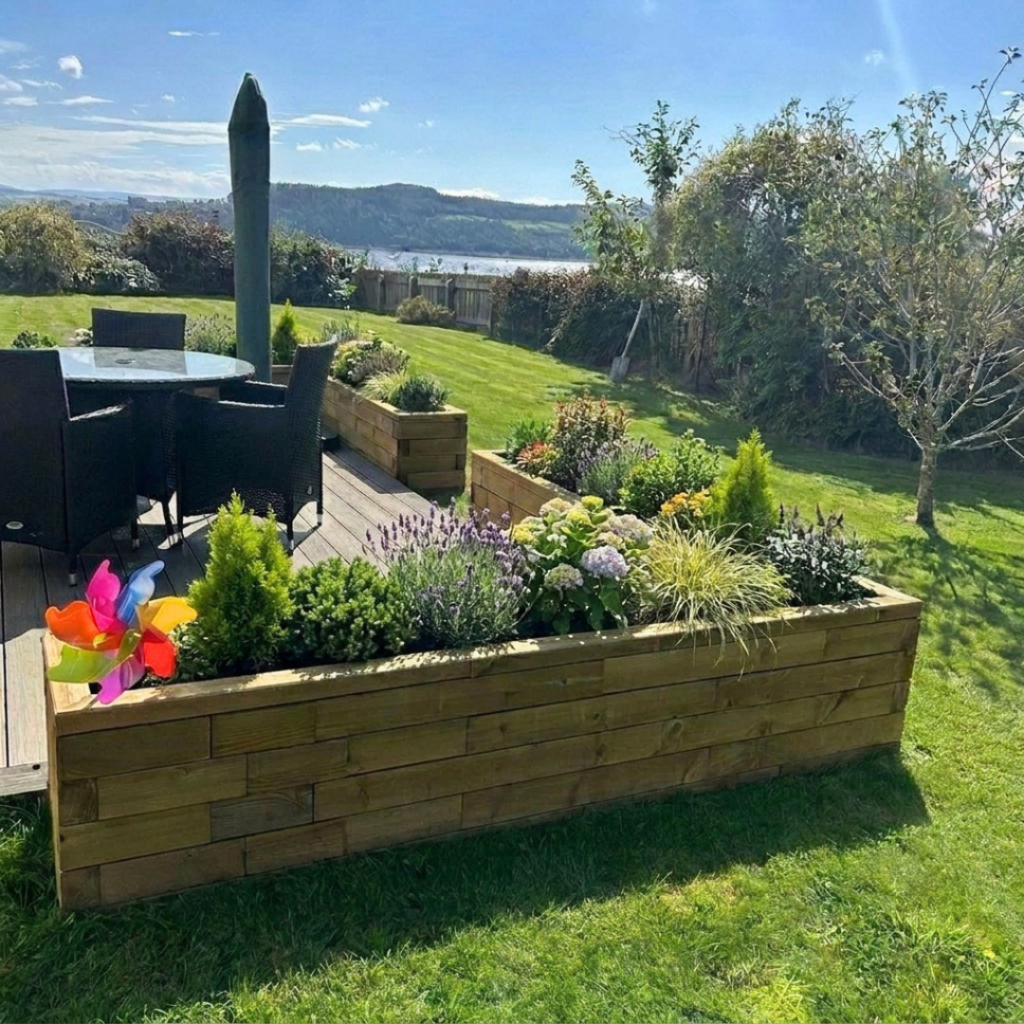
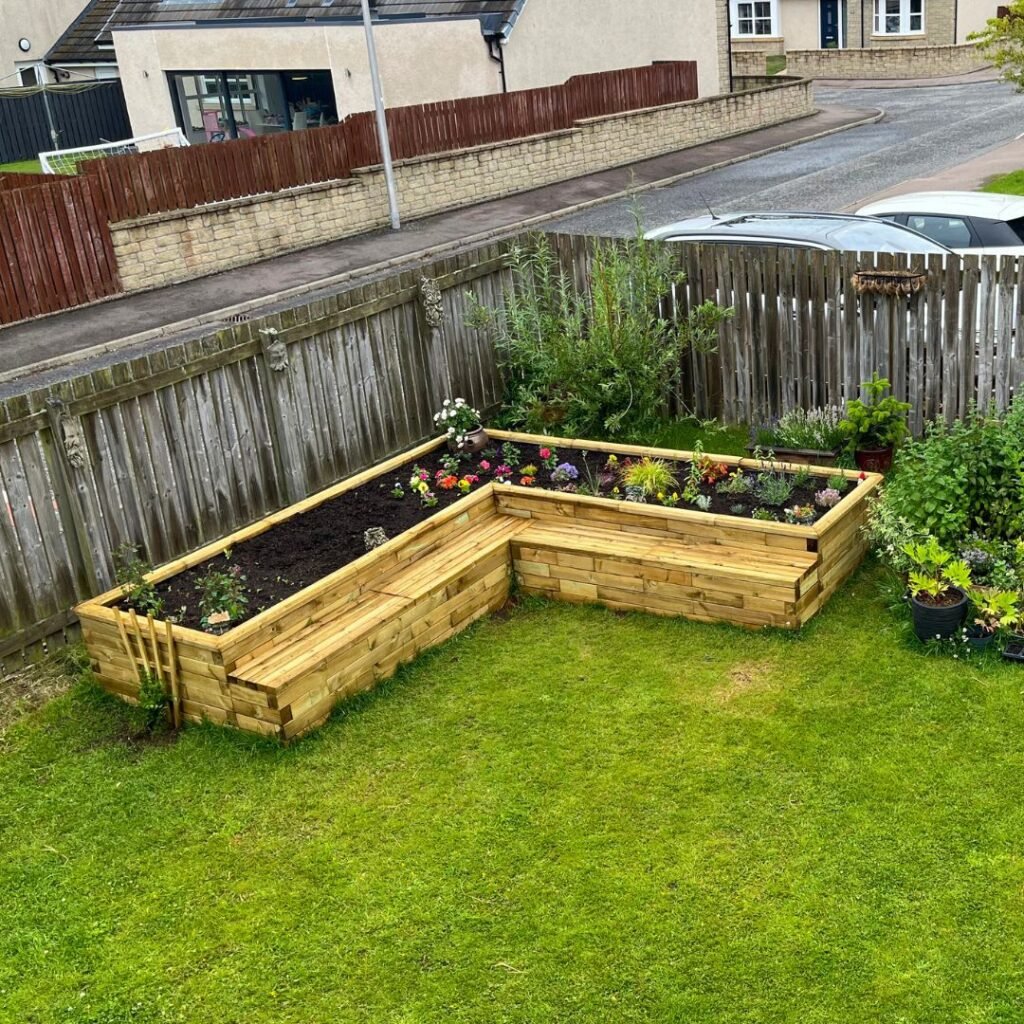
WoodBlocX retaining walls require zero maintenance, once installed the BlocX can be left to weather naturally, creating a great rustic look, or painted to suit the style of your garden.
To get an instant price for a retaining wall use our calculator tool, browse our pre-designed walls or get in touch and use our Free Design Service - just send us your measurements and any preferences you have and we will create a design and quote for you.
More helpful retaining wall blogs