How to prepare for your WoodBlocX build
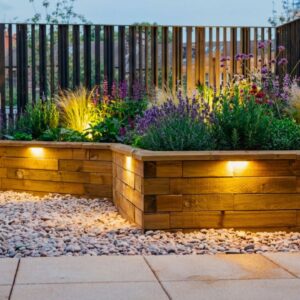
Get your WoodBlocX garden project off to the best start!
Everything you need to know about how to prepare for your WoodBlocX build can be found on this page. Whether you’re building a raised bed, retaining wall, pond or our garden furniture, the basic principles are very much the same. We will guide you through from the moment of your delivery to planting up.
Instructions and delivery updates
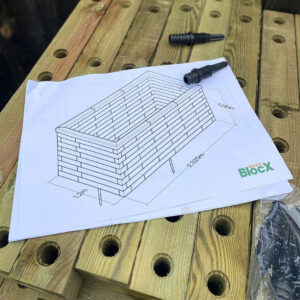
After placing your order you will receive a confirmation email. This will also contain a set of attached bespoke layer-by-layer building instructions for your kit to download. You can even add printed instructions to your delivery!
Our deliveries are kerbside only; it is at the driver’s discretion if pallet(s) can be delivered closer to your desired location. Please inform us immediately if there are any local access issues close to your property, i.e. narrow lanes, steep inclines, on-going road works.
All delivery dates are ESTIMATED. We advise choosing a suitable delivery date a few days prior to the date you wish to start your WoodBlocX build just in case your delivery is delayed due to circumstances out of our control. Please DO NOT book a tradesperson to begin work on the day your order is planned to arrive.
Ground preparation ahead of time
Depending on the surface you are building on you may need to make some adjustments to ensure the ground is level – this is really important to ensure that you get the best possible lifespan from your WoodBlocX structure.
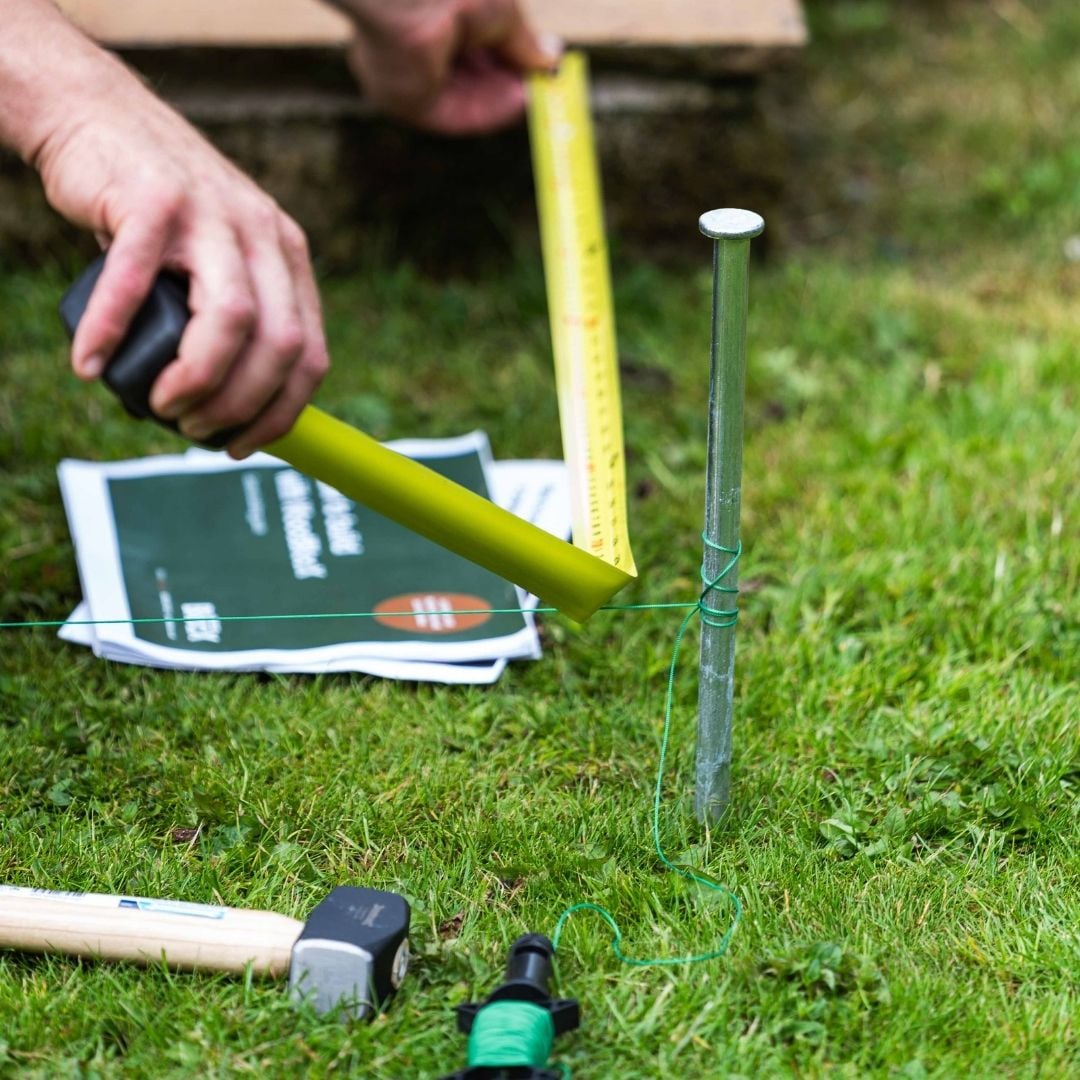
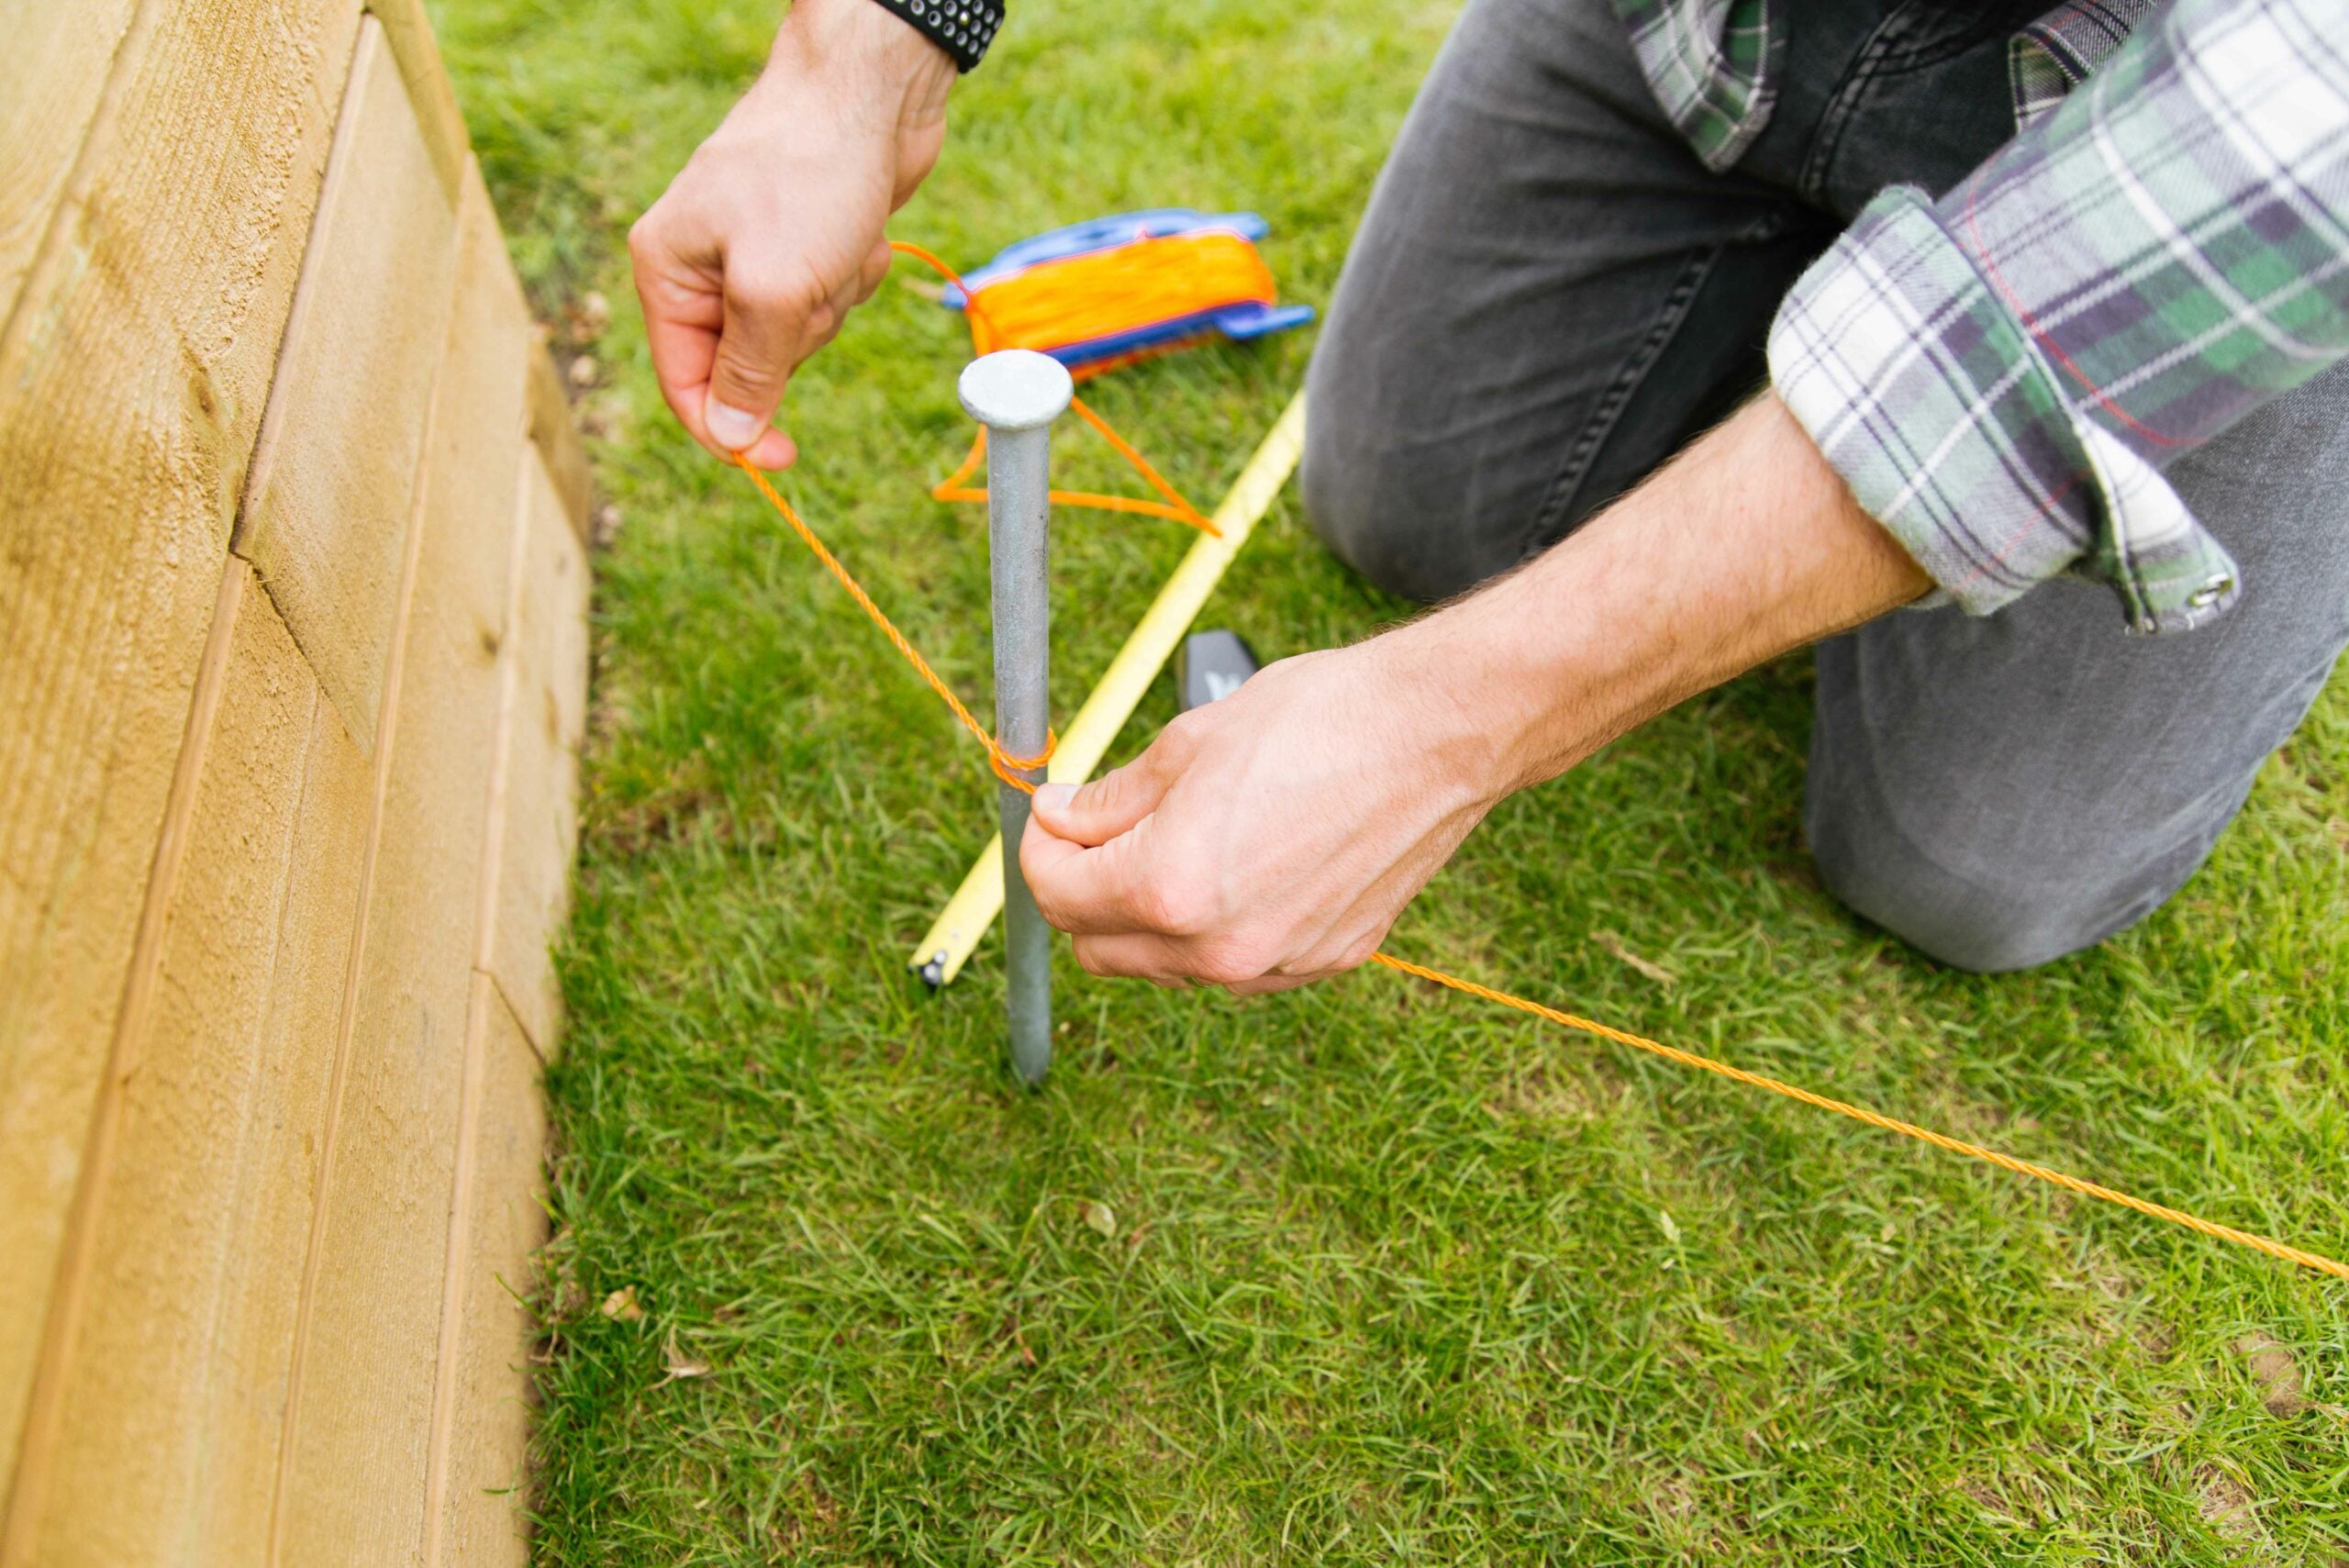
To get started, measure and mark out the area where you would like to build. You can use a string line for this, for curved structures, a grass spray or whatever works for you. Use a spirit level to determine whether or not any levelling is needed. You might need to lift the turf as shown in this customer garden case study.
We recommend using a layer of ‘Sub Base’ – this is a layer of compacted crushed stone or aggregate that provides a strong and stable base, preventing sinking and improving drainage. Alternatively, you could also use a layer of compacted builders sand or sharp sand which will help to ensure the timber BlocX are level before they are joined together.
If you specify that you are building on soil and grass at the point of ordering, your order will contain a series of ground spikes, these are placed in the bottom layer of BlocX to ensure your structure stays firmly in place. For structures built on hard-standing such as patios, paving and tarmac you will receive a set of angle floor brackets. All of the details on how to fit ground spikes and brackets are included in your instruction pack – see the two fixing types in our handy guide.
Added protection with a liner
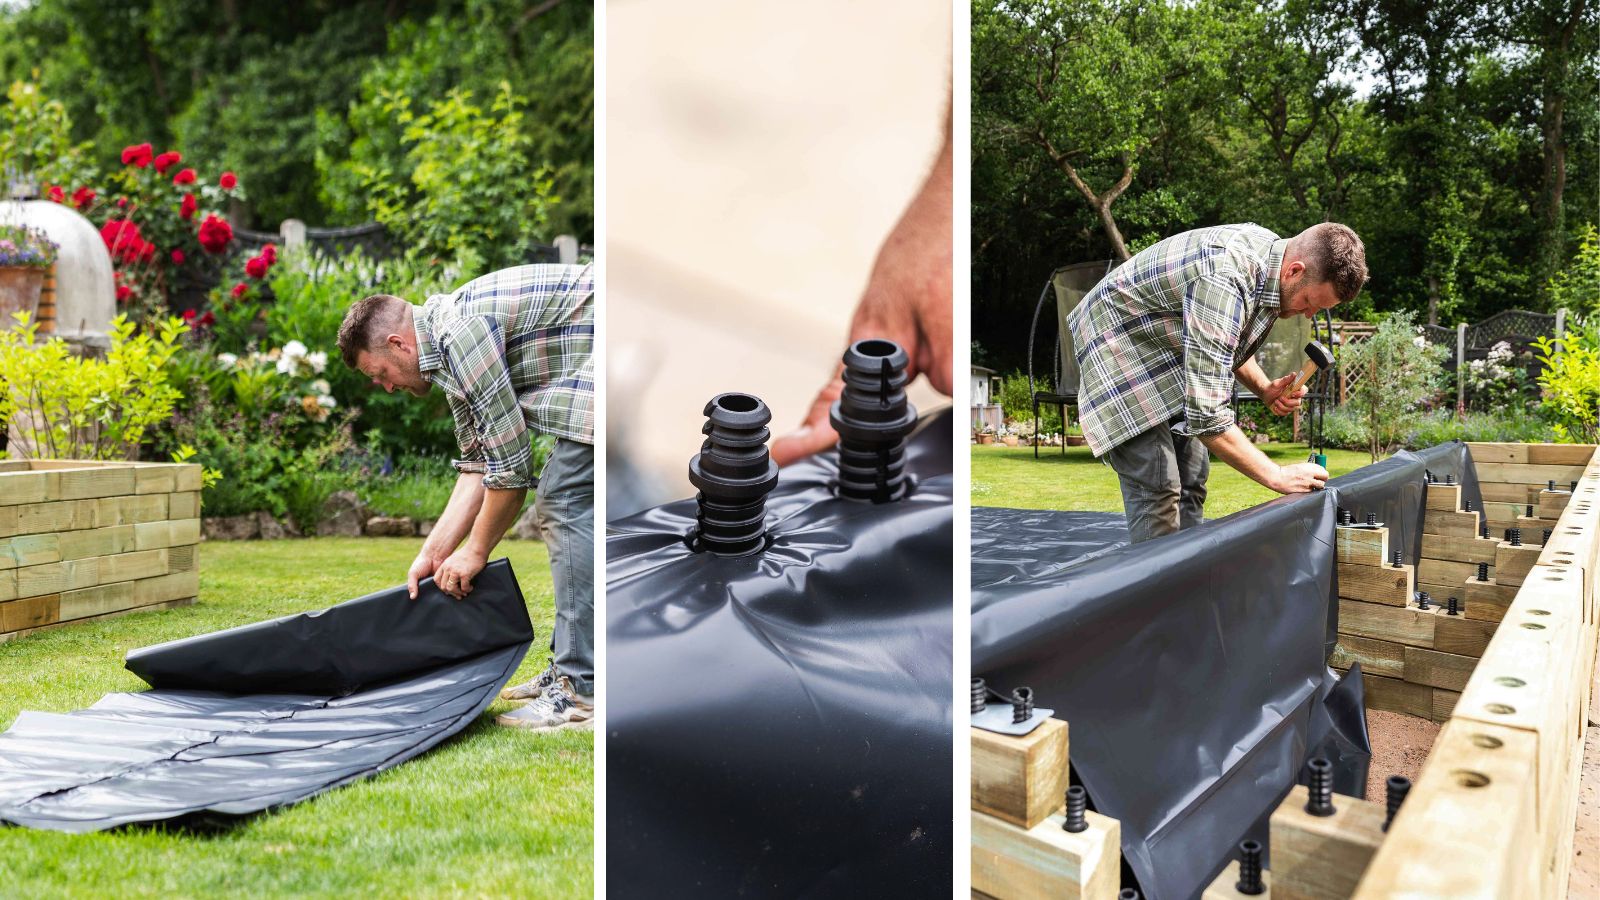
Should you line your raised bed, planter or wall? Yes! We always recommend that our structures are lined with a high-quality liner – we sell a 4 x 5 metre sheet made from 100% recycled plastic (PE).
The liner will add an extra layer of protection to the wood, especially if you are using organic matter such as manure to grow in. Many WoodBlocX designs include internal buttresses to provide extra stability. They tie the structure together and are built on the inside of the raised bed. These also need to be covered by the liner for extra protection.
When ordering a WoodBlocX raised pond, you can include a PVC waterproof pond liner with your order. We offer bespoke quotes for box welded pond liners too.
Should I add drainage to my raised bed?
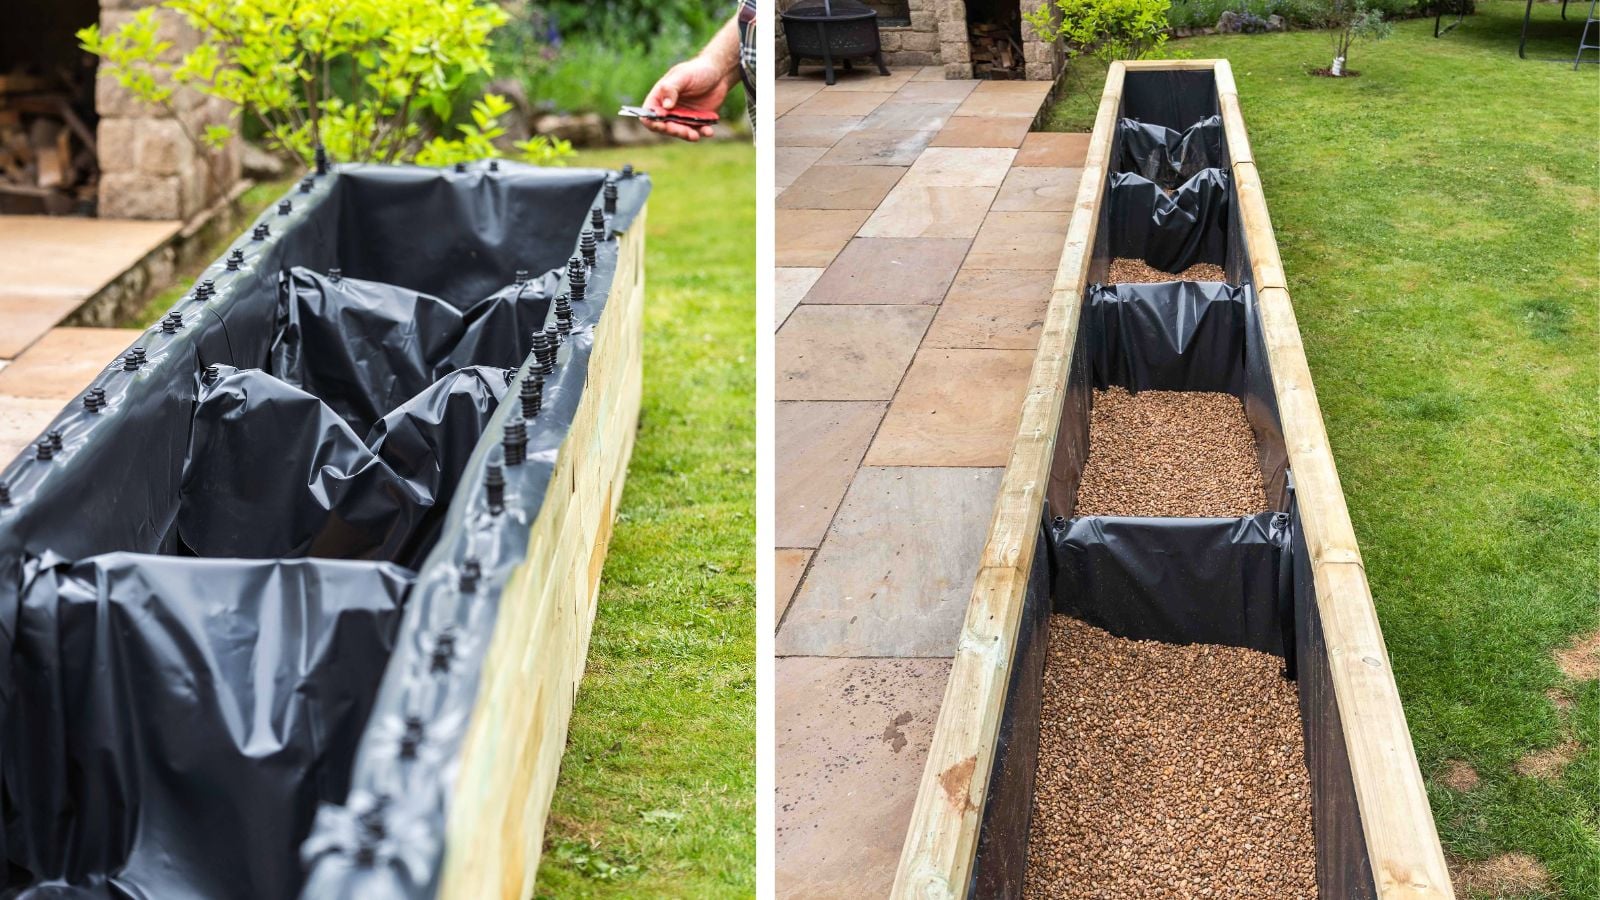
Raised beds can be accessed without having to walk on them, this prevents soil compaction, which also improves drainage, helping plant roots to grow more freely and take on more nutrients. However, we still strongly advise adding a drainage layer at the bottom, especially for structures built on hard ground types. Stones or gravel can be used for this – it also helps to reduce the amount of soil needed to fill the structure!
If your garden is particularly susceptible to collecting surface water and feel you need an additional drainage source, you could add a French drain to the base of a WoodBlocX garden wall for example. This requires digging a small trench, adding a perforated drainage pipe, which will need to be directed away from the wall to either a main drain or to somewhere where it can easily soak away. Then simply fill the cavity back in with crushed stone or aggregate.
How much soil do I need for my raised bed?
If you are filling your raised bed completely then a simple way to work out how many litres is length(m) x width(m) x height(cm), but if you are adding a drainage layer to the bottom, subtract the height of the layer from the equation so you don’t over order. We advise customers to use a good topsoil mix and add a soil improver or compost mix to the top layers.
Soil specialists PlantGrow say: topsoil is better to use when raising areas of the garden or for landscaping projects, for raised beds a combination of both compost and topsoil would work best. A layer of organic mulch is advised to be added on top to prevent weed growth, with the chosen mulch eventually breaking down and adding even more nutrients into the soil.
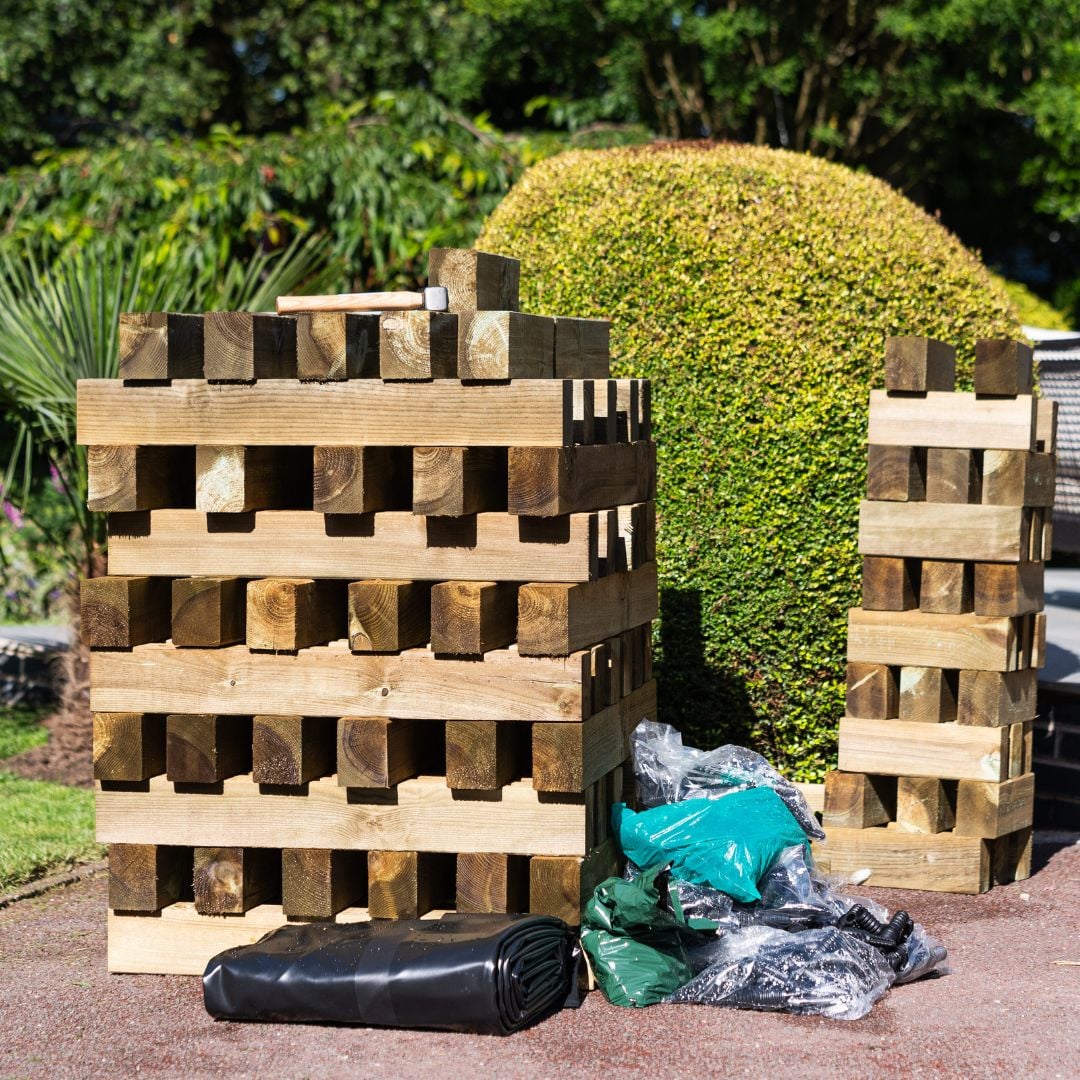
Tools for the job!

The final part of our how to prepare for your WoodBlocX build tips is the tools! You don’t need anything special to build with WoodBlocX just these regular tools which you may have to hand or could be borrowed:
- Lump hammer for knocking the BlocX together layer by layer
- A retractable knife (or scissors) to cut and make incisions in the liner
- Spirit level for checking the surface you’re planning to build on
- Spade, string and a tape measure if you need to lift any turf / mark out the area
- For installing angle floor brackets, you will need a suitable electric screwdriver & drill bits

Help is always on hand
If you have questions during your building project, please get in touch with our helpful customer service team. We're here to make sure your WoodBlocX build goes smoothly! Don't forget to watch our handy videos on our YouTube channel.