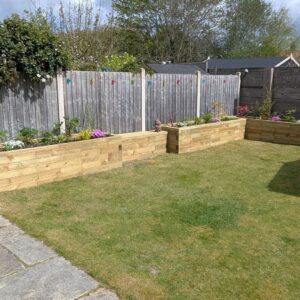
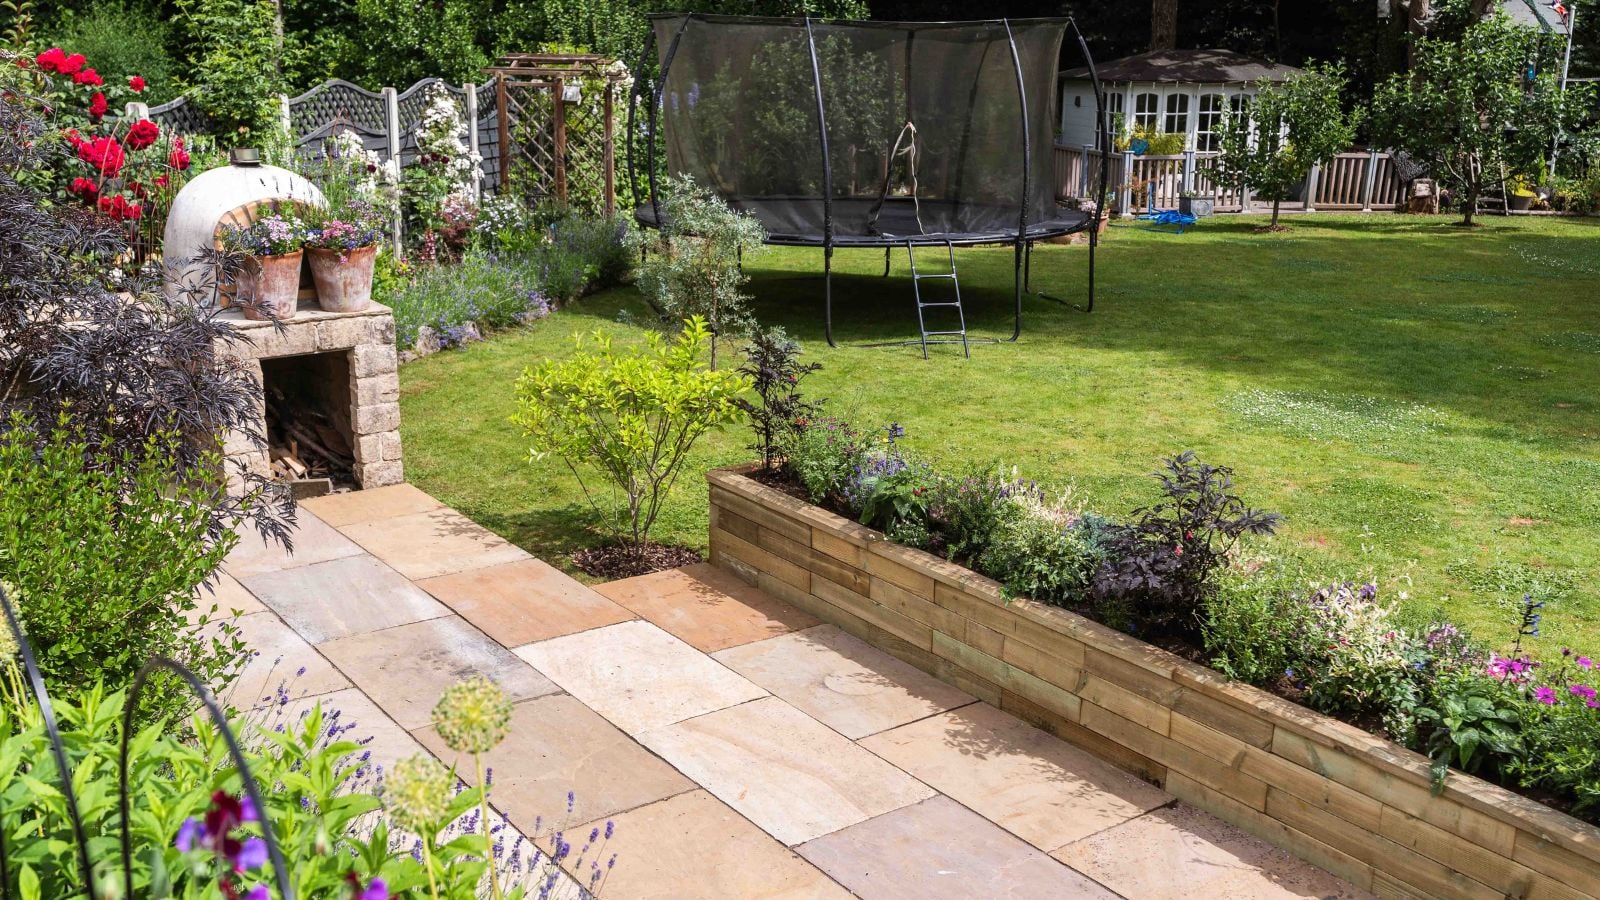
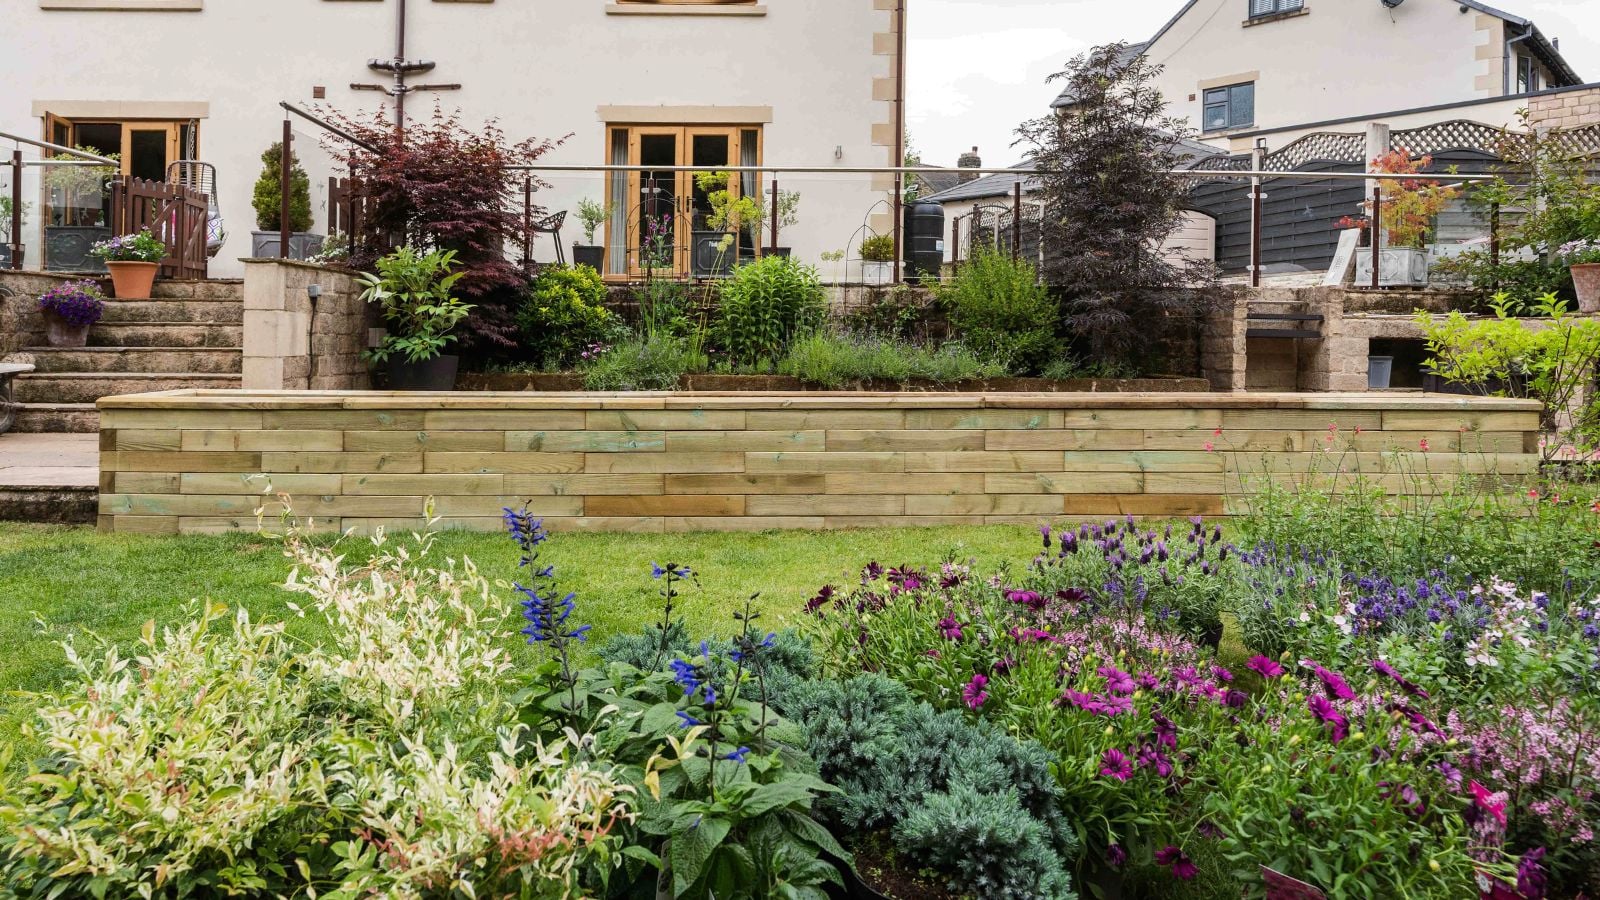
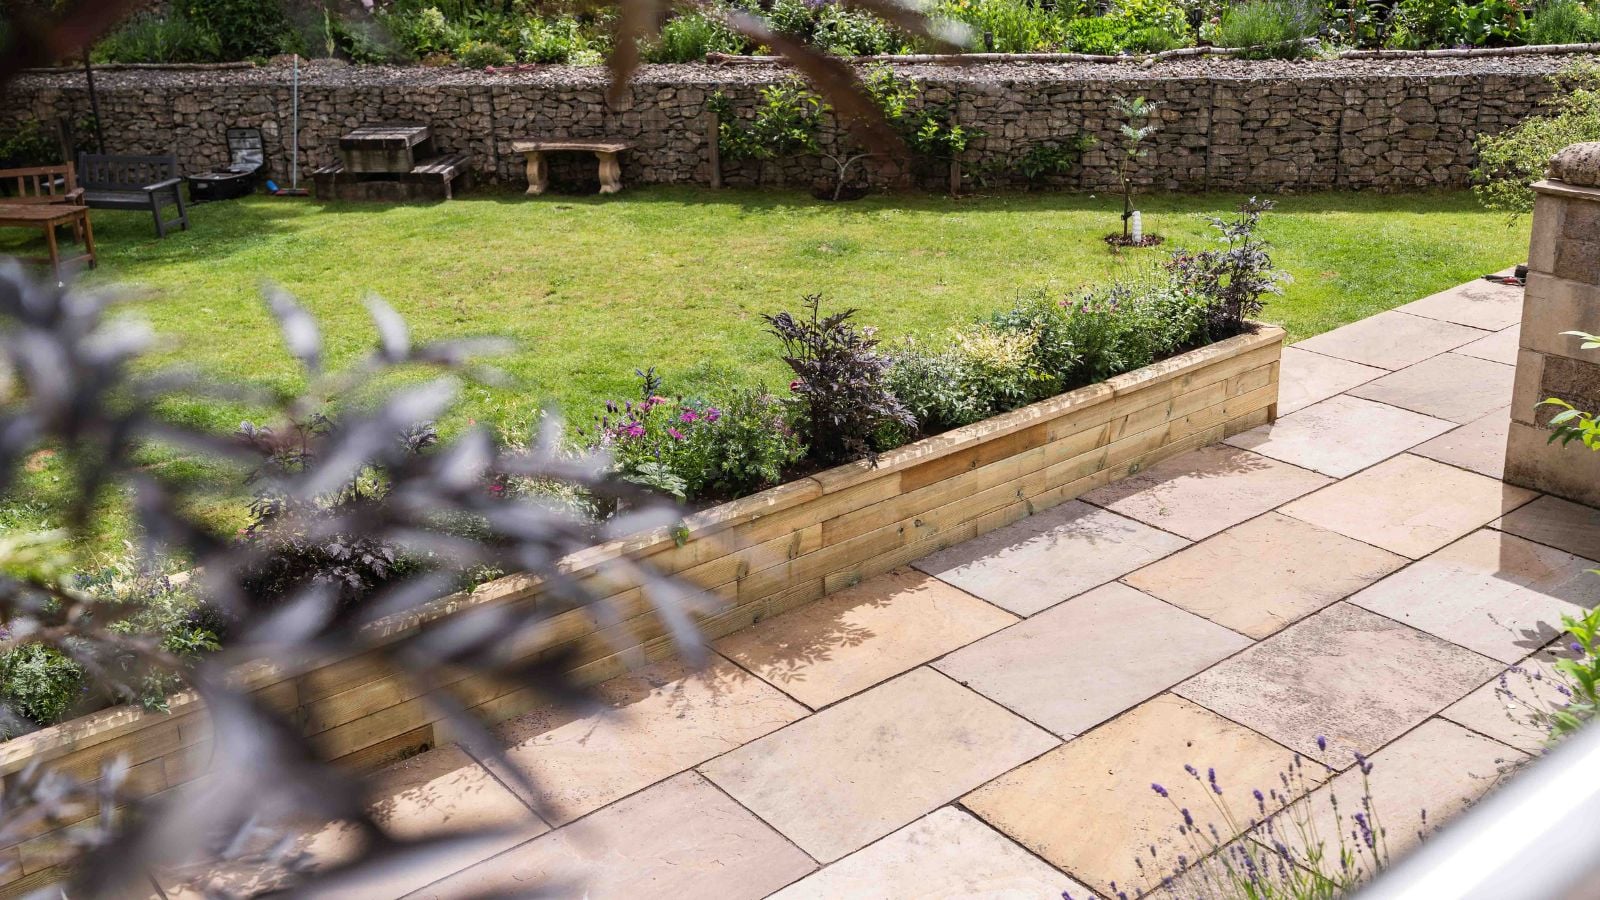
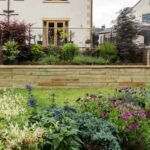
Jill’s garden was already landscaped with very mature, well-established plants on the terrace and around the borders. The beautiful Indian sandstone patio that stretched out into the garden gave the family plenty of extra space to use but it felt too open to the large turfed area in front. Jill had an idea to frame the patio with a long planter to help make the area feel more secluded whilst softening the divide to the rest of the garden with plants and natural wooden tones.

Jill’s patio planter

To soften the patio’s border to the turfed garden area, Jill was using a selection of potted shrubs and plants around the edge but these took up valuable patio space and required more tendering during the summer months as the soil dried out quickly on hotter days.
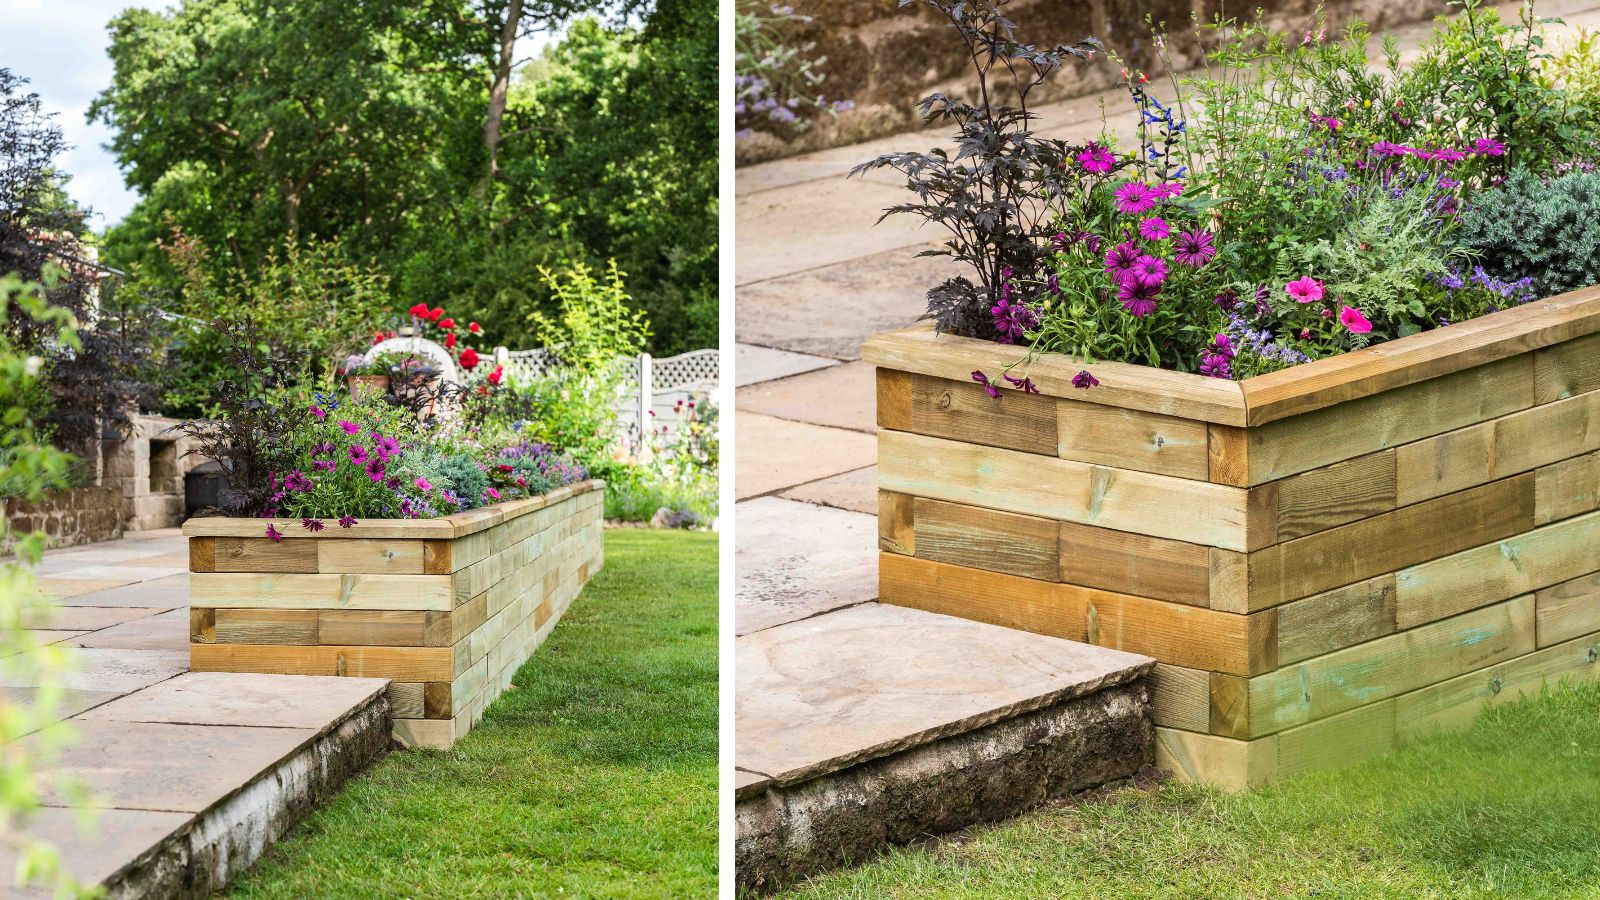
The shape of the patio created an ideal spot to build a long, slim planter on the grass right up against the slabs to frame the area and create a focal point to look at when relaxing and entertaining on the lower terrace. Jill could then remove the pots to gain more patio space whilst creating plenty of new space to grow a variety of plants in the planter.
Planning the Garden
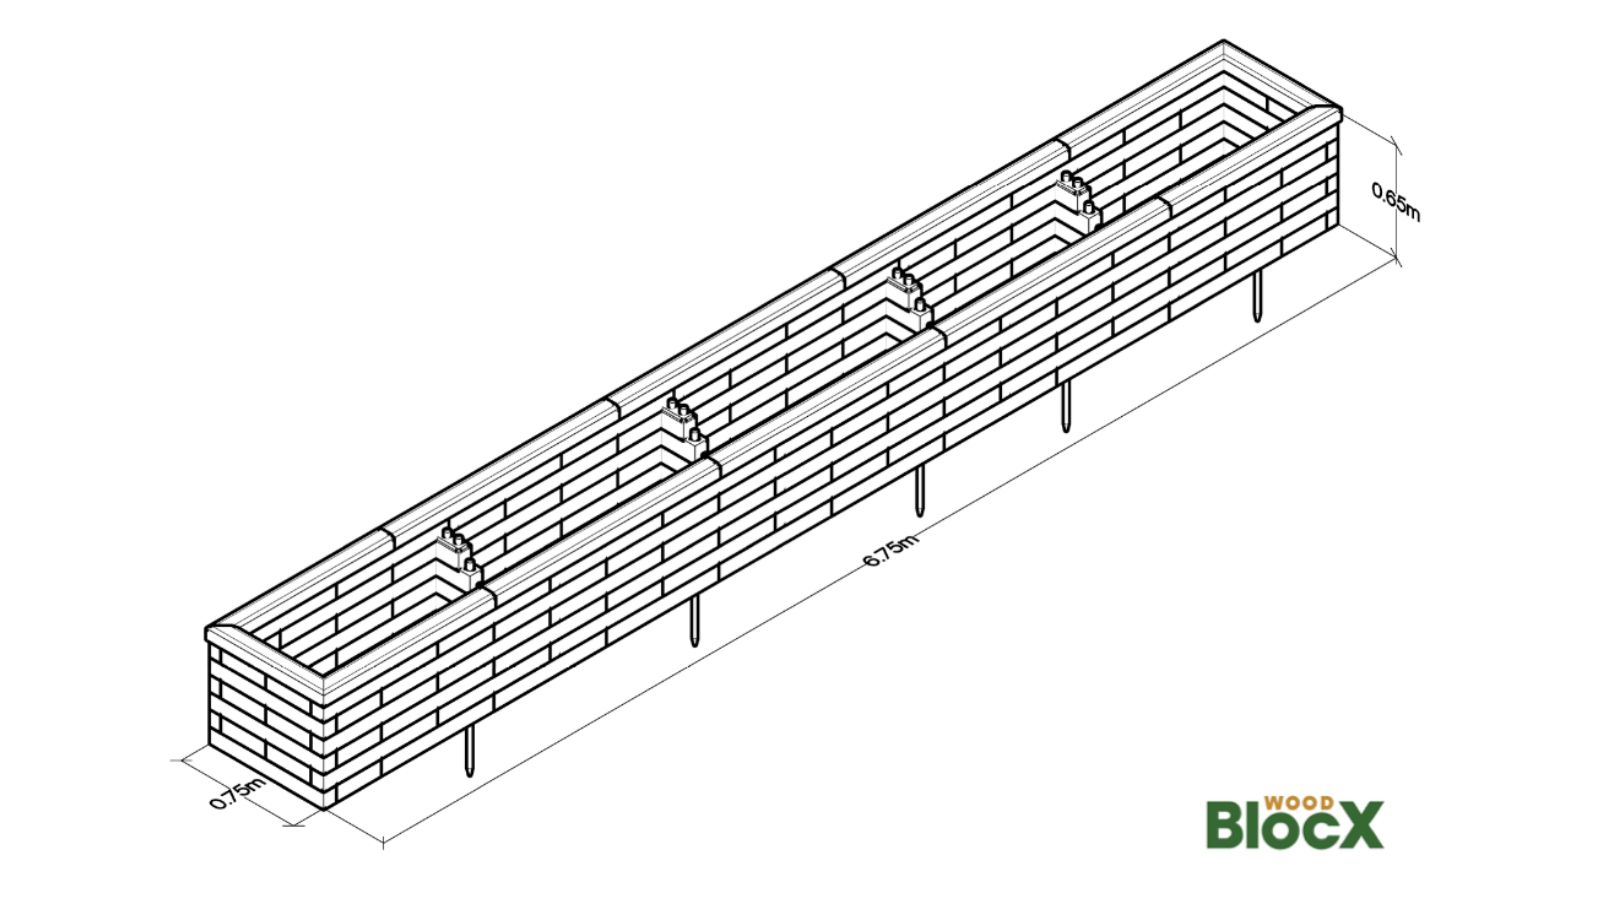
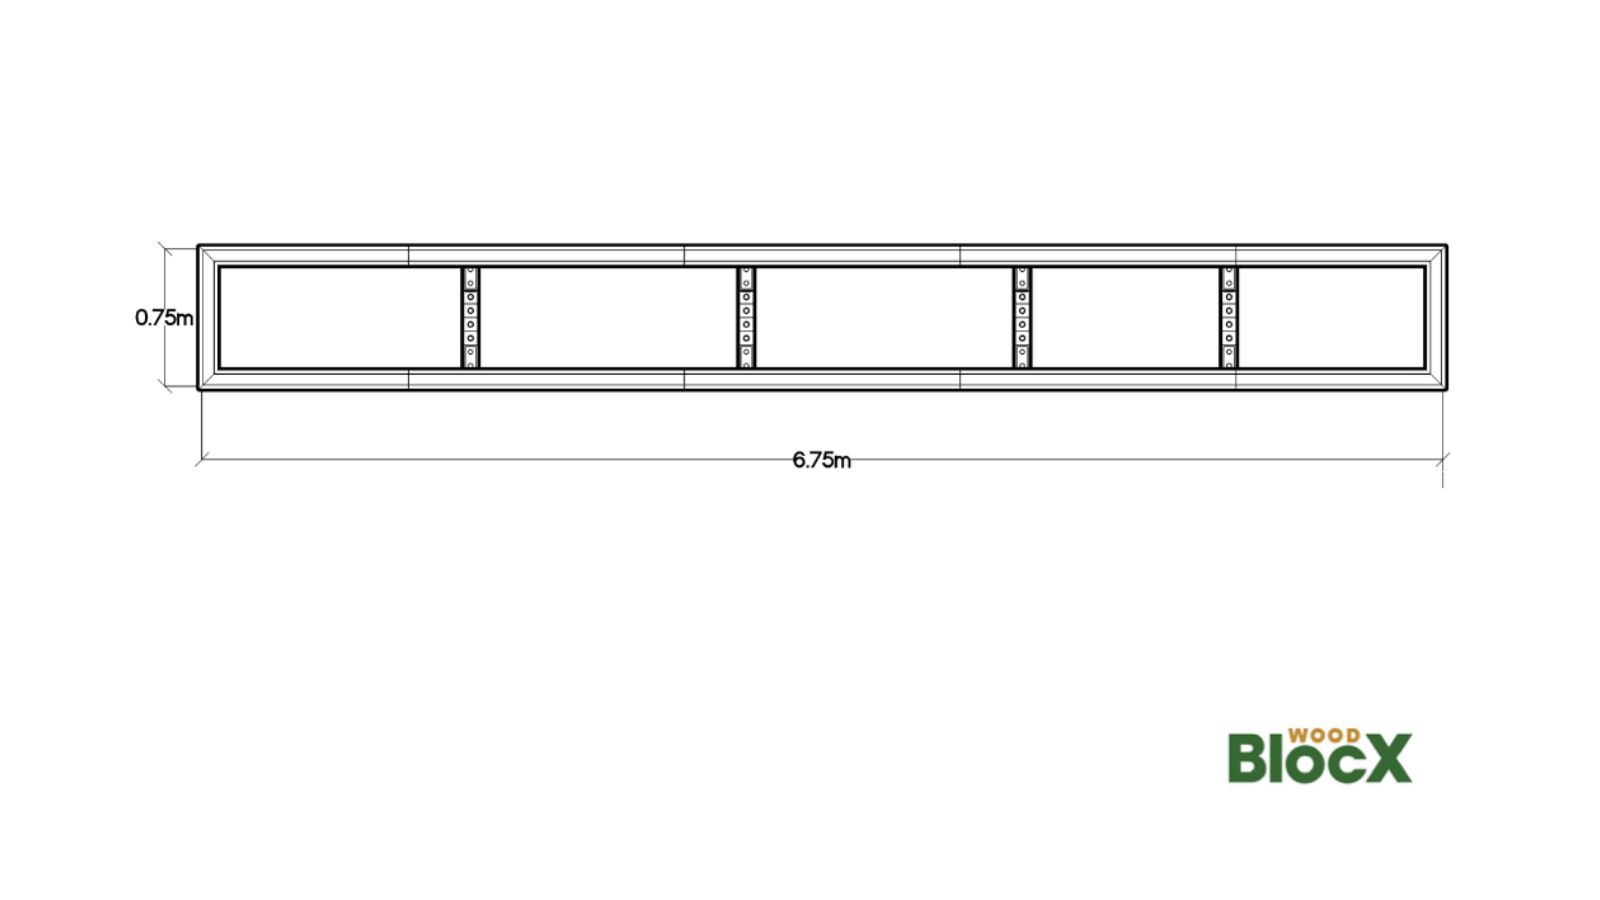
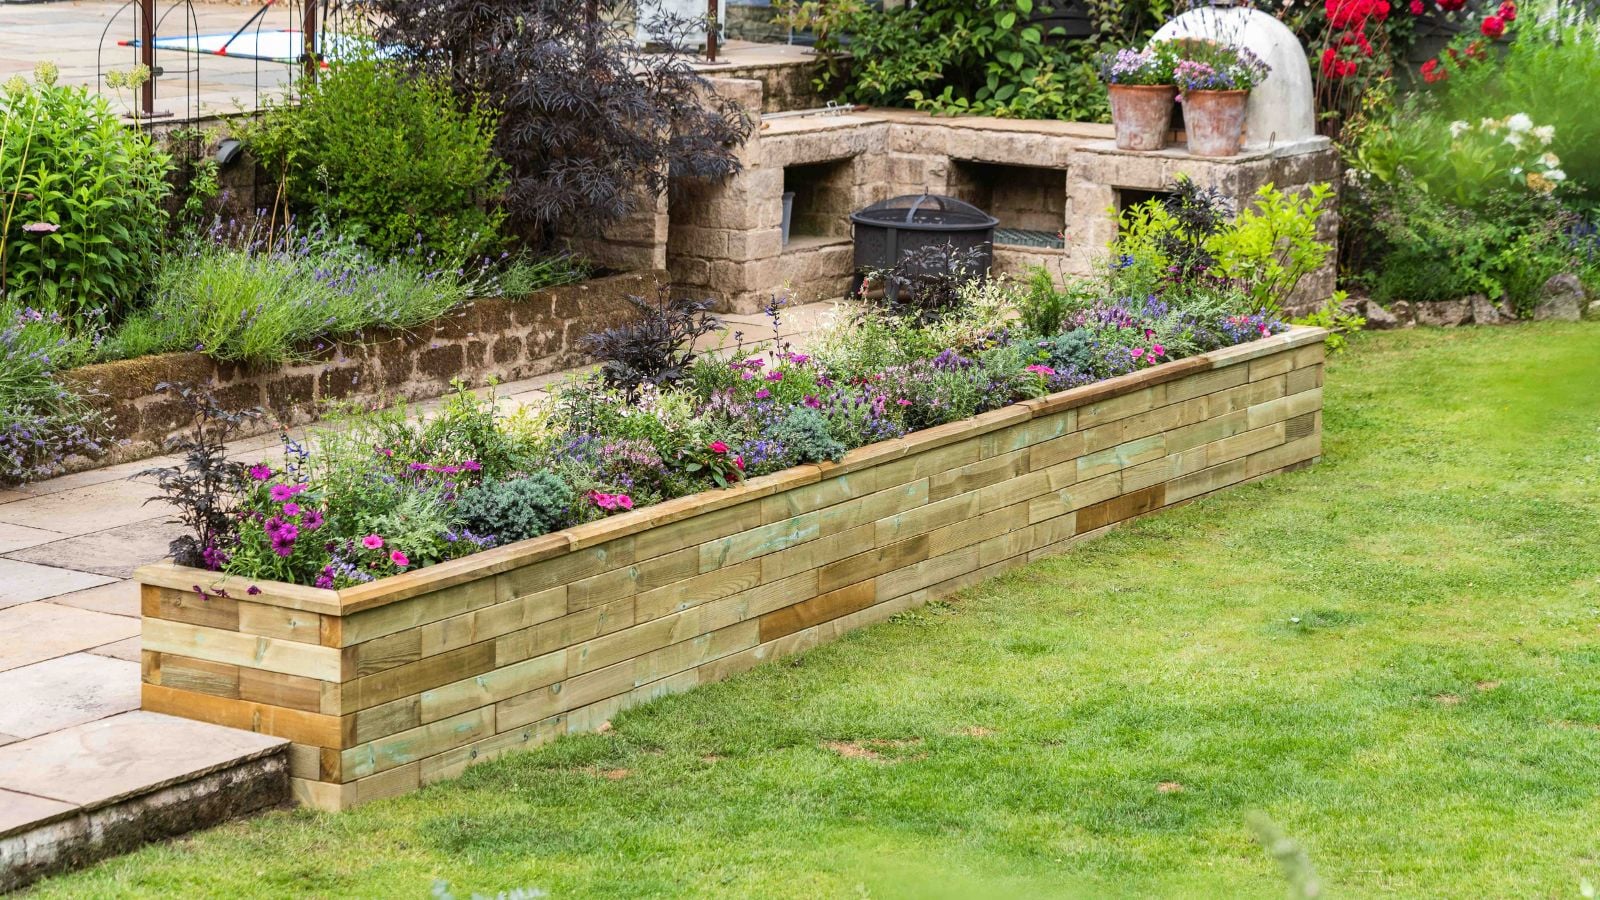
Using our raised bed website calculator, Jill’s was able to select a size that worked perfectly for the grass area alongside her patio – 6.75m Length x 0.75m Width x 0.65m Height. To ensure the planter was tall enough to frame the patio and help soften the divide, Jill selected a height of 0.65m – that’s 6 rows of WoodBlocX at 10cm each plus a further 5cm for the final capping layer. Jill was impressed that no power tools were needed to build WoodBlocX so the whole family could get involved. Read our blog post to learn more about choosing the best height raised bed for your garden.
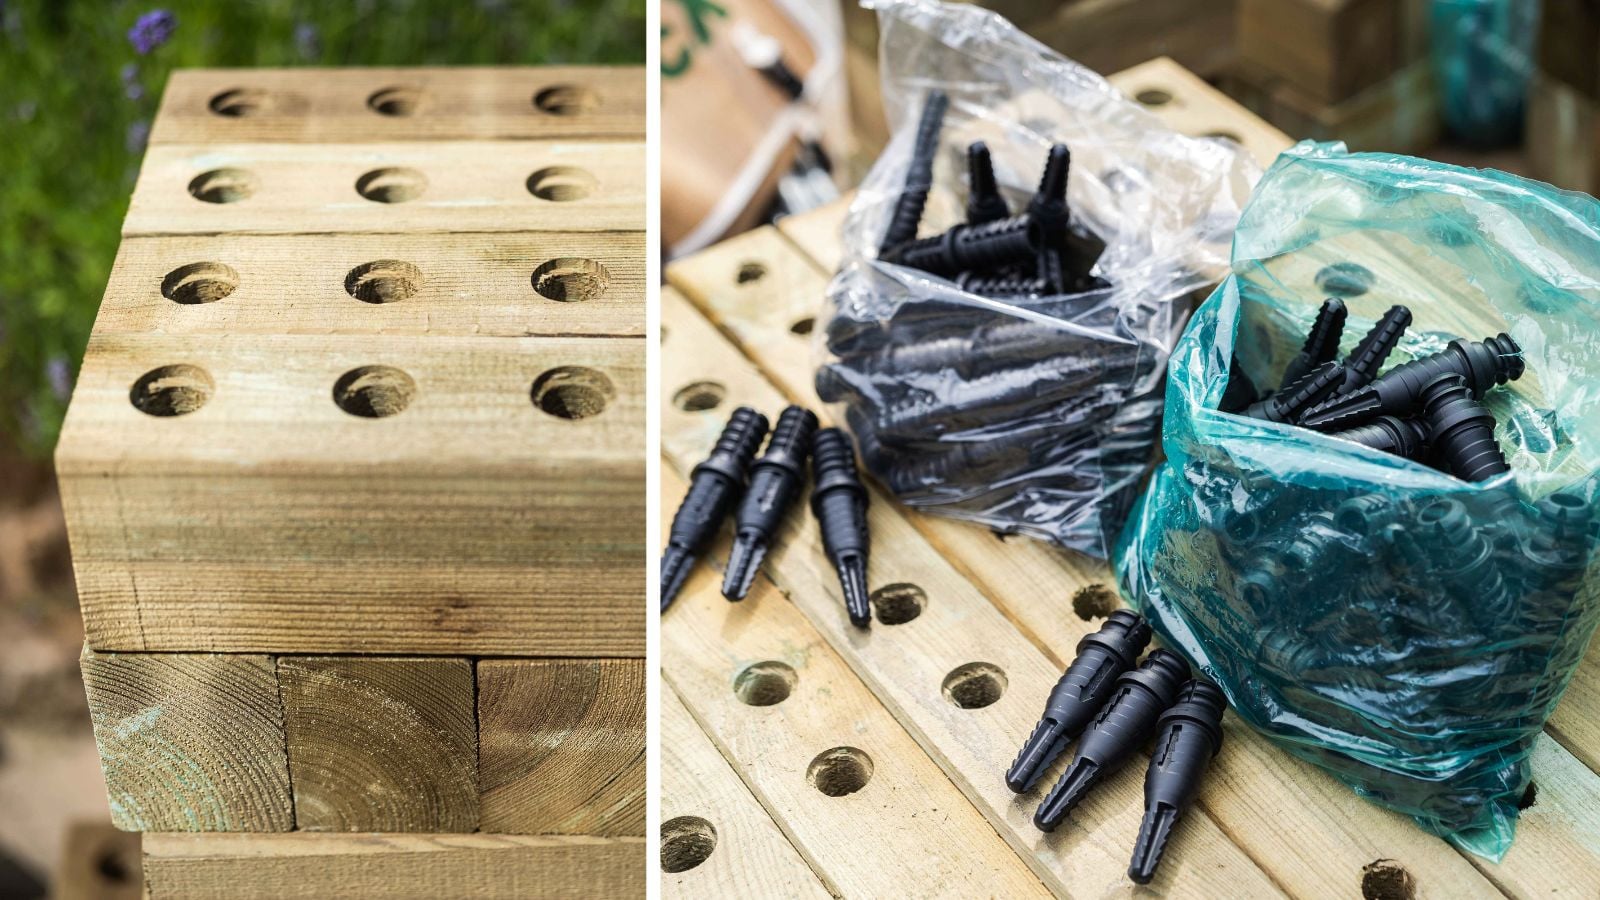
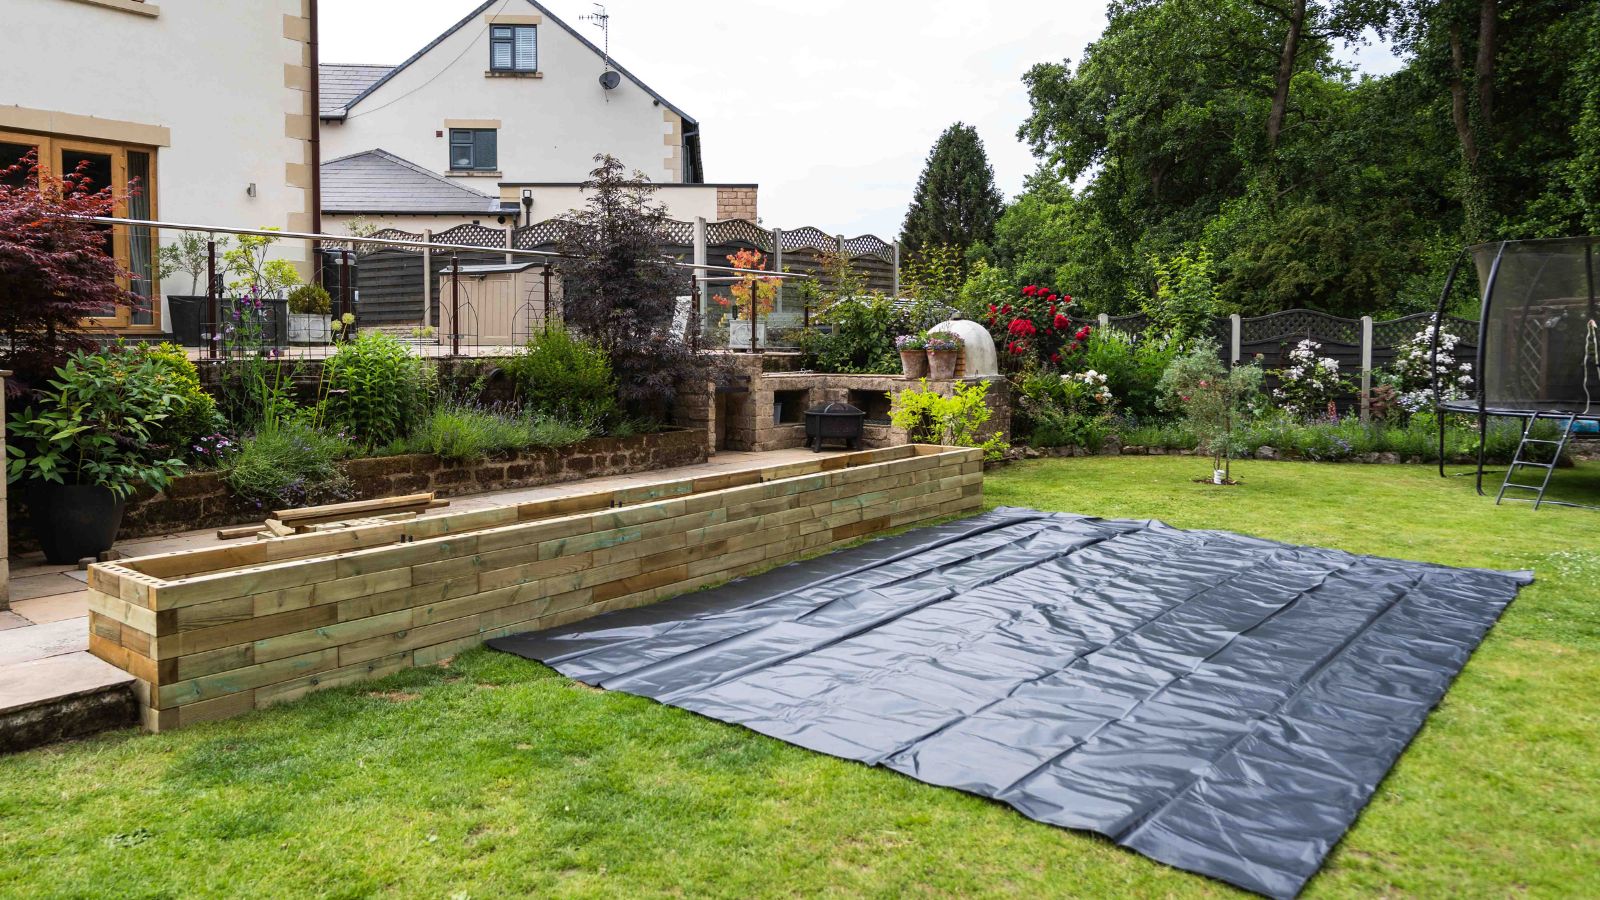
As the planter was to be built on grass (soft ground), Jill selected ground spikes with her kit. A protective liner was also included to maximise the lifespan of the timber. When building on hard ground types such as tarmac, concrete and patios, you can choose to include angle floor brackets to secure your WoodBlocX structure to the ground – learn more about our different ground fixing options. We also offer printed instructions for a small extra cost.
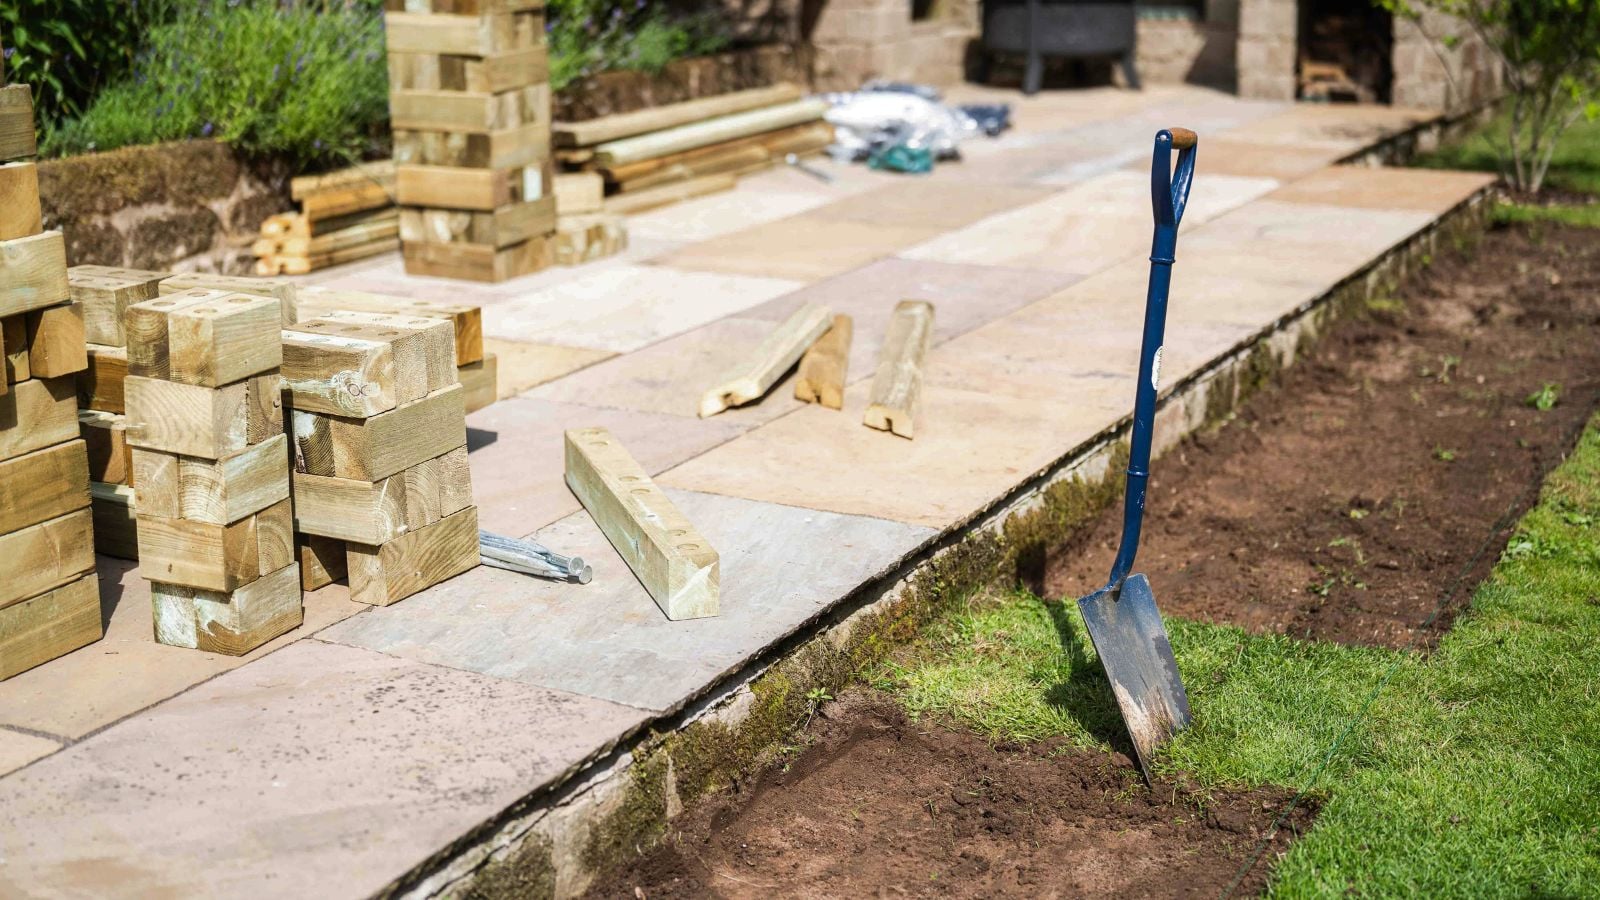
Preparation and building
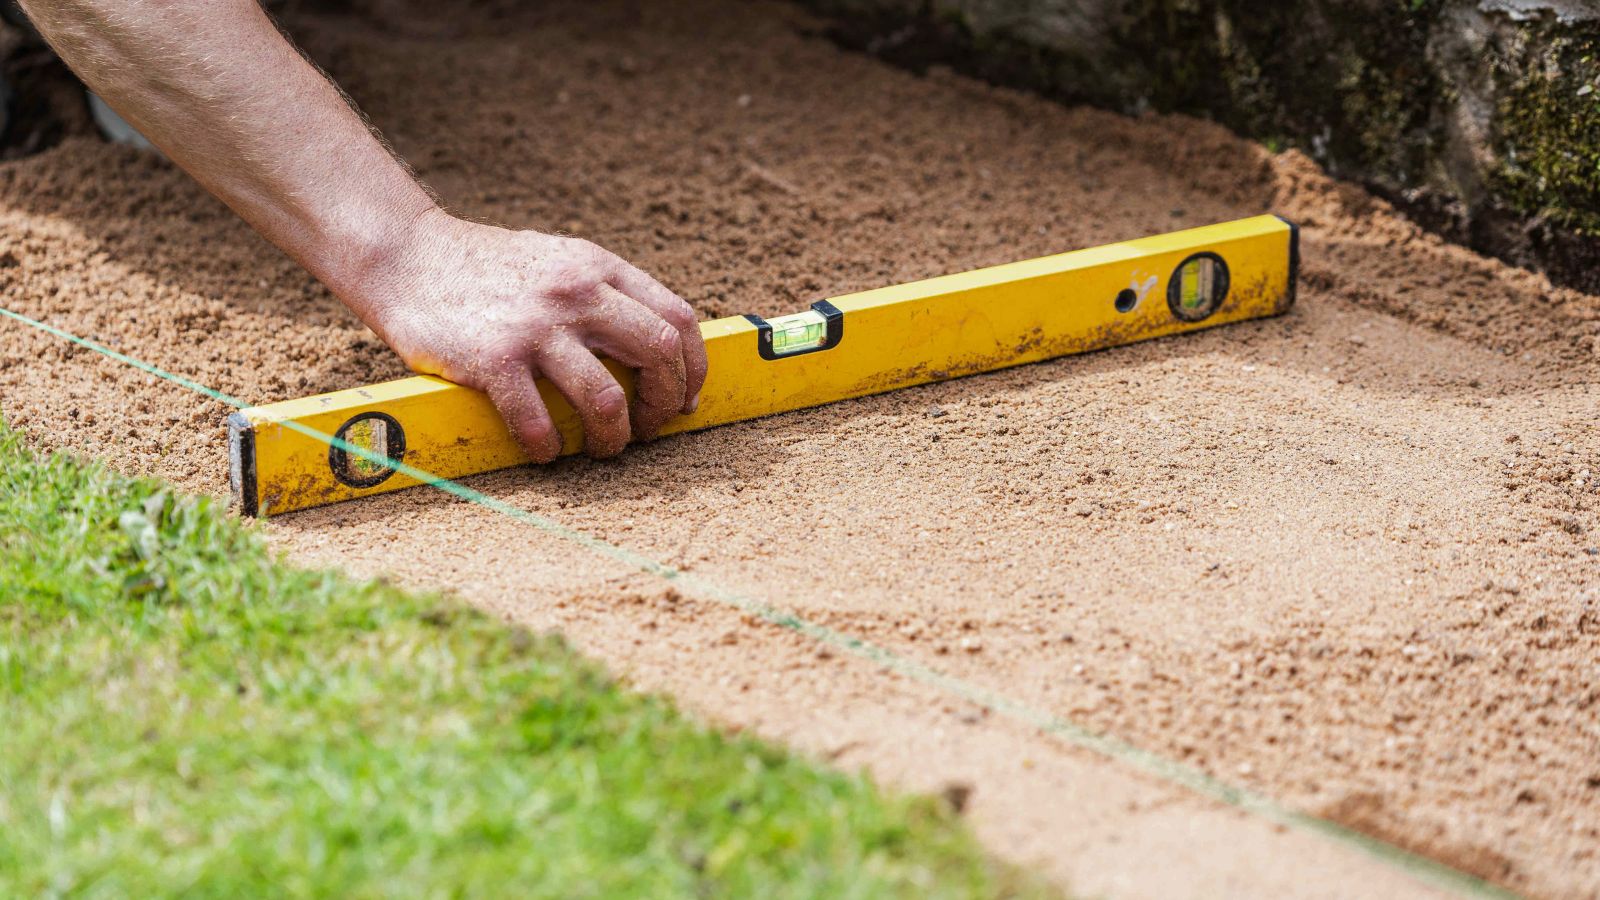
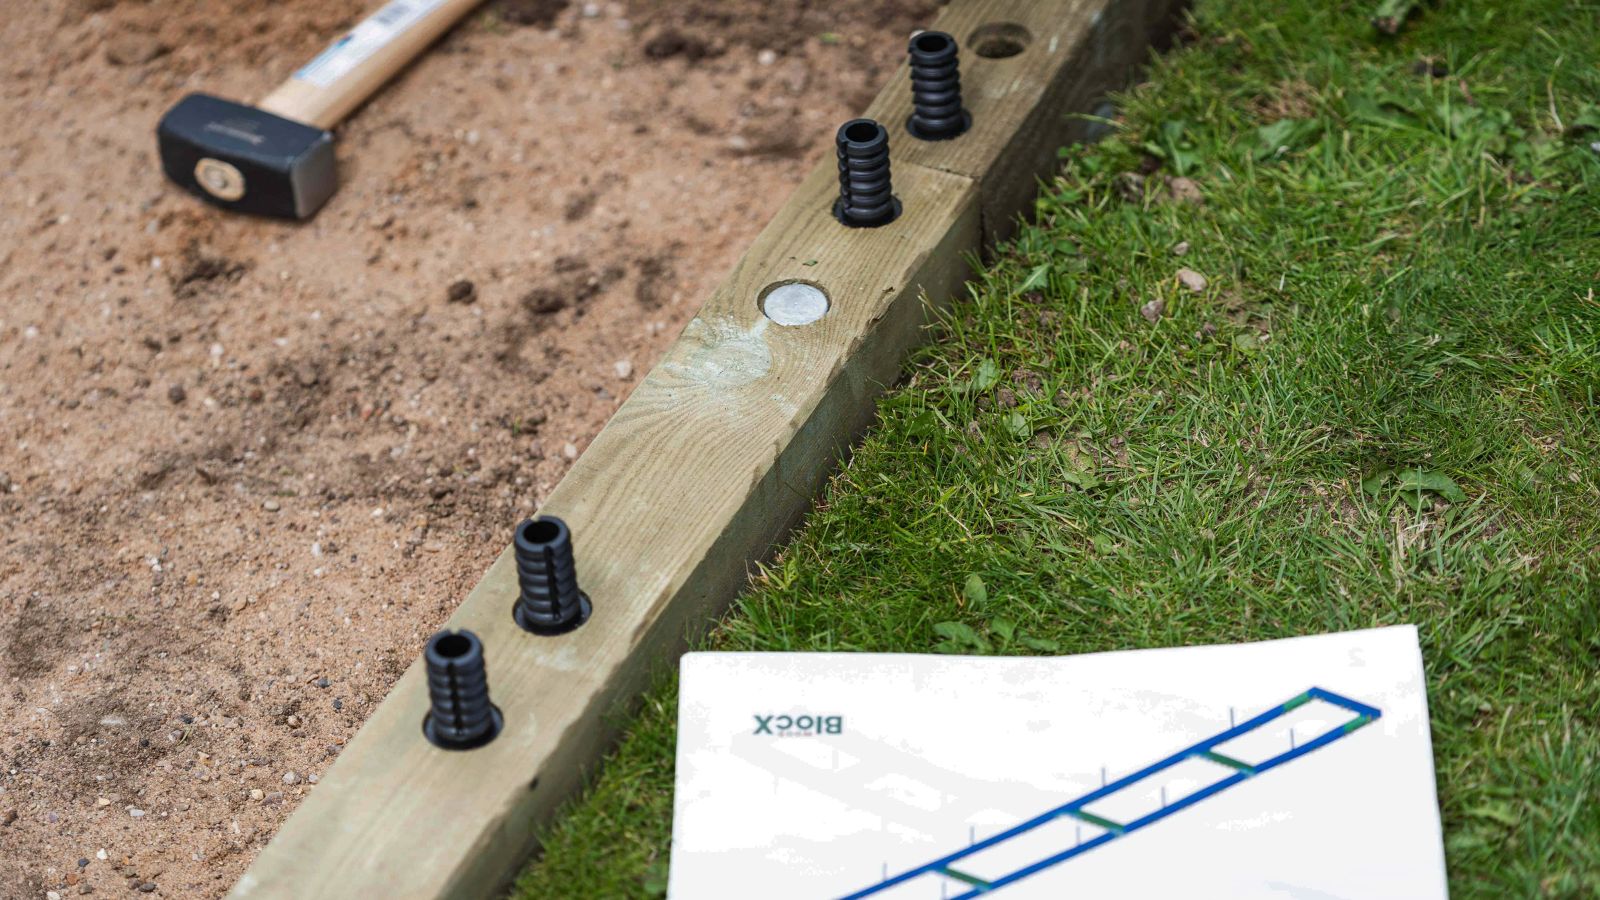
Although the grass in front of the patio appeared level by eye, after measuring the drop against the slabs, it actually sloped from right to left. To ensure the raised bed was built correctly, the turf was cut and lifted and a layer of sharp builders sand was used to level out the ground.
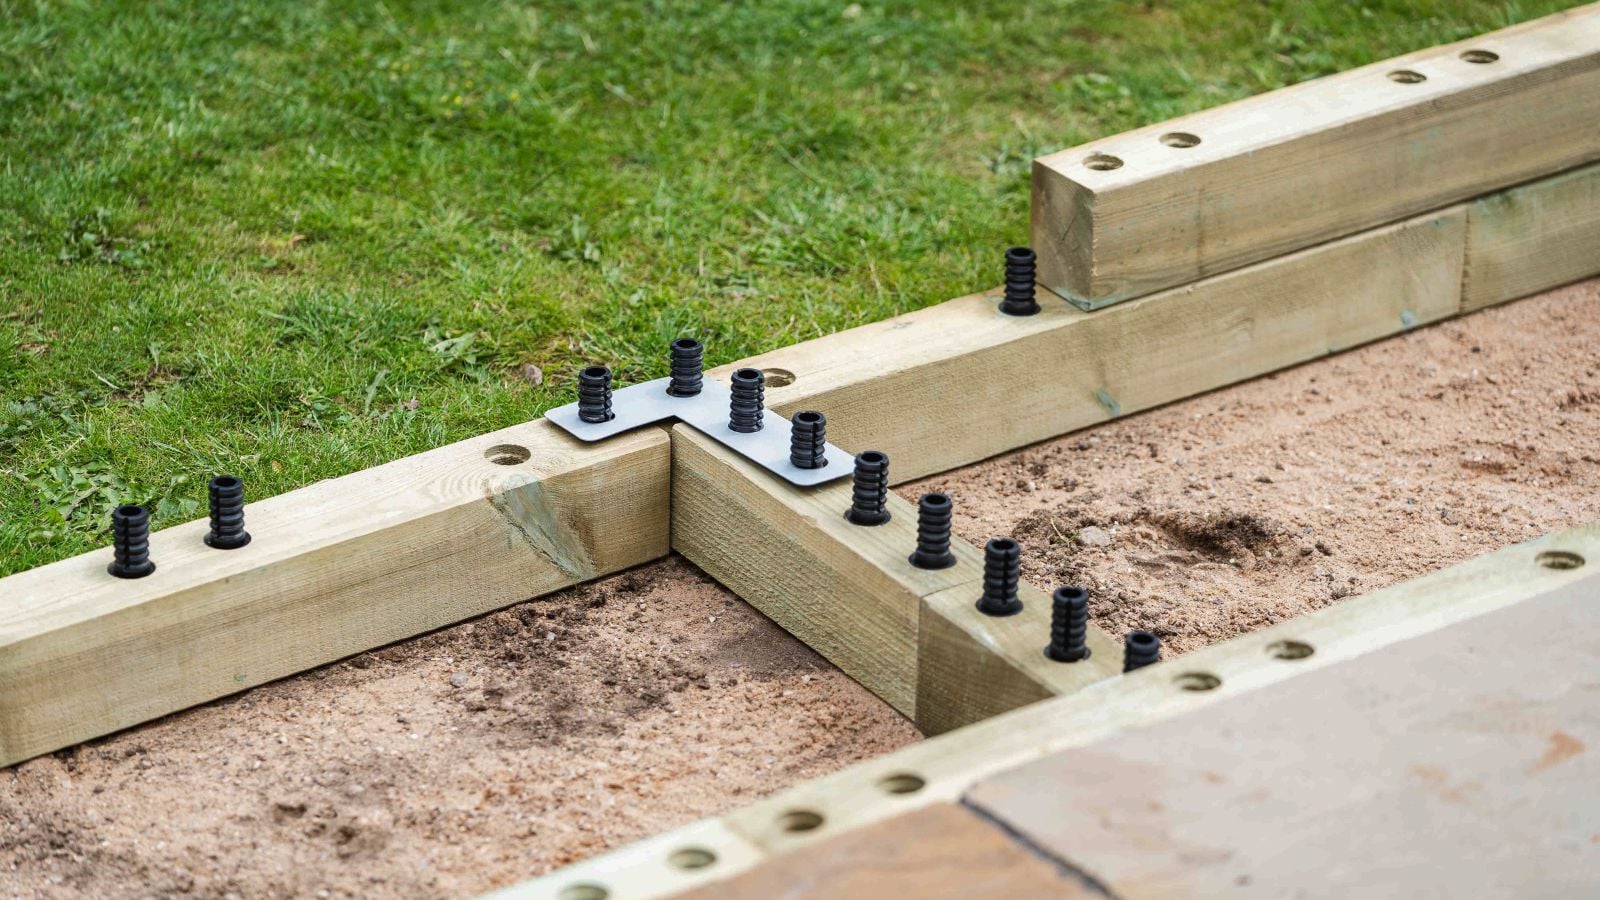
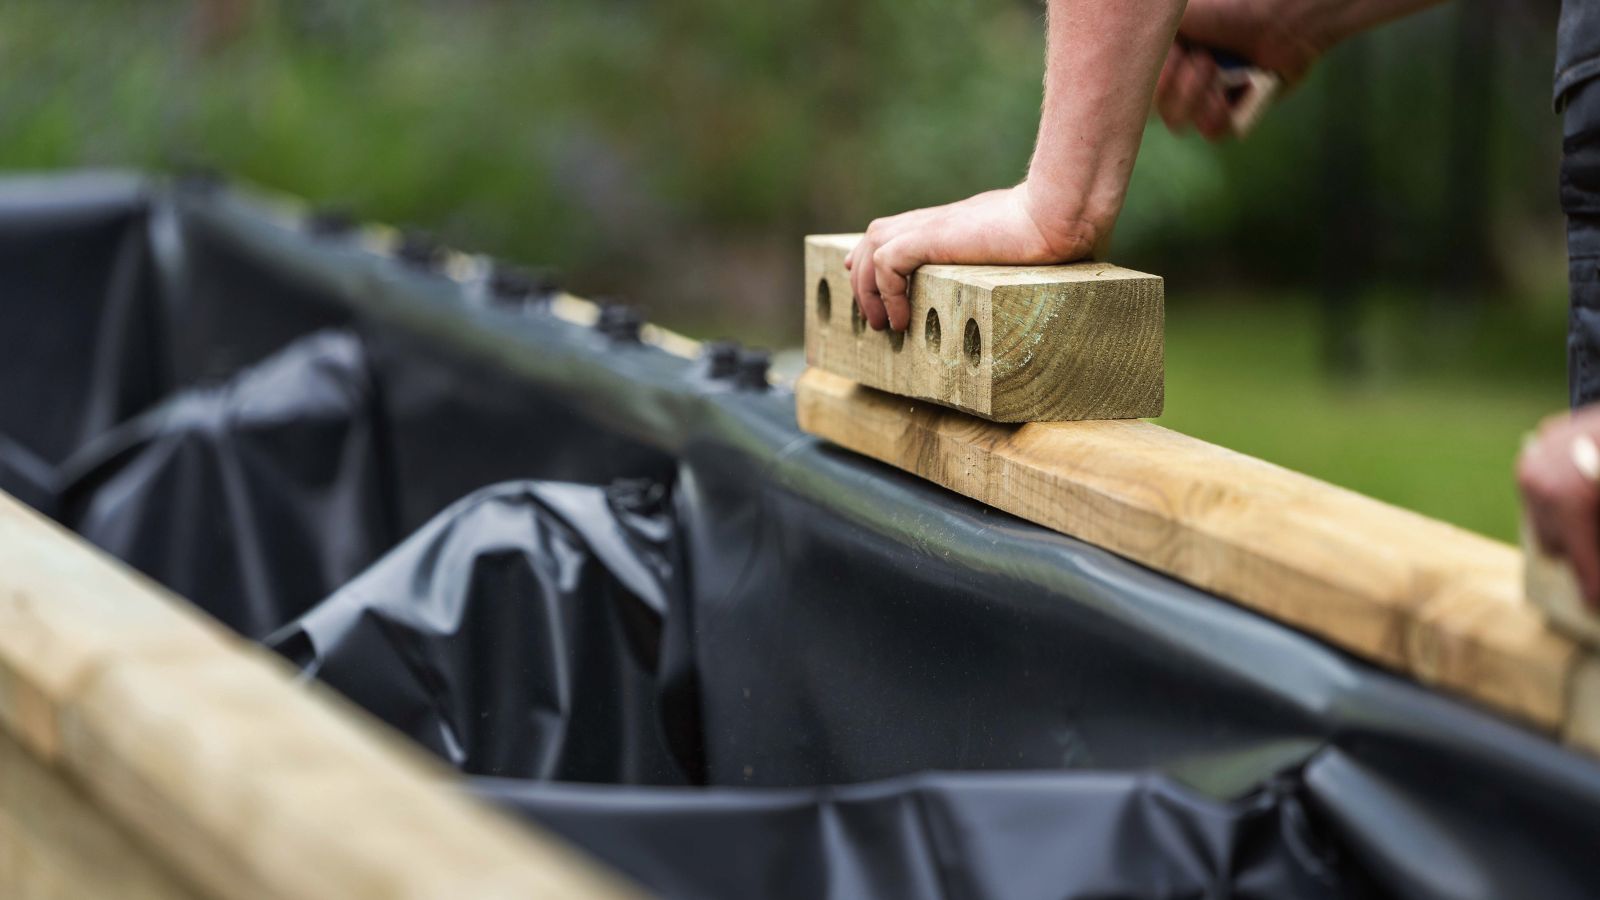
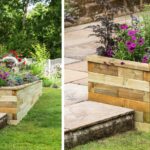
After taking the time to create a suitably level and flat surface, it was vital the first layer of dowels were hammered into the WoodBlocX away from the levelled surface to avoid unwanted ground movement. Following the kit’s layer by layer instructions, the first row of WoodBlocX was then moved into position and angle corner brackets were installed.
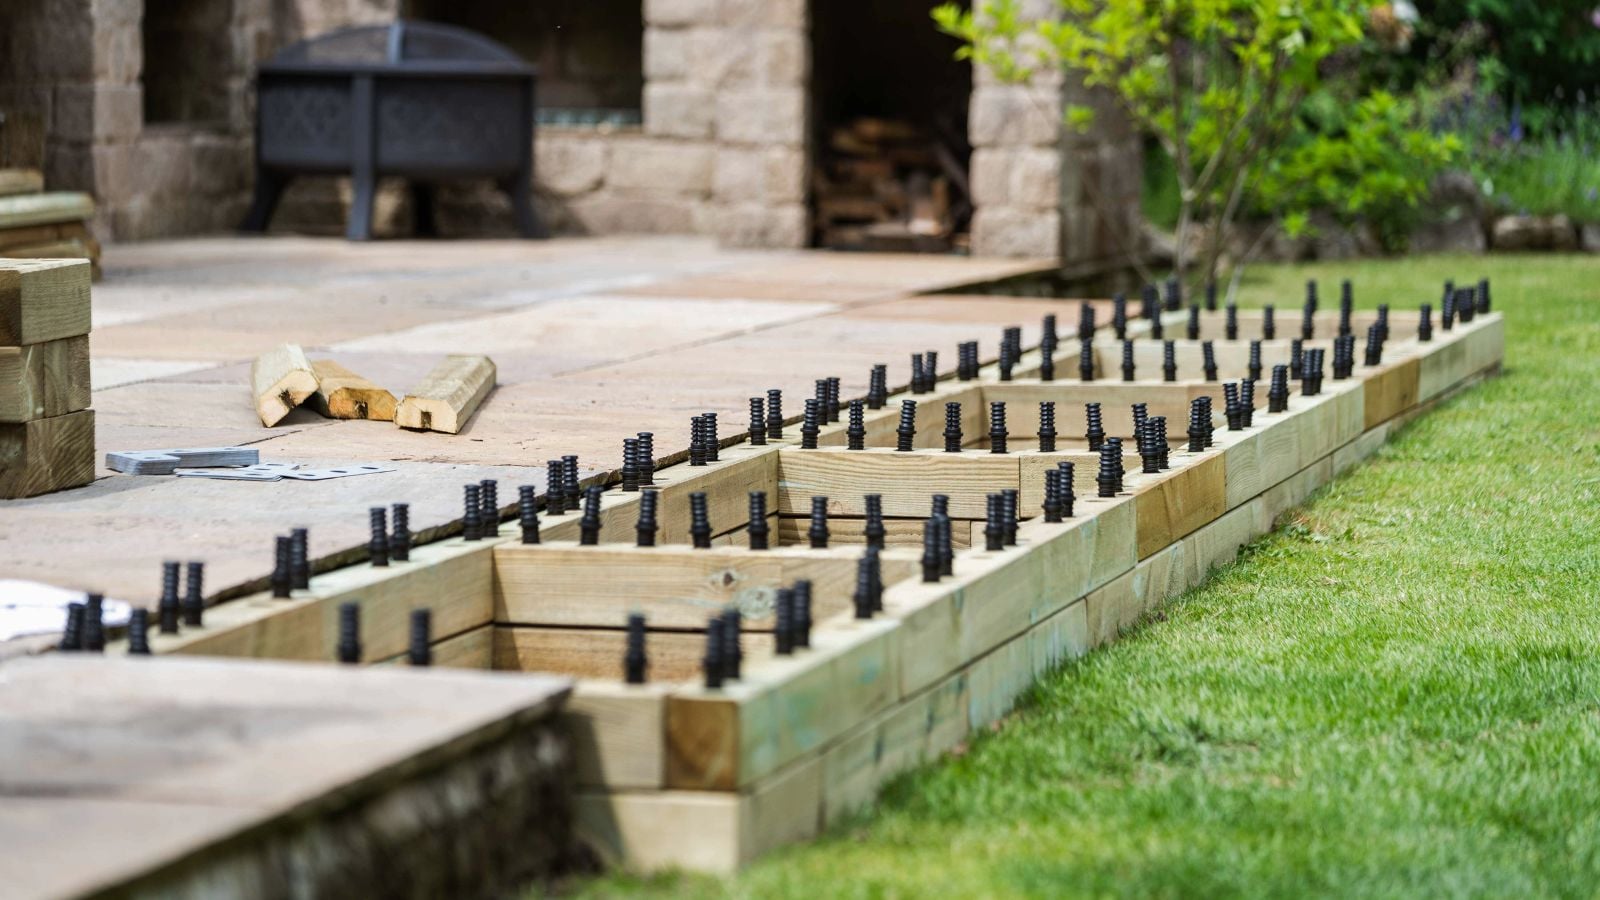
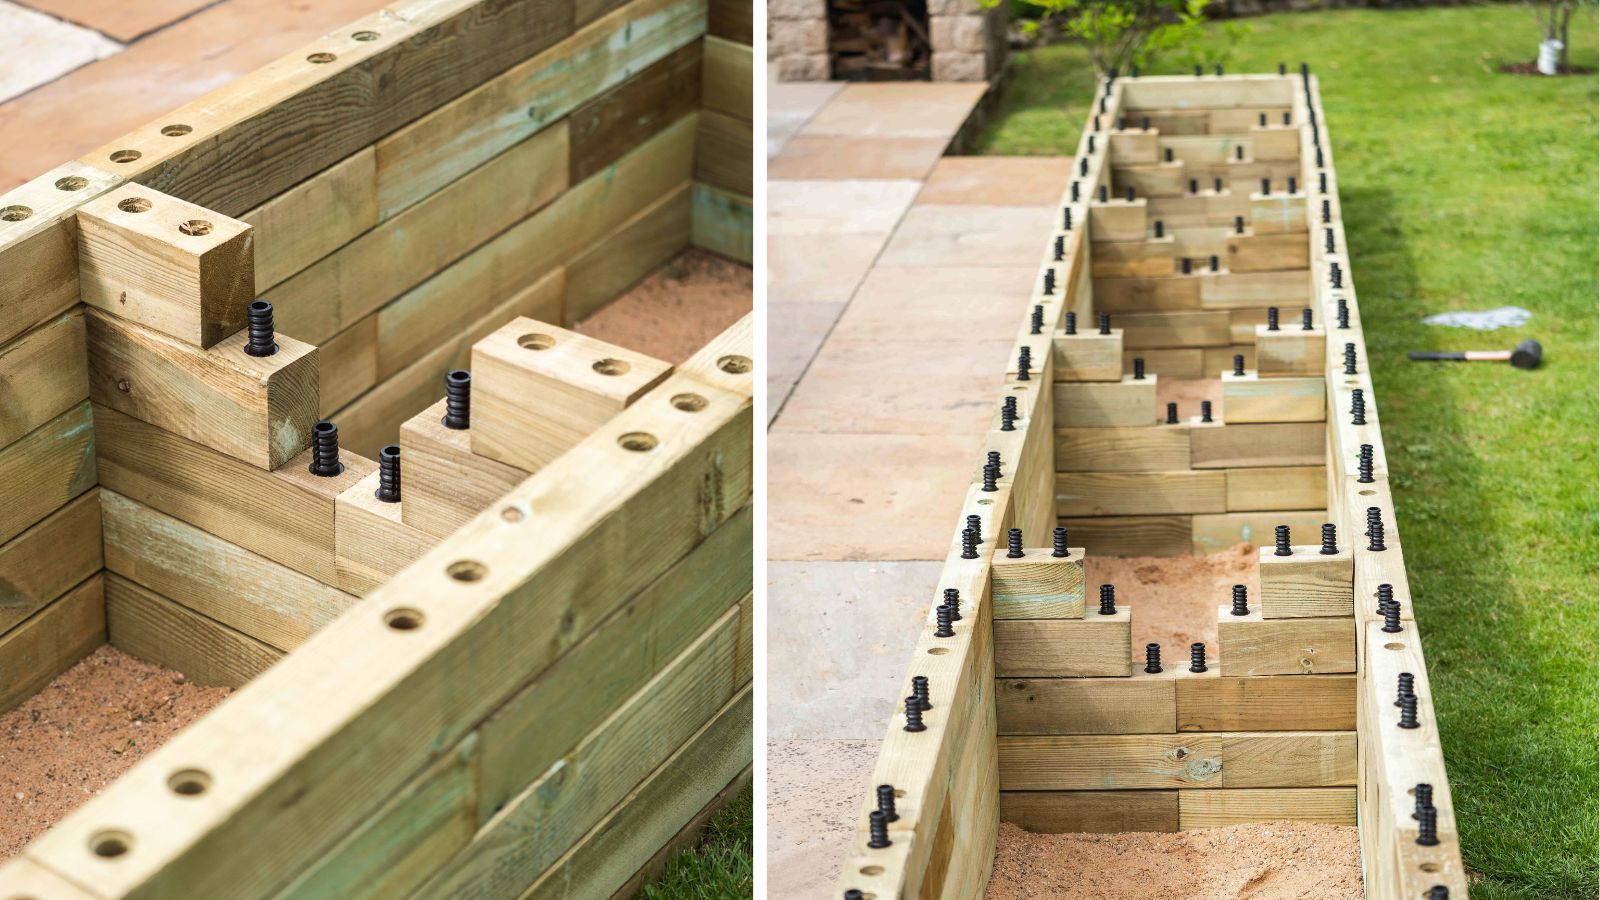
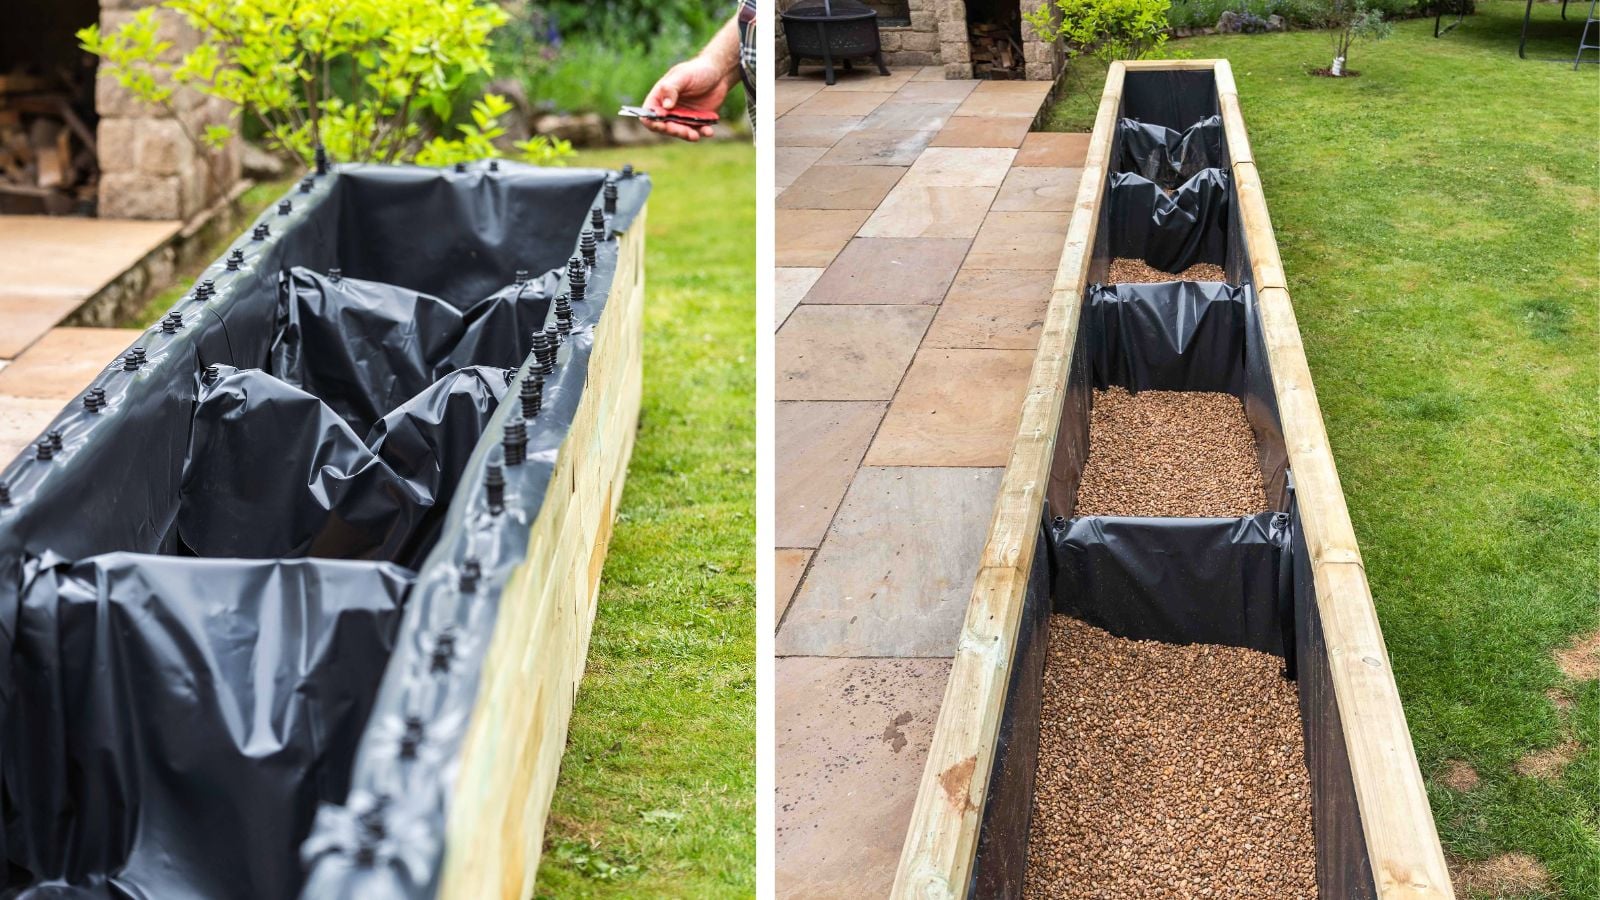
Due the length and height of Jill’s planter, the design included internal buttress supports that spanned the full width of the structure, pinning both sides together. Once lined, filled with soil and planted up, you can’t see these buttress supports, but they keep WoodBlocX super strong!
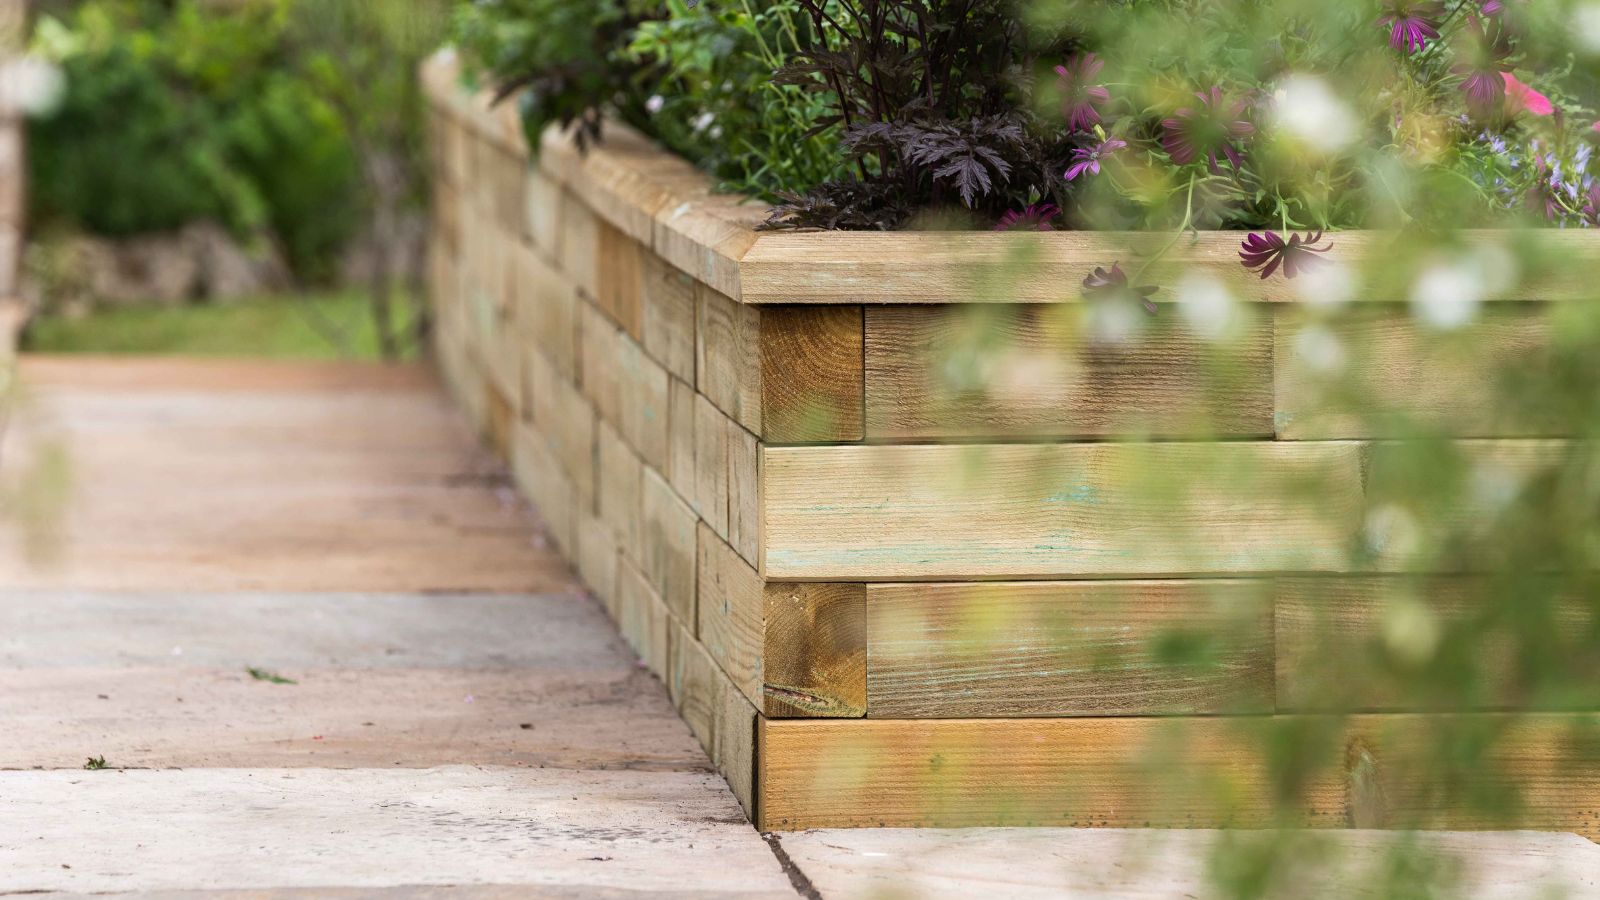
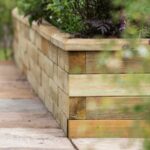
After installing a liner down the sides and over the internal supports, Jill added a drainage layer using pea gravel and filled the planter with good quality soil. The wooden planter was finished with our traditional capping which is chamfered, has a slight overhang and is mitred at the corners. Our friendly team is here to support you during your project build, we even can help you calculate how much soil you need, just contact us.

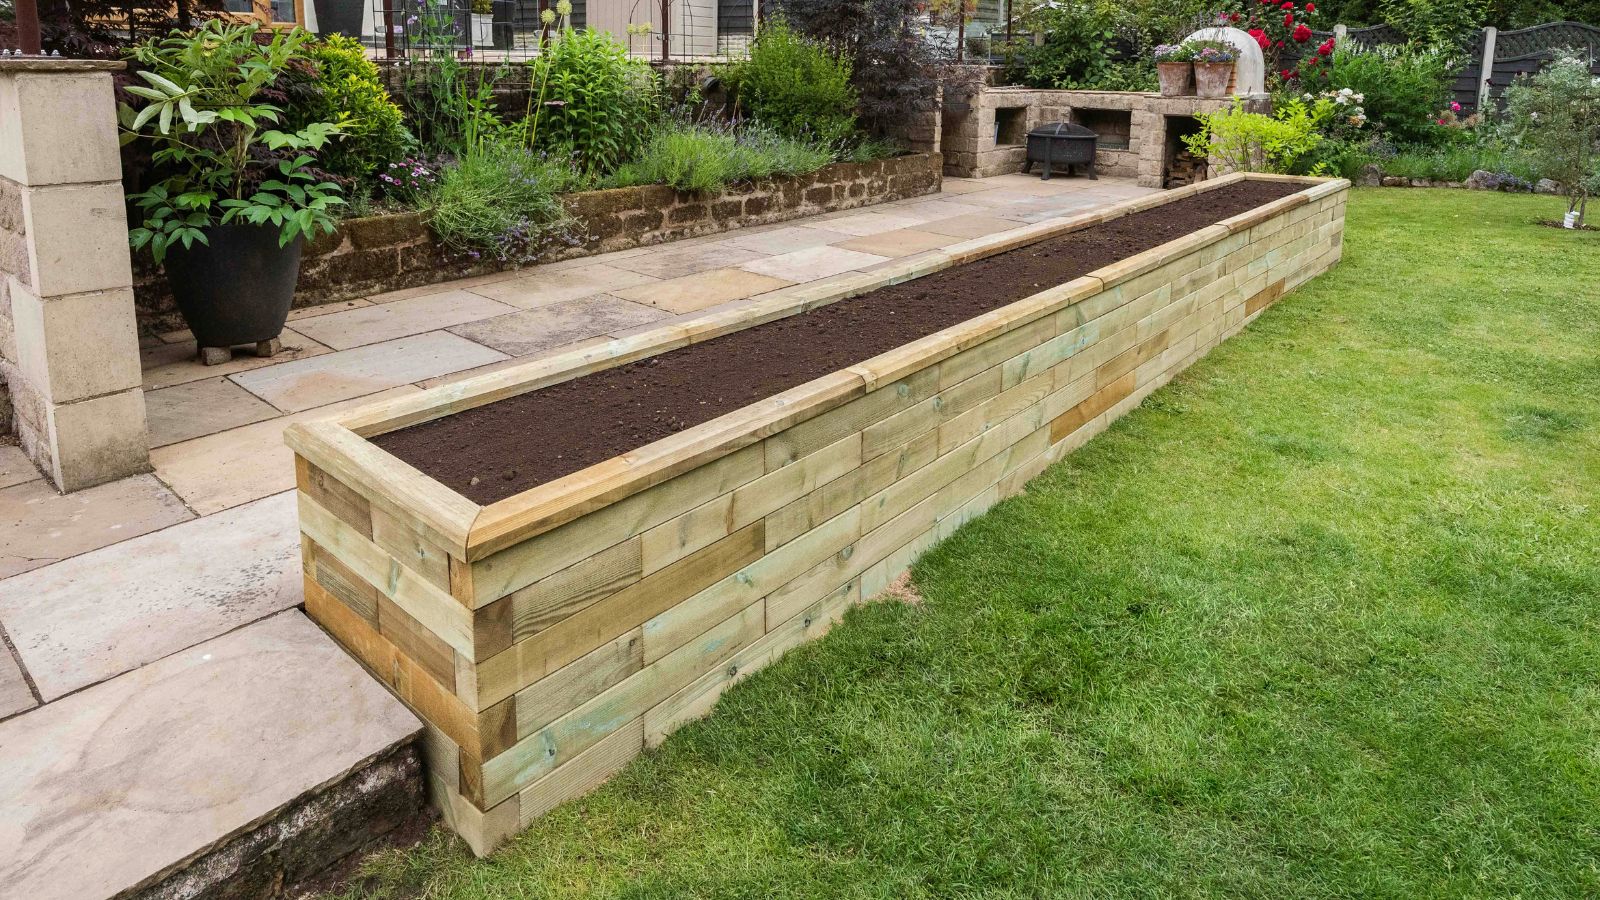
Finished Garden
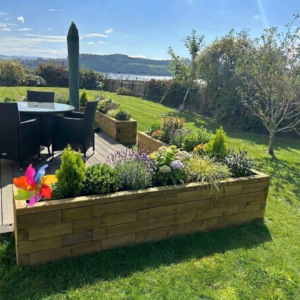
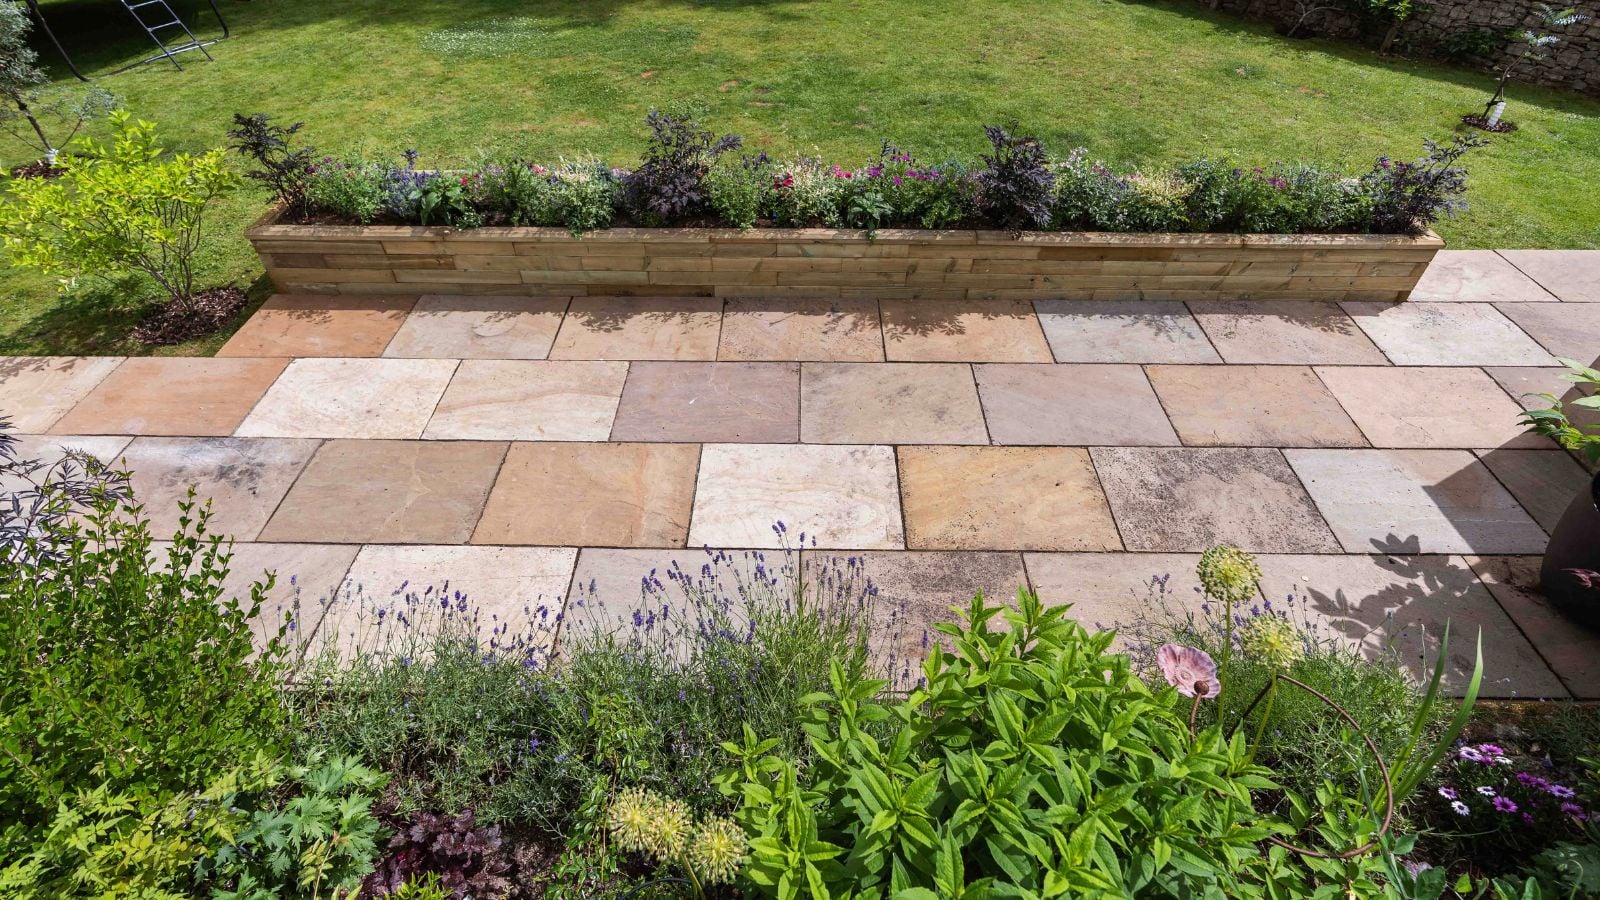
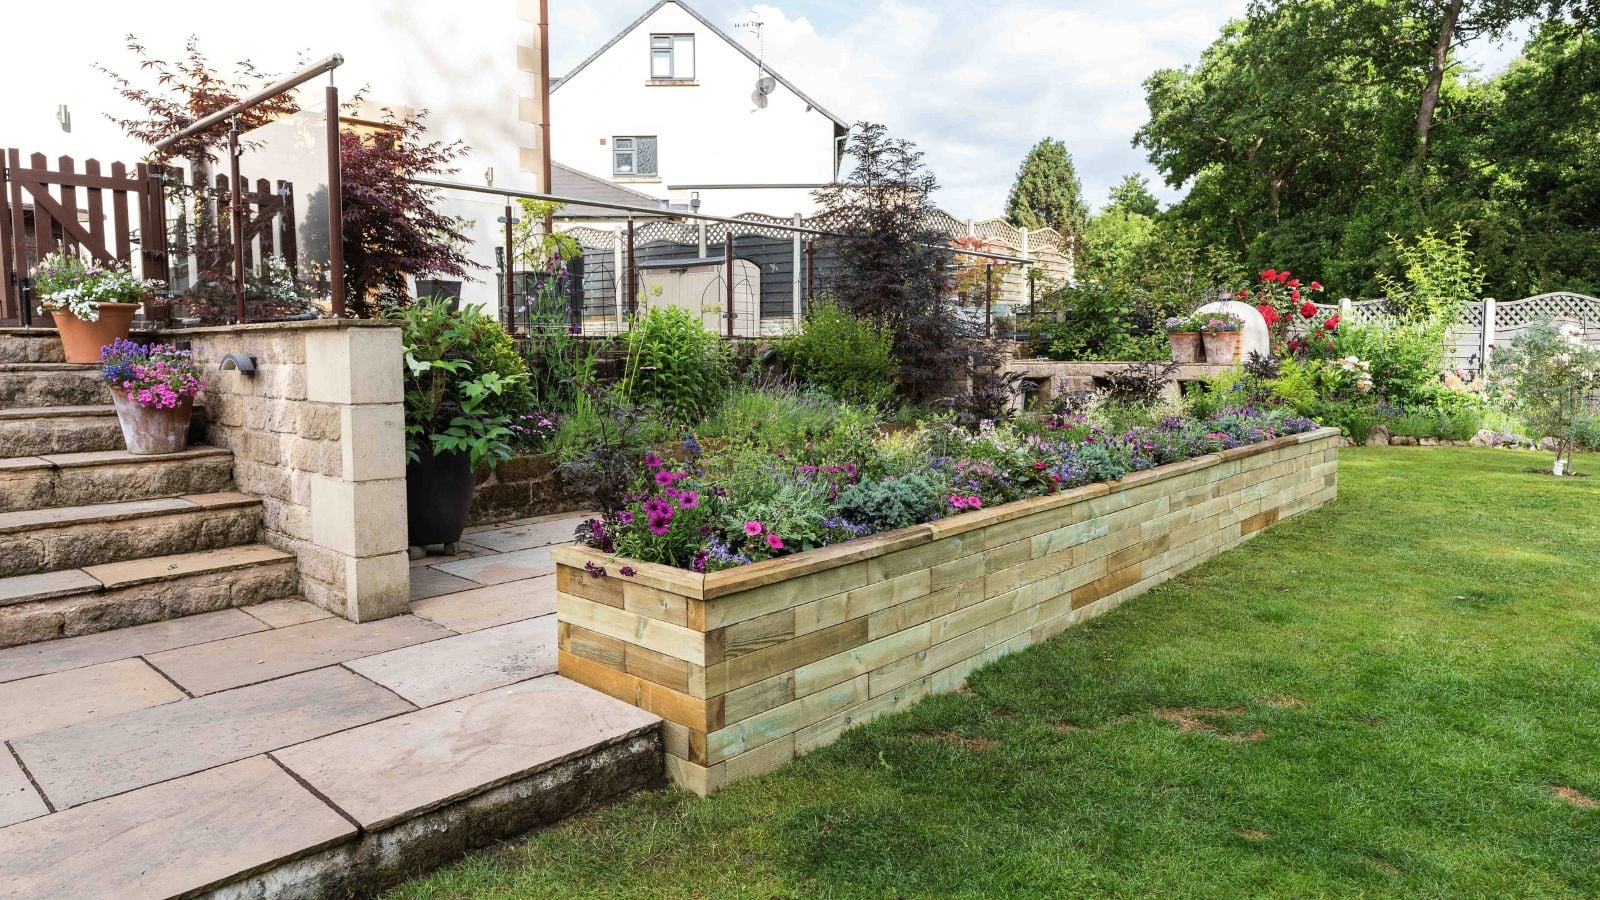
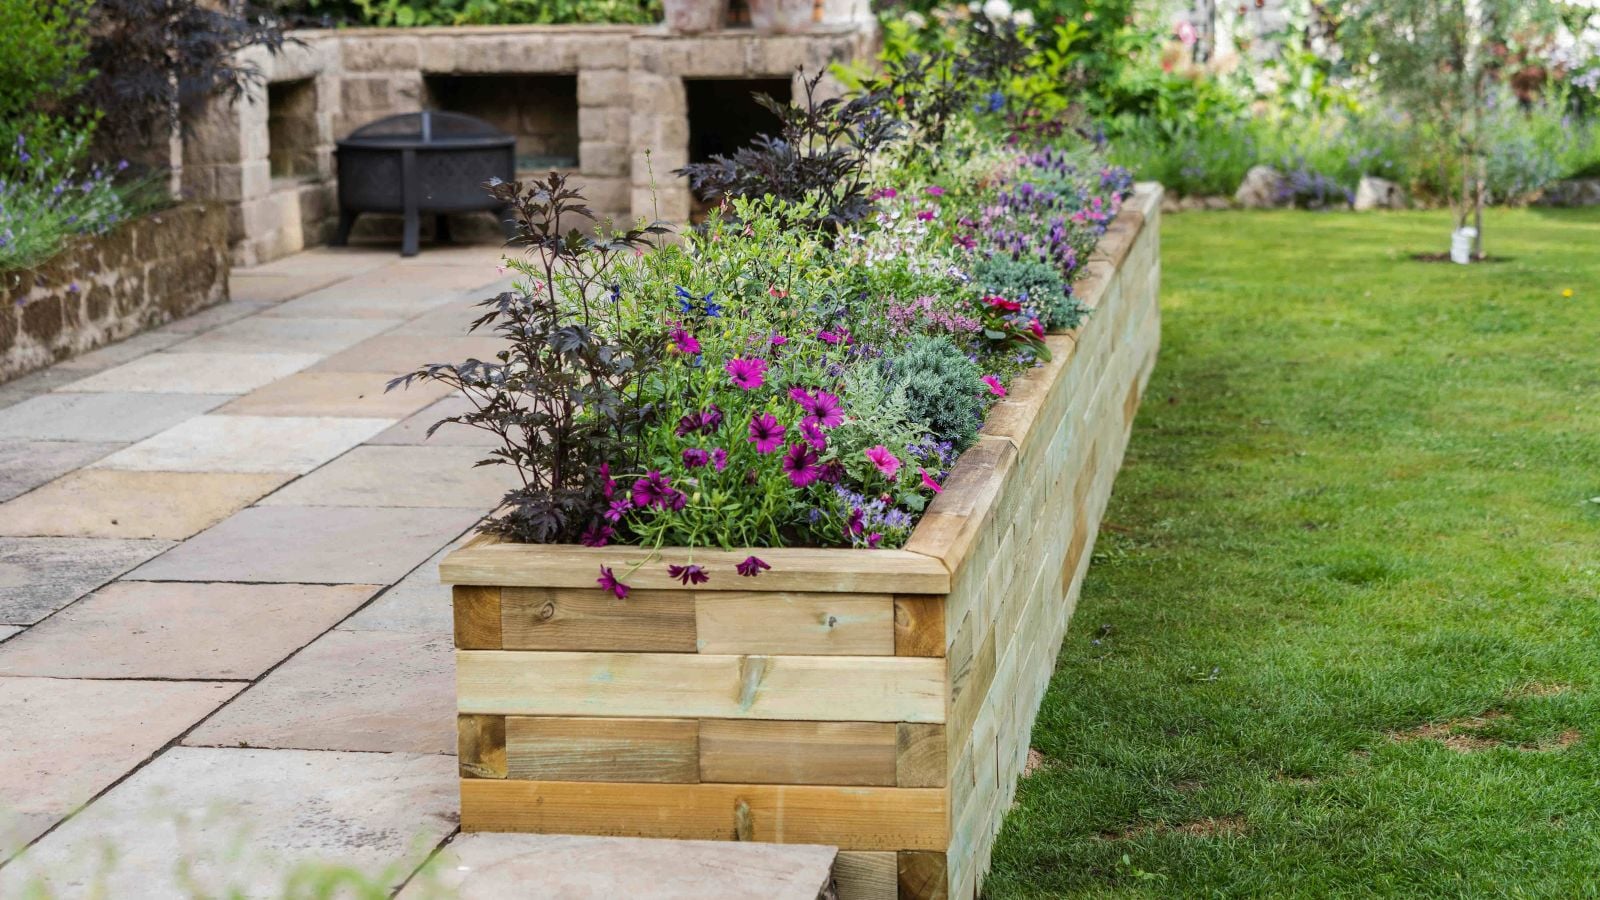
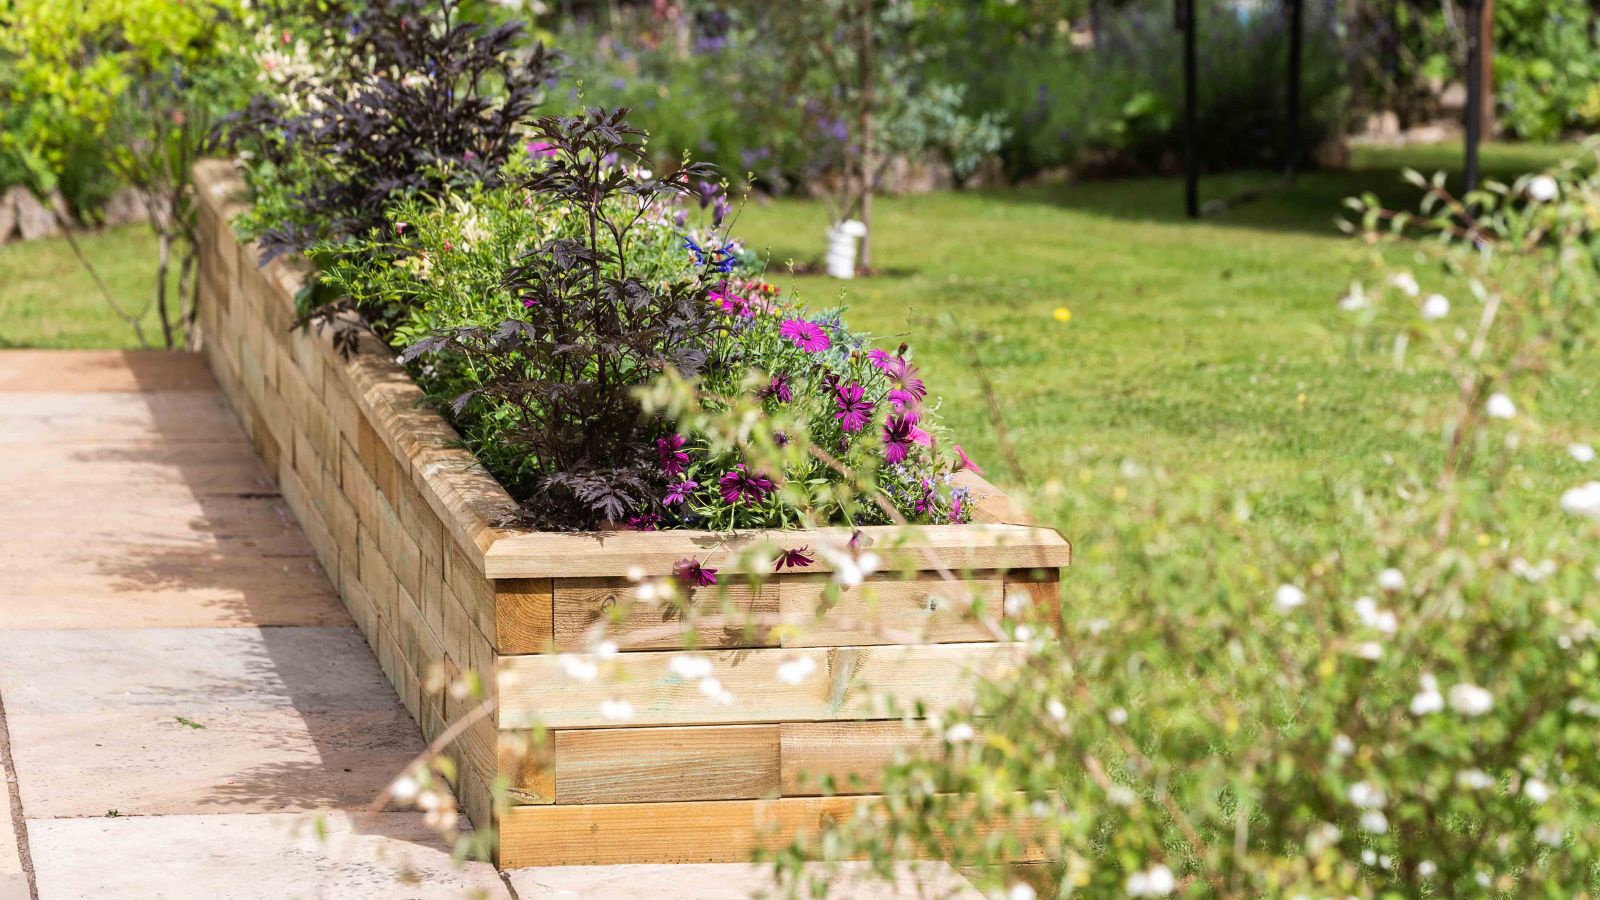
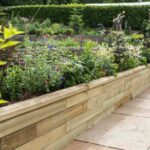
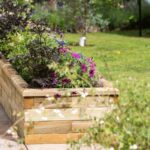
Jill’s finished wooden planter looks absolutely beautiful alongside the patio! Taking only a day to build and a morning to fill with plants, it carefully divides the space between the terrace and the rest of the garden, framing the threshold whilst creating a new focal point when sitting on the patio.
The natural wooden tones of WoodBlocX and choice of plants blend in beautifully with Jill’s garden, making the planter feel like it’s always been part of the terrace!
Jill has planted a huge variety of perennials and annuals to make sure there’s year-round interest and the clever planting layout looks just as great when viewed from either side of the structure. The position of the planter against the patio now zones the space, making it a wonderfully secluded area to sit and relax or enjoy a BBQ with the family.


Built in a day, enjoyed for years to come!
Jill said: “I’m thoroughly impressed with WoodBlocX and the quality of my finished planter. It's very solid and I’m sure it will last for years to come! Being able to choose my ideal size on the website was very straightforward and the printed instructions really help when building the kit. Leveling the ground needs some patience but once complete it’s a great DIY activity for the whole family to get involved with over a weekend - it feels like my raised planter has always been part of my garden!”

Build your own wooden planter
Choose your planter dimensions and get an instant price with delivery through our website. Everything you need to build a WoodBlocX planter is included with your kit - just follow the layer by layer instructions. It’s never been easier to transform your garden in a weekend!