How to build a no dig pond with WoodBlocX

Why choose a no-dig pond?
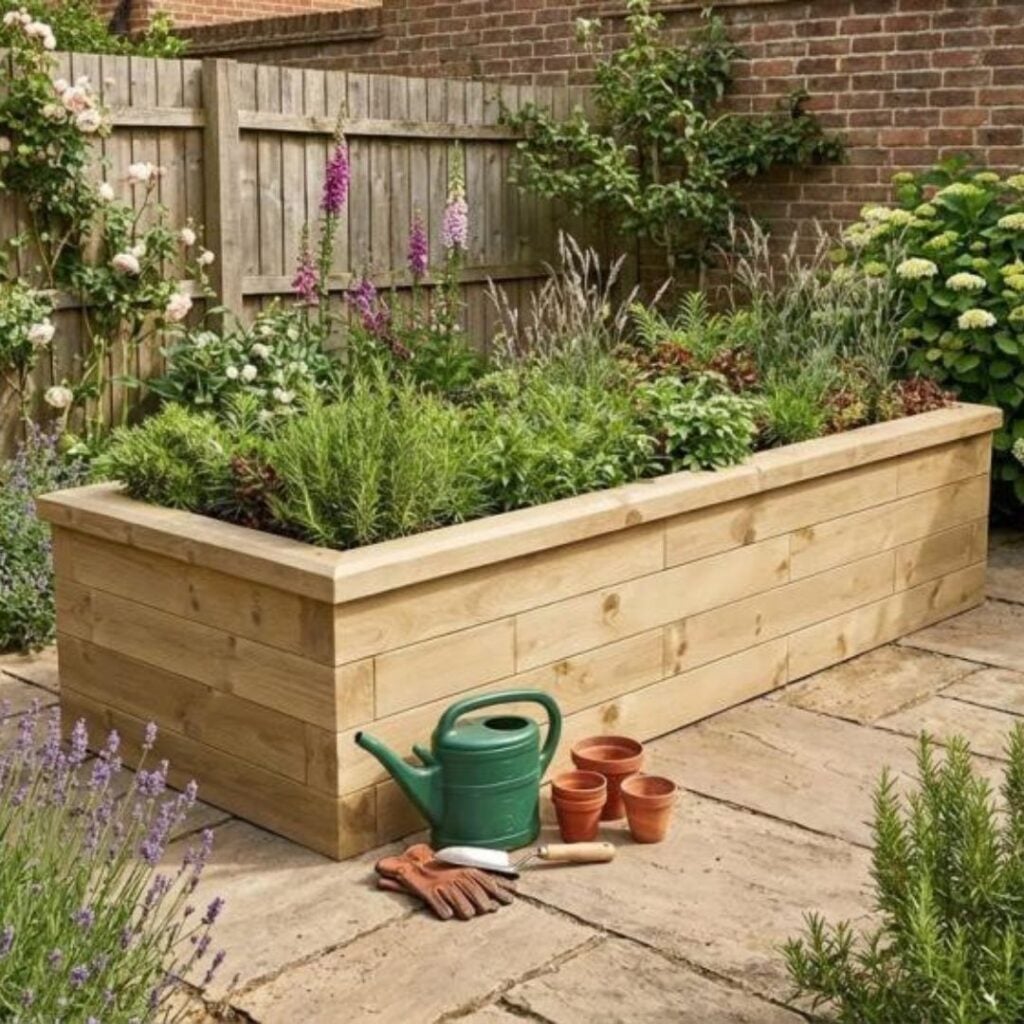
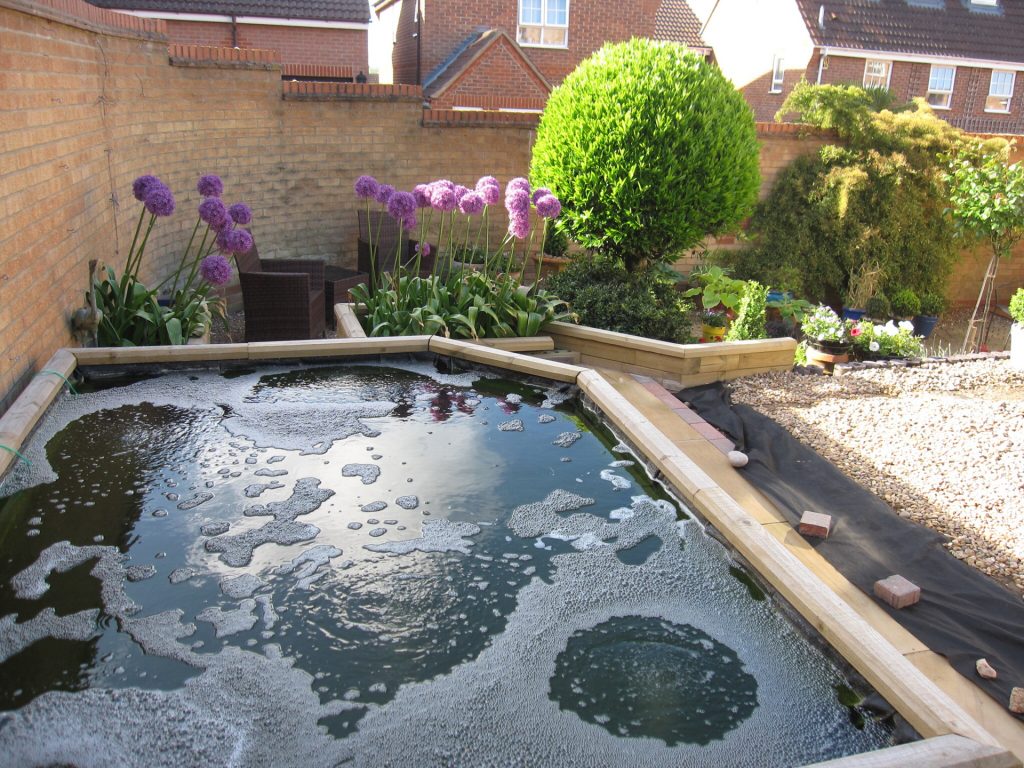
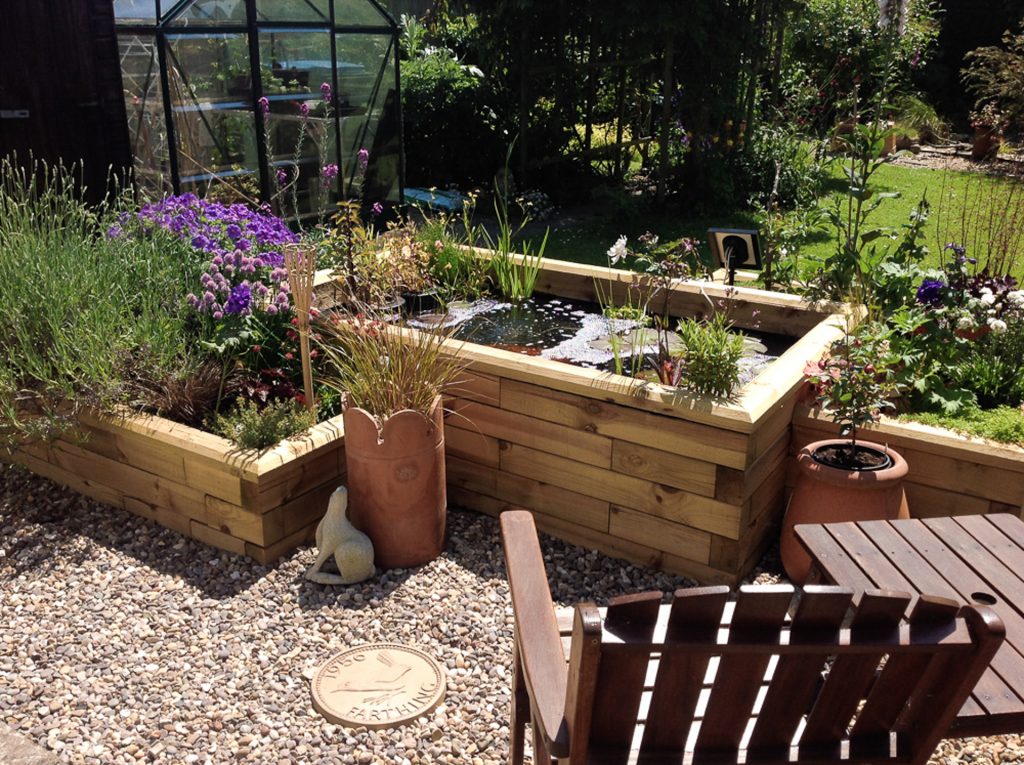
A no-dig pond lets you add water, wildlife and wow-factor without heavy excavation. Using modular WoodBlocX walls as a strong, attractive surround, you can build above ground on top of firm, levelled ground, protecting services and tree roots while keeping mess to a minimum. It’s ideal for town gardens, rented homes and tight access sites.
At-a-glance benefits
• Minimal ground disturbance • Fast weekend project • Safe, straight or curved designs • Long-lasting, replaceable components • Perfect for wildlife or formal rills • Works on patios, decks and courtyards.

What you’ll need
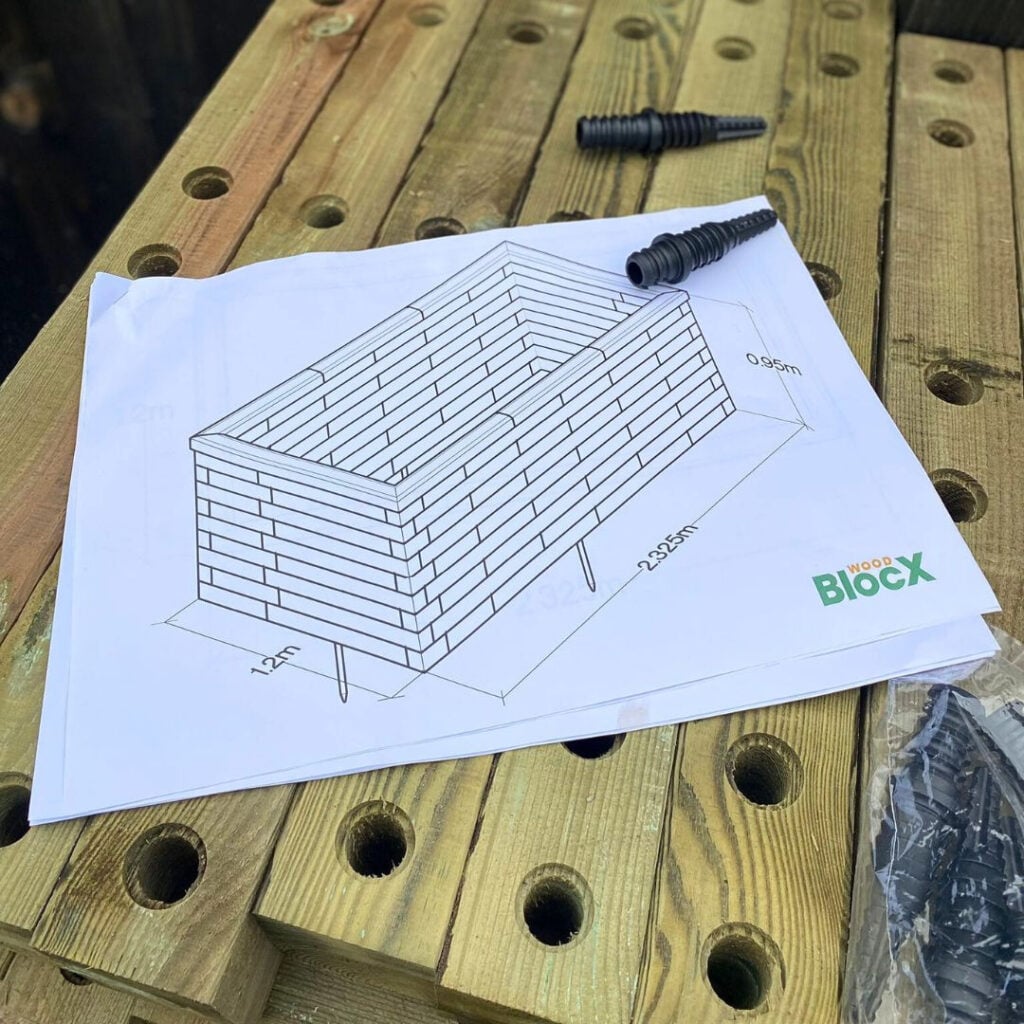
WoodBlocX kit (pre-designed pond bundle or custom design), liners and underlay, spirit level, straight edge, tape, ground protection boards (for lawns), broom, geotextile, sharp sand or fine screenings, scissors/knife, hose, buckets, aquatic compost, gravel for capping/margins, and pond plants.
For a tailored kit and a full cut list, use our Free Design Service.
Before you start: plan & prepare
• Choose the spot: half-day sun is perfect; avoid overhanging deciduous trees.
• Check services: confirm no shallow utilities under patios or lawns.
• Surface: a no-dig pond sits on top of a firm, level base: flags, concrete, compacted type-1 with sand blinding, or timber deck with adequate joist support.
• Safety: if children use the garden, consider a raised design, secure capping, and wildlife exit ramps.
• Permissions: in most UK gardens you won’t need permission, but listed properties or shared courtyards may have restrictions.
• Design help: see our WoodBlocX Pond page for standard sizes and corner/curve options.
Step-by-step: build the WoodBlocX surround

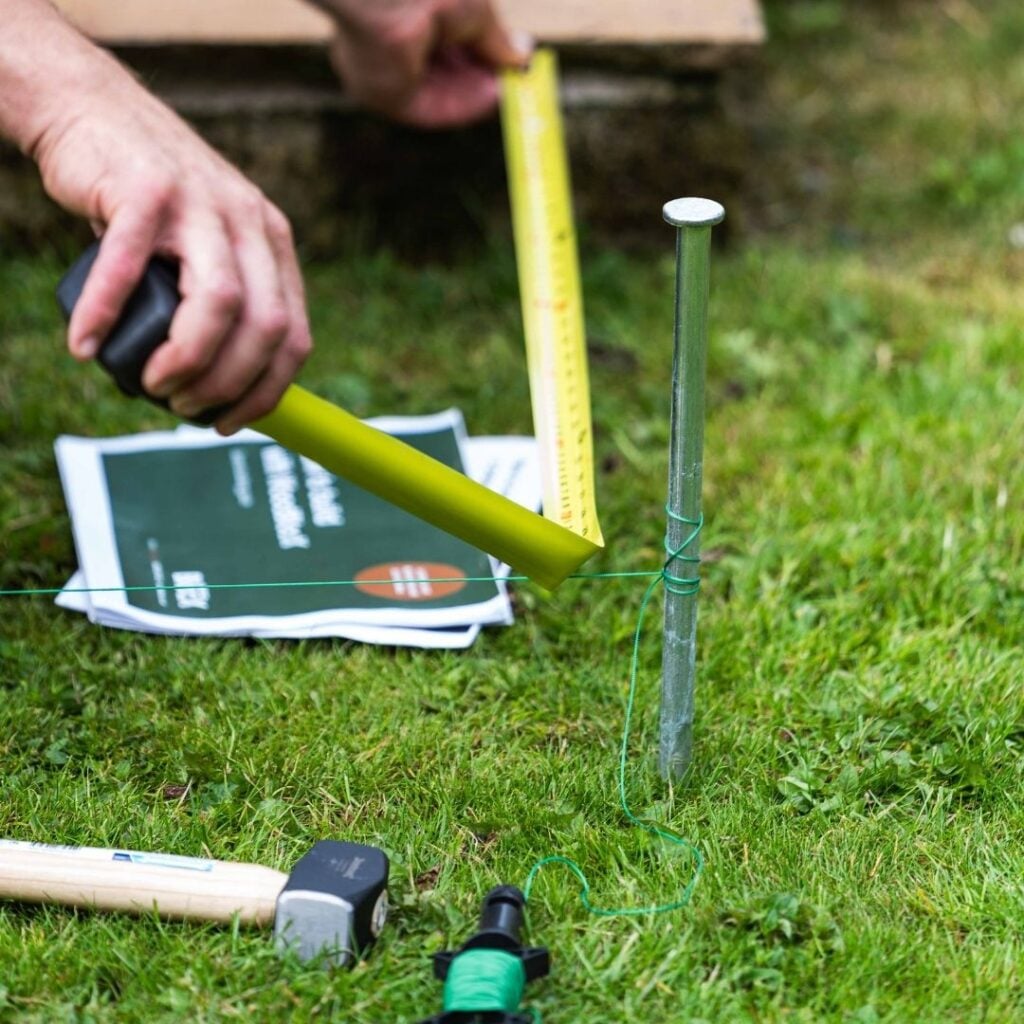
1) Set out — Mark the footprint with chalk or masking tape. Measure diagonals to square.
2) Level base — Brush clean; add a thin sand blinding to remove high spots. Check with a long level.
3) First course — Lay the first WoodBlocX course exactly to line. This course controls everything else.
4) Pin and dovetail — Drive the supplied pegs/pins through pre-drilled holes per the kit guide.
5) Build up — Add subsequent courses, staggering joints for strength.
6) Brace corners/long runs — Fit corner blocks and internal braces as shown on your plan.
7) Cap — Dry-fit the capping to test overhangs; remove for liner fitting.
For general assembly principles, see our Assembly Guide.
Fit the underlay & liner
8) Cushion layer — Line the base and walls with quality underlay (or doubled geotextile).
9) Liner drop — Centre the flexible EPDM liner with generous slack at corners and rim.
10) Pre-fill shape — Add 50–75 mm of water to settle folds. Smooth pleats towards corners, never stretch tight.
11) Trap the liner — Refit capping to clamp the liner neatly; trim excess leaving a safe return under the cap.
12) Conceal edges — Hide any exposed liner behind capping, planting pockets, or gravel shoulders.
Need help choosing a liner size? Our team can calculate this with your kit — start here: Free Design Service.
Fill, plant & finish
13) Fill slowly — Use a plate or bag to diffuse the hose and protect the liner shape.
14) Create levels — Use baskets or internal platforms (hidden blocks or bricks) for marginals at 10–20 cm depth; lilies at 40–60 cm.
15) Add life — Native plants (hornwort, water mint, marsh marigold) boost ecology. Avoid invasive species.
16) Finish surfaces — Cap firmly; add a narrow gravel shelf for birds and hedgehogs to drink safely. Fit a small wildlife ramp.
17) Optional features — A compact pump for a rill or blade can be hidden in a corner chamber.
Explore more inspiration on our Blog and see raised water features in our Gallery.
Design ideas you can copy
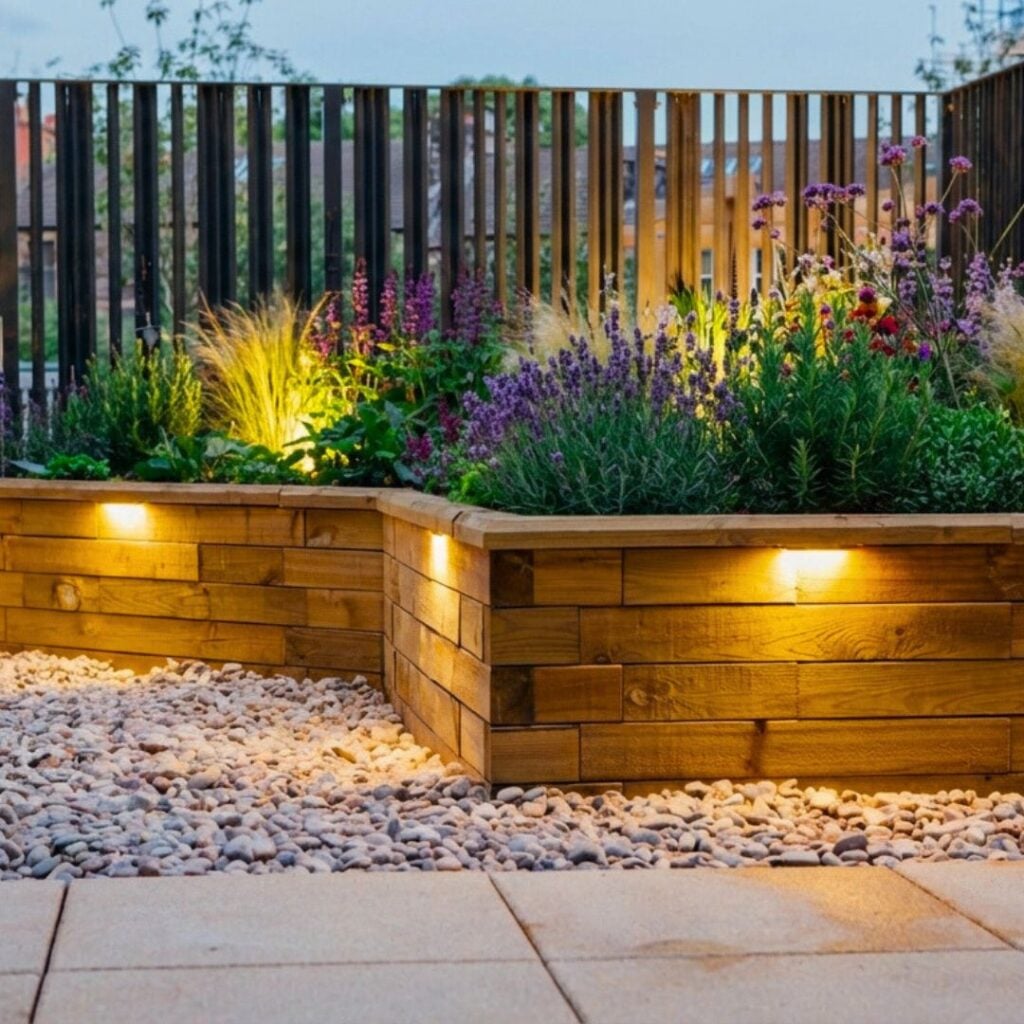
• Small terrace, London: slim rectangular rill along a boundary fence; slate capping; uplights.
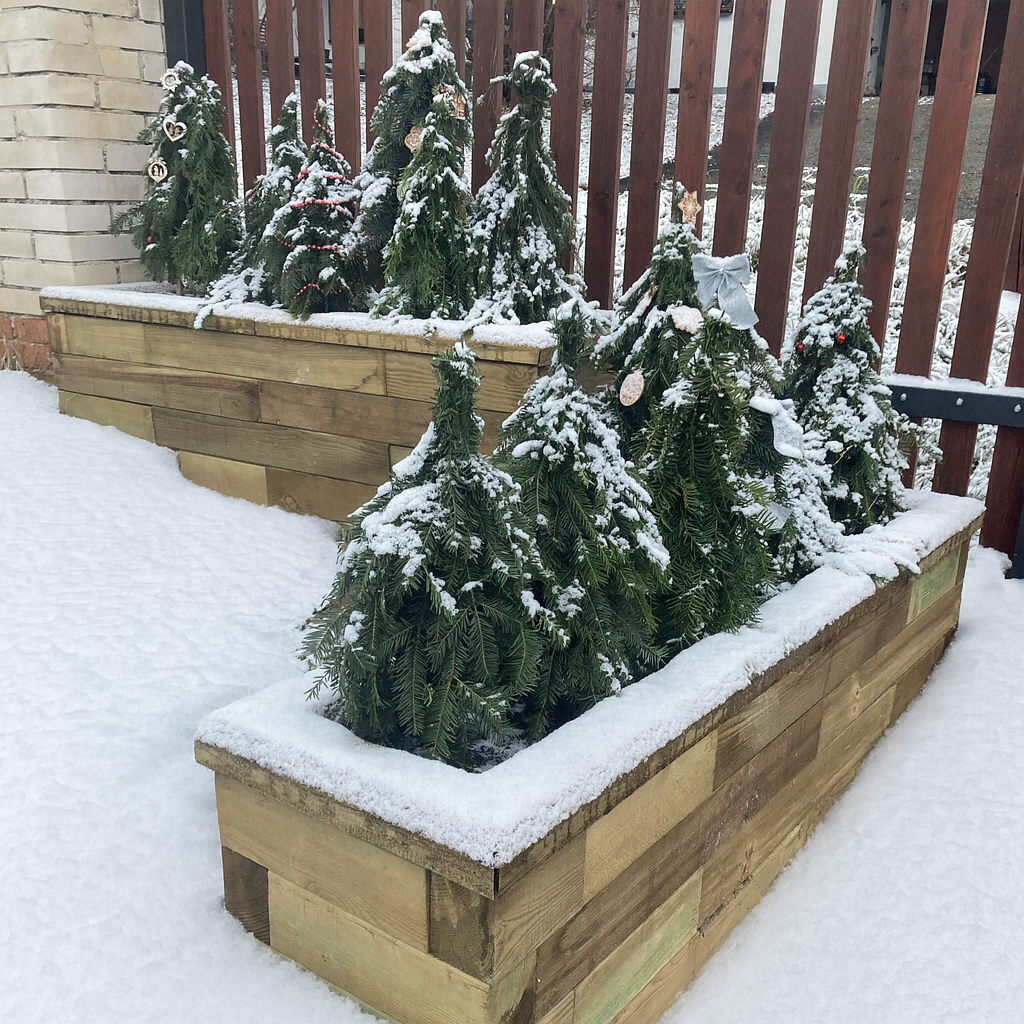
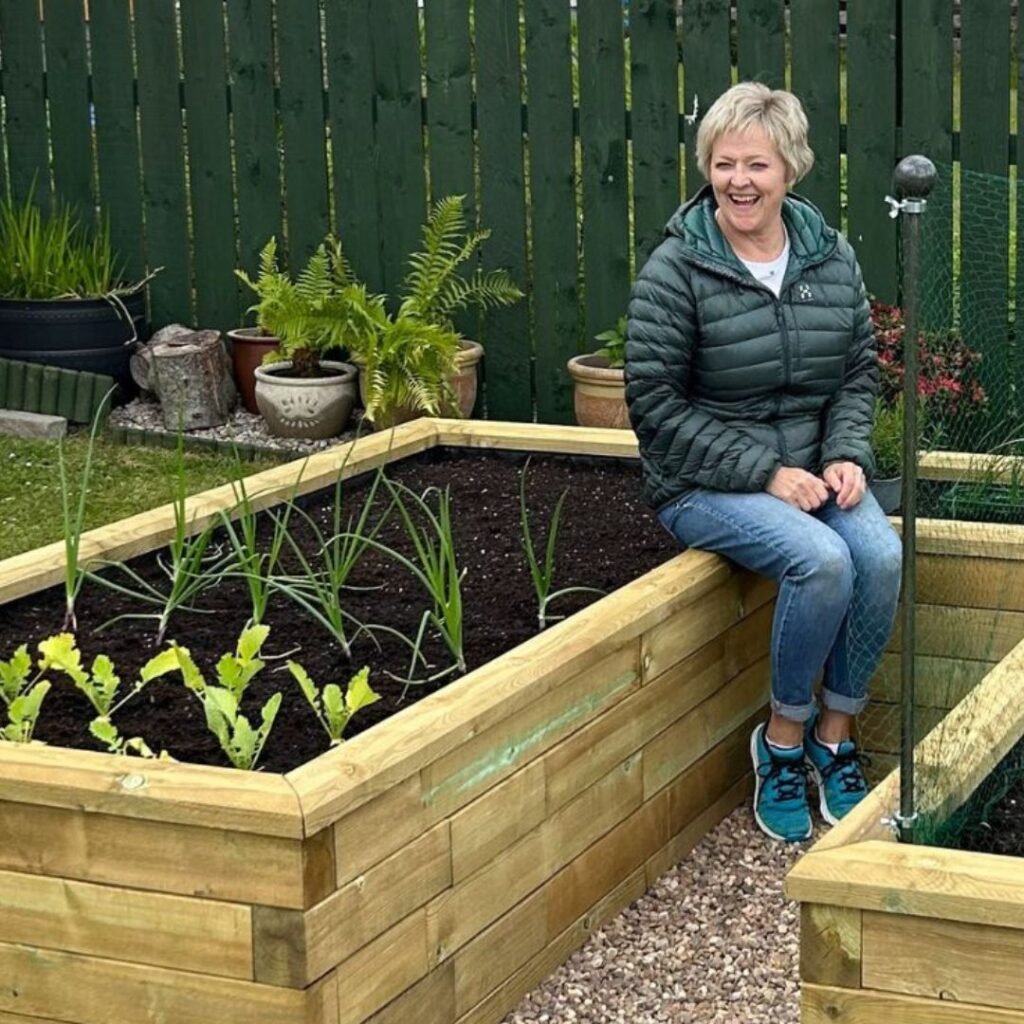
• Family garden, Glasgow: 600–700 mm raised wildlife pond with sturdy capping and integrated bench.
• Courtyard, York: square formal pond with a stainless blade; evergreen balls and grasses around.
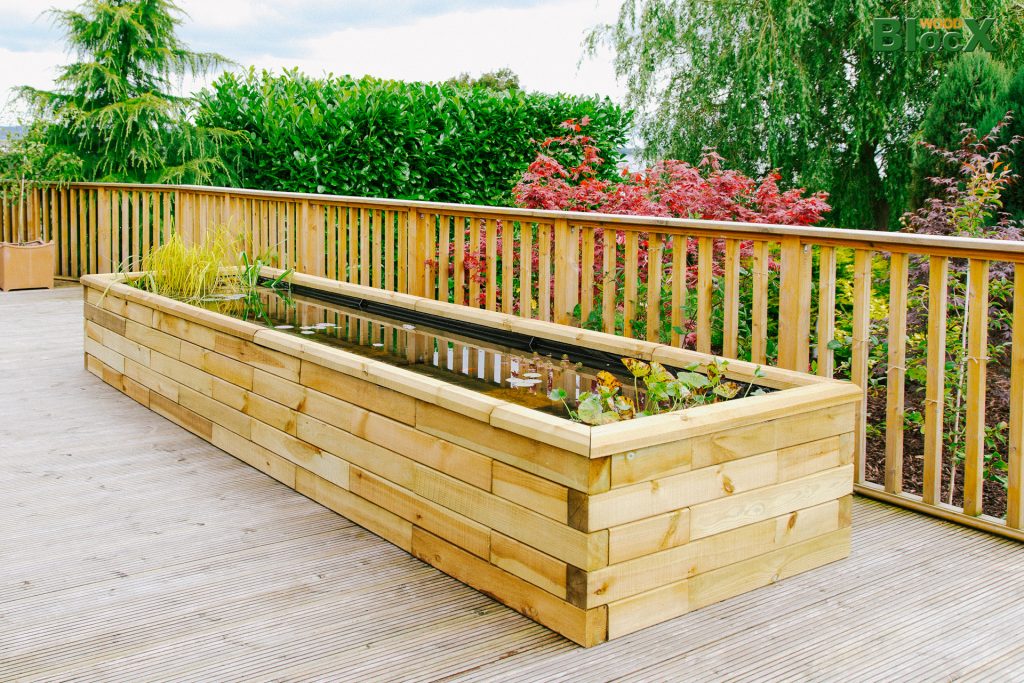
• Modern deck, Exeter: long, low trough pond parallel to boards; Japanese maple and iris for structure.
For bespoke shapes (curves, L-shapes, split-level), ask our designers: Free Design Service.

Maintenance: little and often
• Skim leaves in autumn; top up with rainwater.
• Thin oxygenators and marginals in late summer.
• In hot spells, add shade (floaters or a small pergola).
• Check capping fixings annually; WoodBlocX components are replaceable if ever damaged.
Read more tips in our How-to articles.
Common mistakes to avoid
• Building on an uneven base — spend time levelling the first course.
• Pulling the liner tight — always allow slack for settlement.
• Over-stocking fish in small wildlife ponds.
• Forgetting wildlife exits — always include a ramp or shallow shelf.
• Using standard compost — use aquatic compost in baskets.
FAQs
Aim for 40–60 cm in at least one area for thermal stability and lilies, with 10–20 cm marginal shelves.
Yes, provided the deck and joists are structurally sound for the filled weight. Spread load with boards under the frame.
Not for wildlife ponds. Gentle movement helps in small formal features; hide a compact pump in a corner chamber.
WoodBlocX is engineered for outdoor longevity. Components are easy to maintain and individually replace if ever required.
Ready to design your no-dig pond?
Start with a free concept and quote in 24–48 hours. Share your sizes, photos and wish-list and we’ll do the rest.