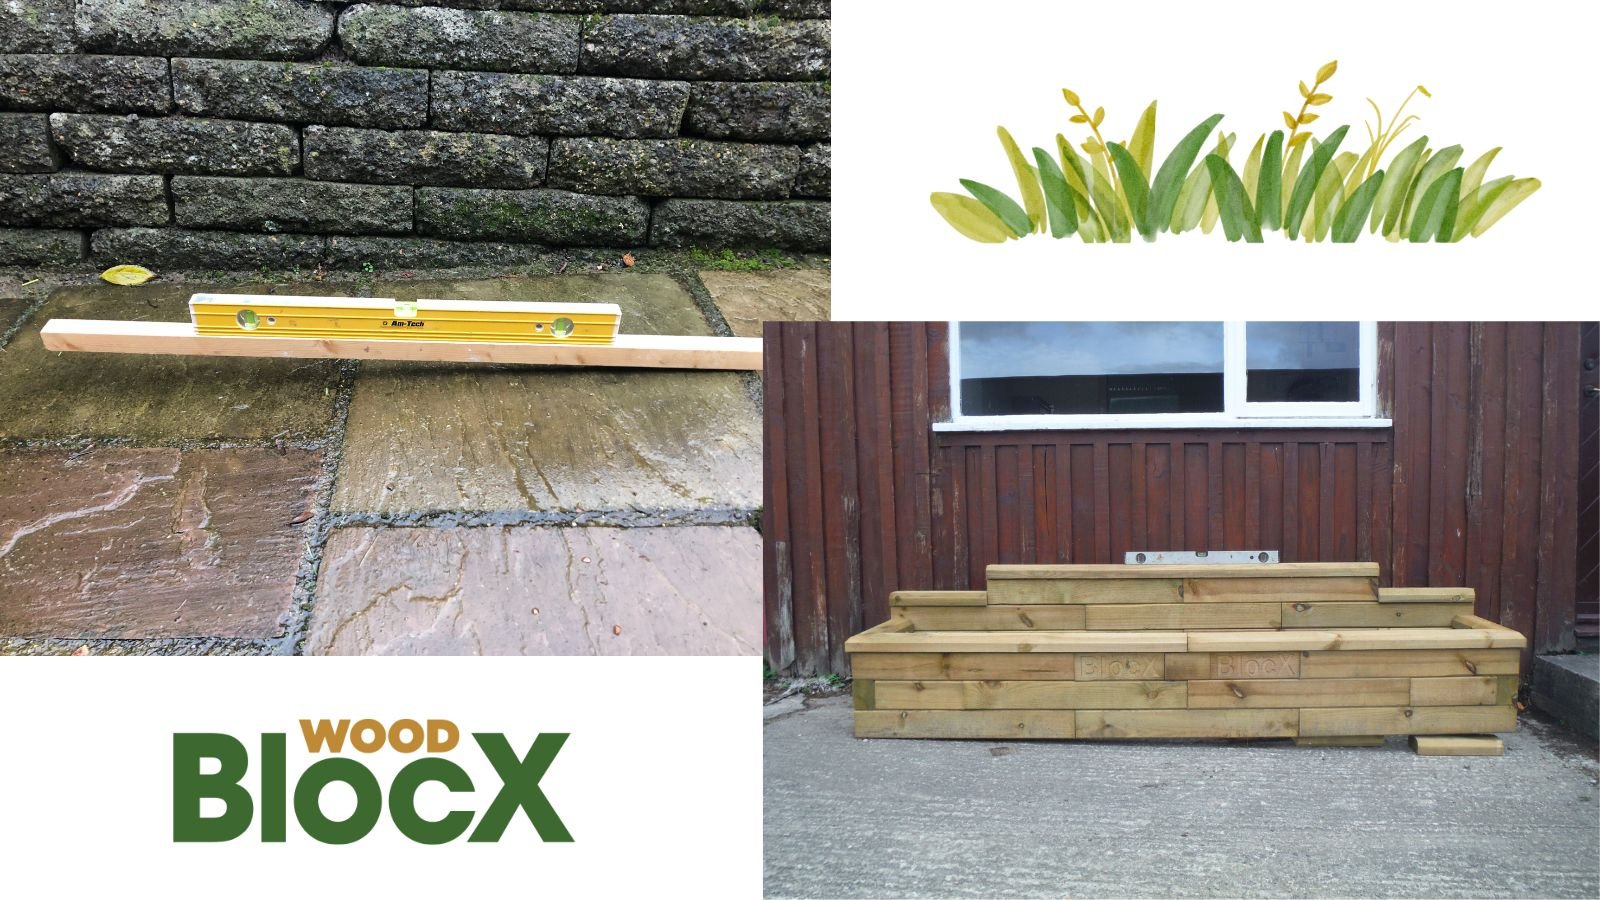
How to level your WoodBlocX planter on a hard surface
Step-by-step guide to leveling your raised planter on a sloping concrete base
If you have the perfect spot for a raised planter but the hard surface isn’t level, we’ve got a tried and tested DIY fix for your WoodBlocX project. Using a few planks of wood, a spirit level and some concrete, you can ensure your WoodBlocX structure is plumb and looking good before planting!
This method is only suitable for our smaller planters that can still be moved and lifted slightly once built. For large planters, it’s vital your ground surface is levelled correctly before you start as building on an uneven surface will cause alignment problems later in your project – read our General Building Guide for more information.
Building on challenging surfaces
With many driveways and patios having a slight slope to prevent water pooling, they can be challenging areas to build WoodBlocX. Rather than leveling the hard ground before building by lifting slabs or cutting into the surface (which can be incredibly difficult), the easier option is to build your planter first and level the structure once it’s complete.
We’ve created a step by step guide to leveling your raised planter on a sloping concrete base. This leveling workaround could also be used on other hard ground types such as tarmac, patios and paving.
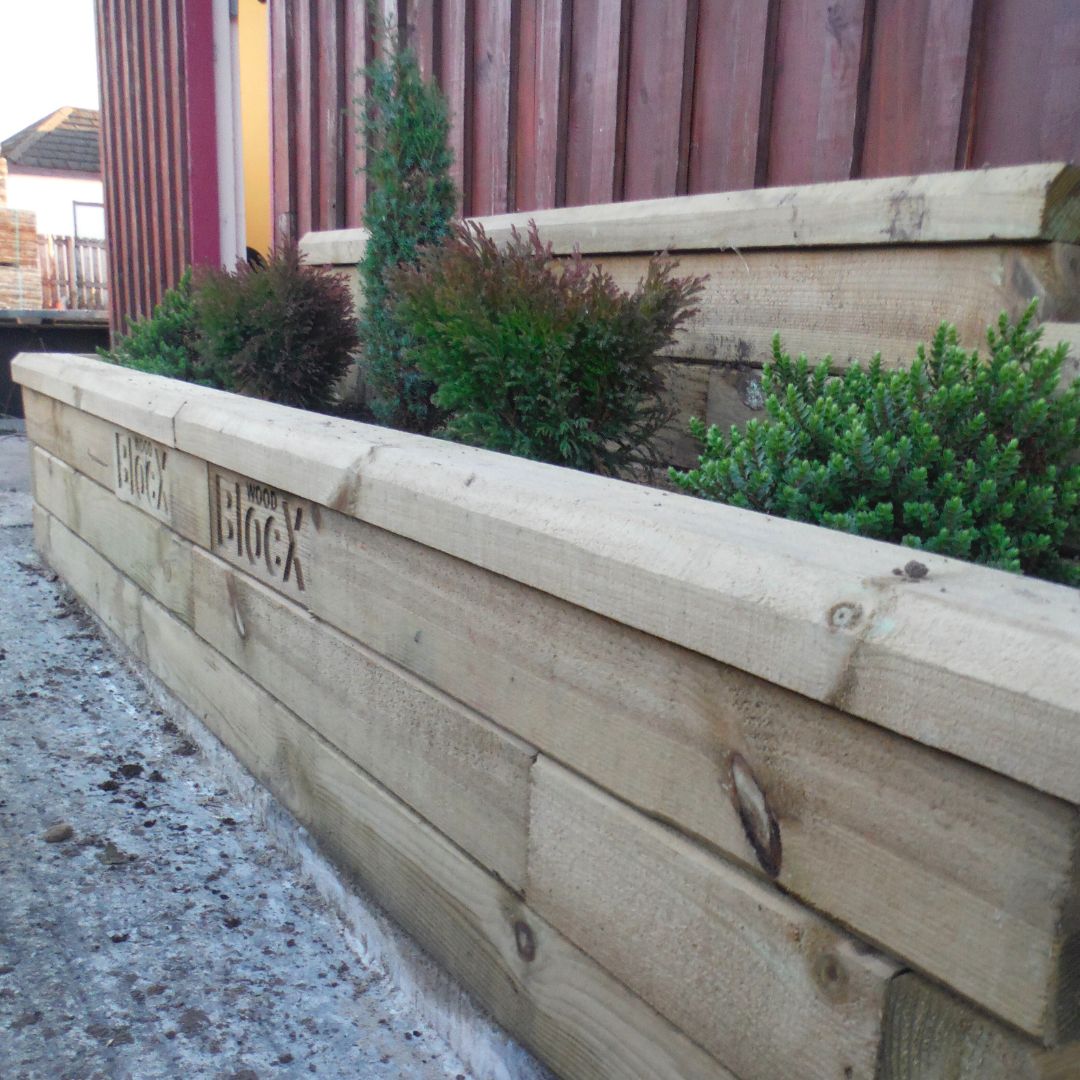
#1 Build your planter on the uneven hard surface
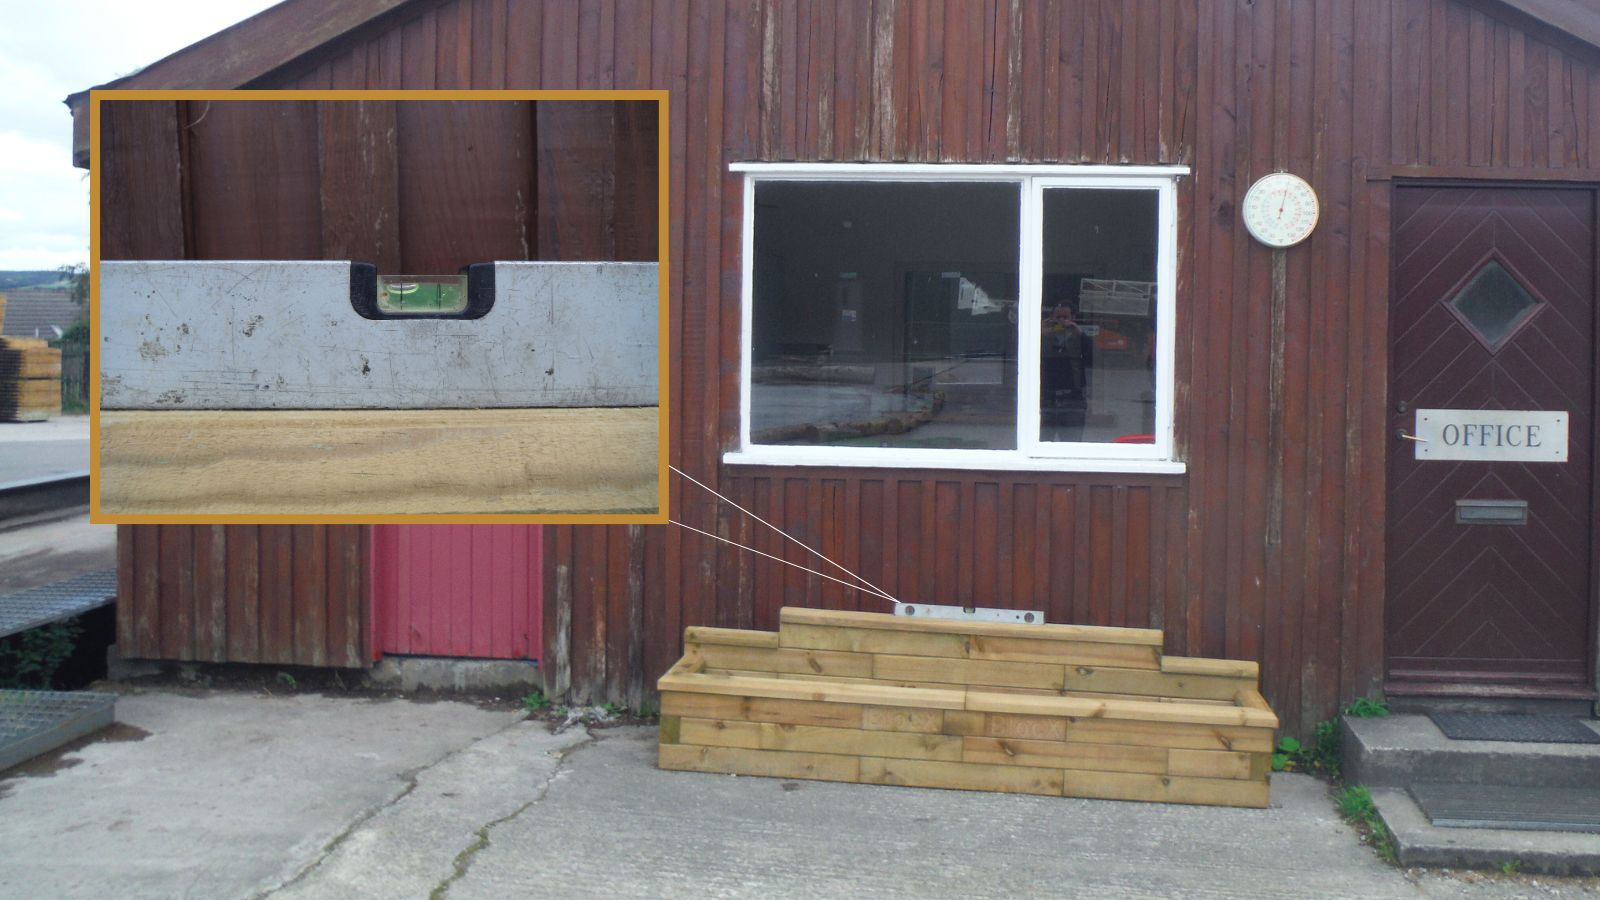
Following your kit’s layer by layer building instructions (which are attached to your order emails), build your WoodBlocX planter on the uneven surface. Normally, we recommend installing a protective liner under the capping layer, but for this type of project, it’s best to install it later.
Don’t install your angle floor brackets either as you need to make sure you can move the planter for the following steps – these ground fixings can be installed later.
At this point, you can use your spirit level to see how uneven your structure is. Even the tiniest slope can cause your planter to be a long way off plumb once it’s built!
#2 Level your planter by adding pieces of wood underneath
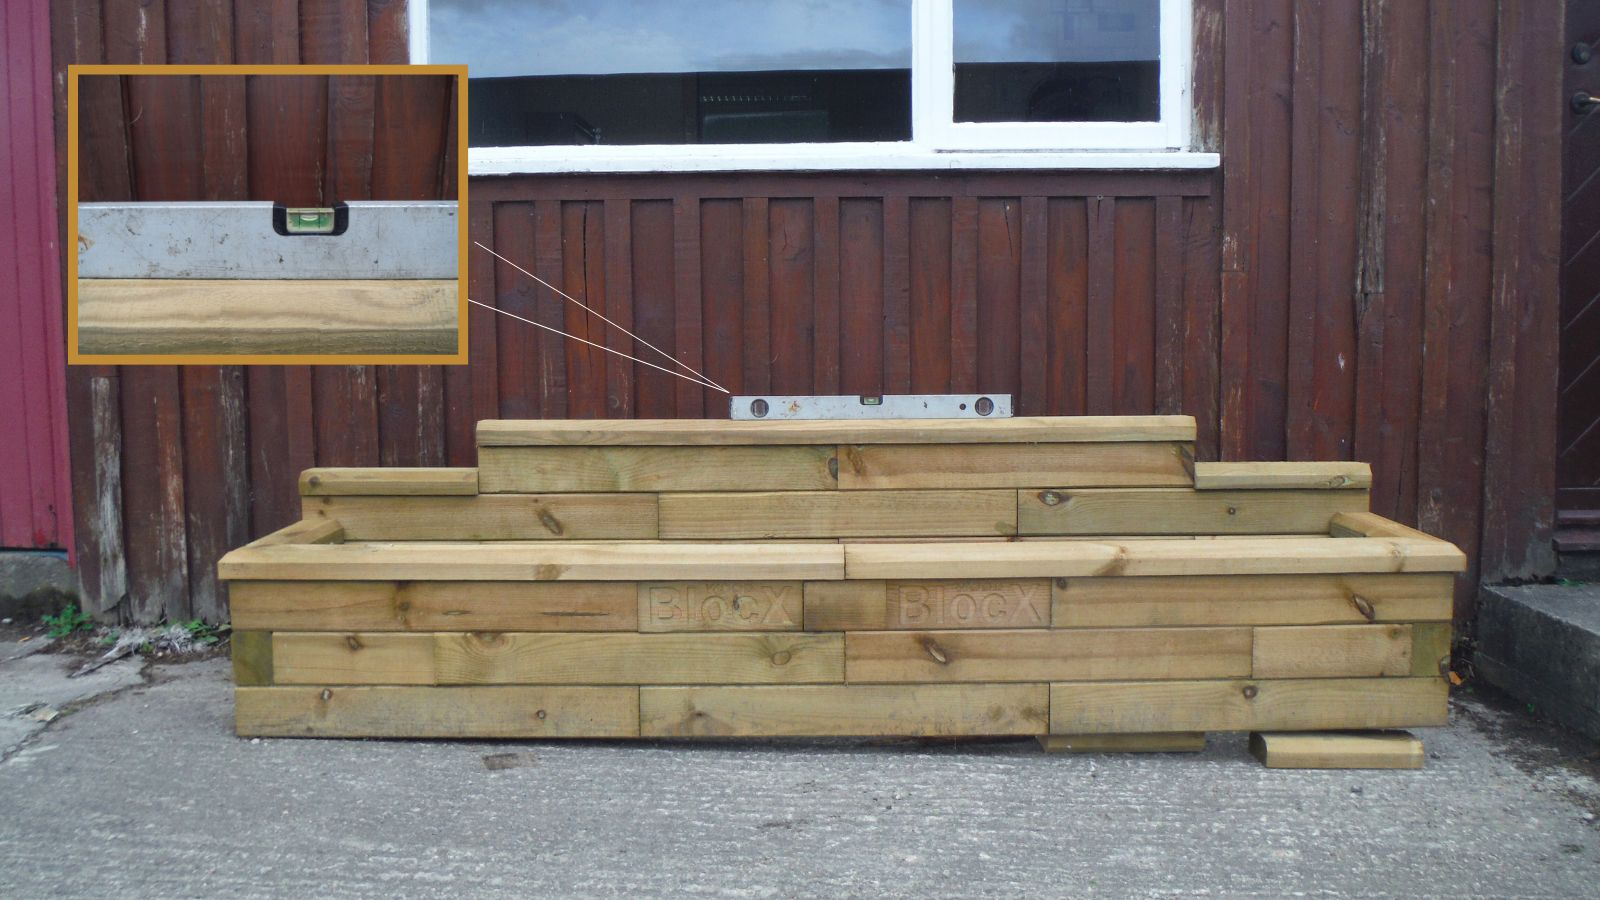
With your spirit level firmly in place on top, pack spare bits of wood underneath the perimeter of the structure to bring it level. If you don’t have any spare wood, use something strong and stable that can hold and support the weight above such as bricks.
These blocks underneath should finish flush with the planter and not protrude out at all – you will need to remove these supports from the inside later on.
It’s always helpful to have an extra pair of hands and eyes to support at this stage – it saves time double checking your spirit level as you pack around the edges!
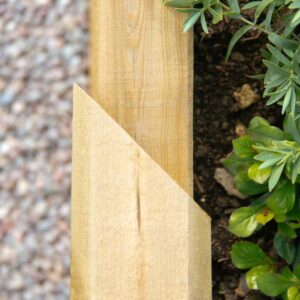
#3 Board around the outside of your planter with wooden planks
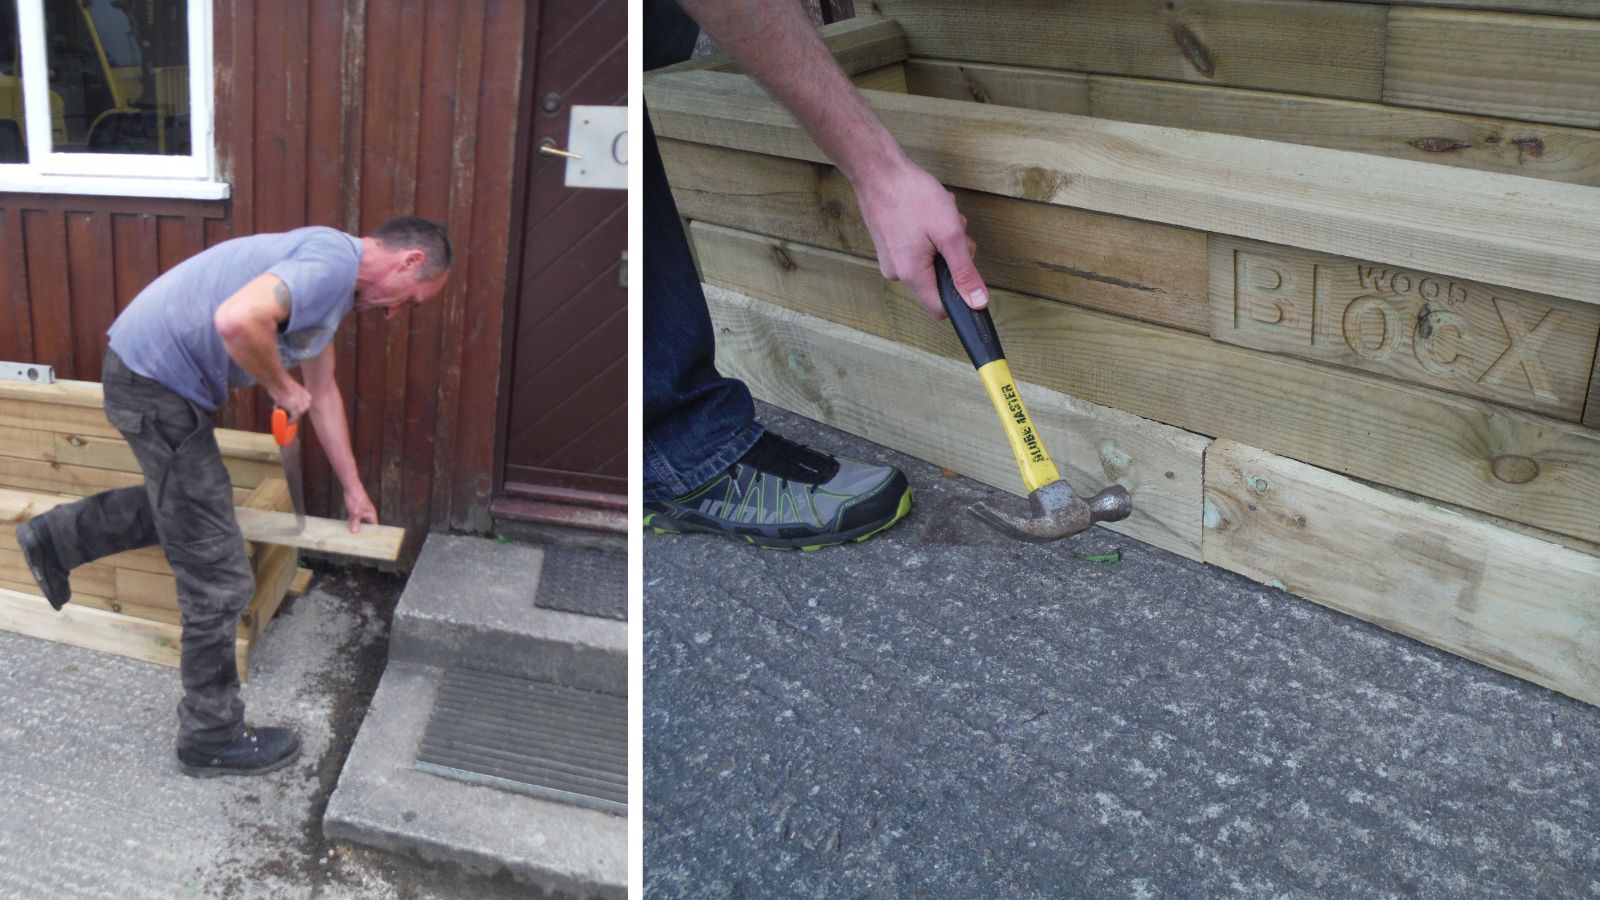
 After leveling the planter with spare timber, it’s time to board around the outside to create a container so the concrete doesn’t flow out when poured inside.
Long wooden planks cut down to size work best for this job – they need to sit flush against the hard surface and be fixed tightly to the planter. These planks will create a concrete form around the planter and hold the structure in place as the concrete sets.
Make sure you use planks wide enough to cover the height difference created when leveling the planter – any gaps will give the concrete opportunity to pour out! Attach the wooden planks to the planter with heavy-duty nails – this will limit the marks on show when you remove these planks post-concrete. Leave some nail poking out to make your life easier when you come to remove these later.
#4 Mix and pour concrete into the bottom (leave to set)
With your planter levelled and wooden form solid and secure around the outside, it’s time to remove your timber supports underneath the structure from the inside.
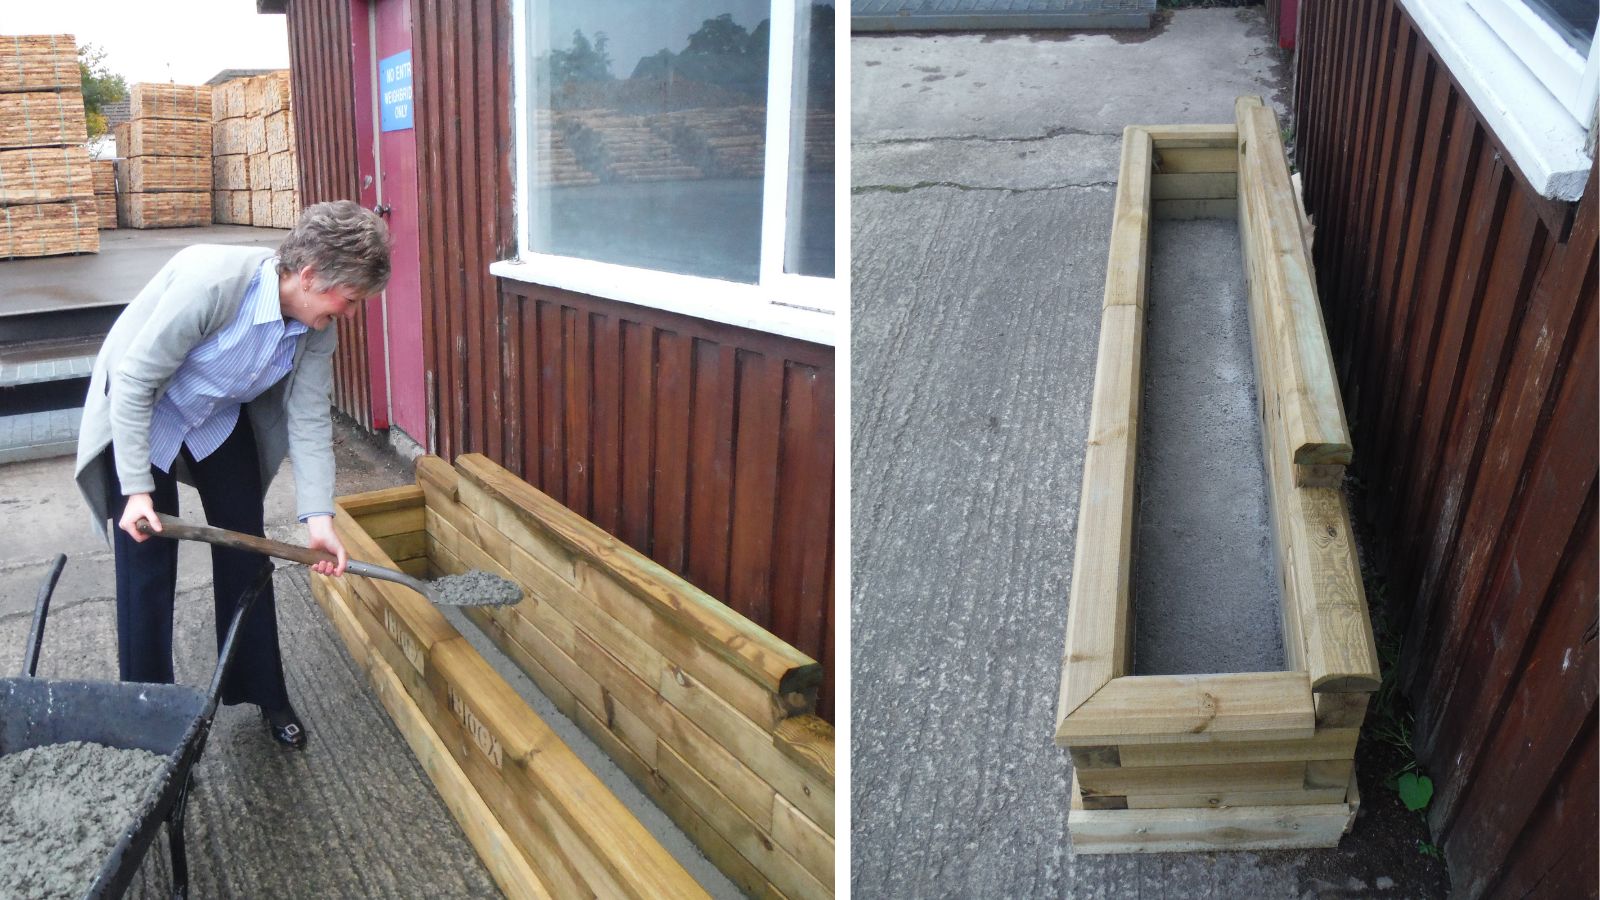
Following the manufacturer’s instructions, mix up and pour concrete into the bottom to fill the void created by leveling. You need to add enough concrete to fill the height difference between the floor and the first layer of WoodBlocX.
Using a wheelbarrow and spade is best so you can be careful not to get any concrete over the rest of the wooden planter. Make sure you push the concrete into all the gaps to create a clean and tidy finish against the form. Leave to set for the desired time.
#5 Remove the wooden planks, add ground fixings and install a liner
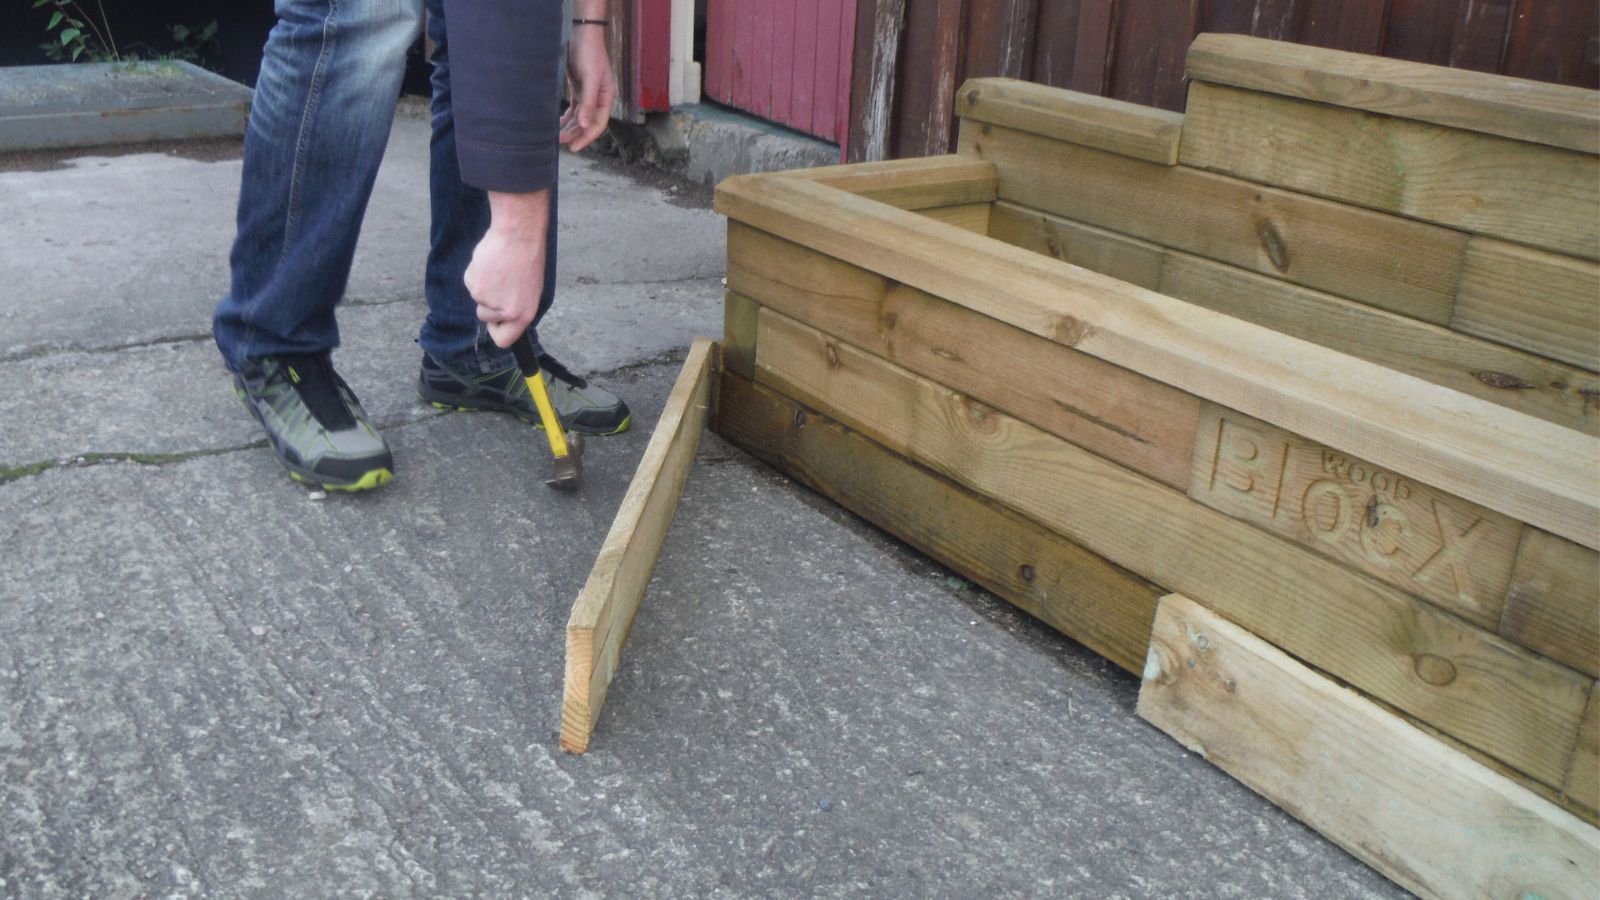
 Once the concrete has set, it’s time to remove the form you created with wooden planks. Work around the structure, using the back of your hammer to carefully remove the nails.
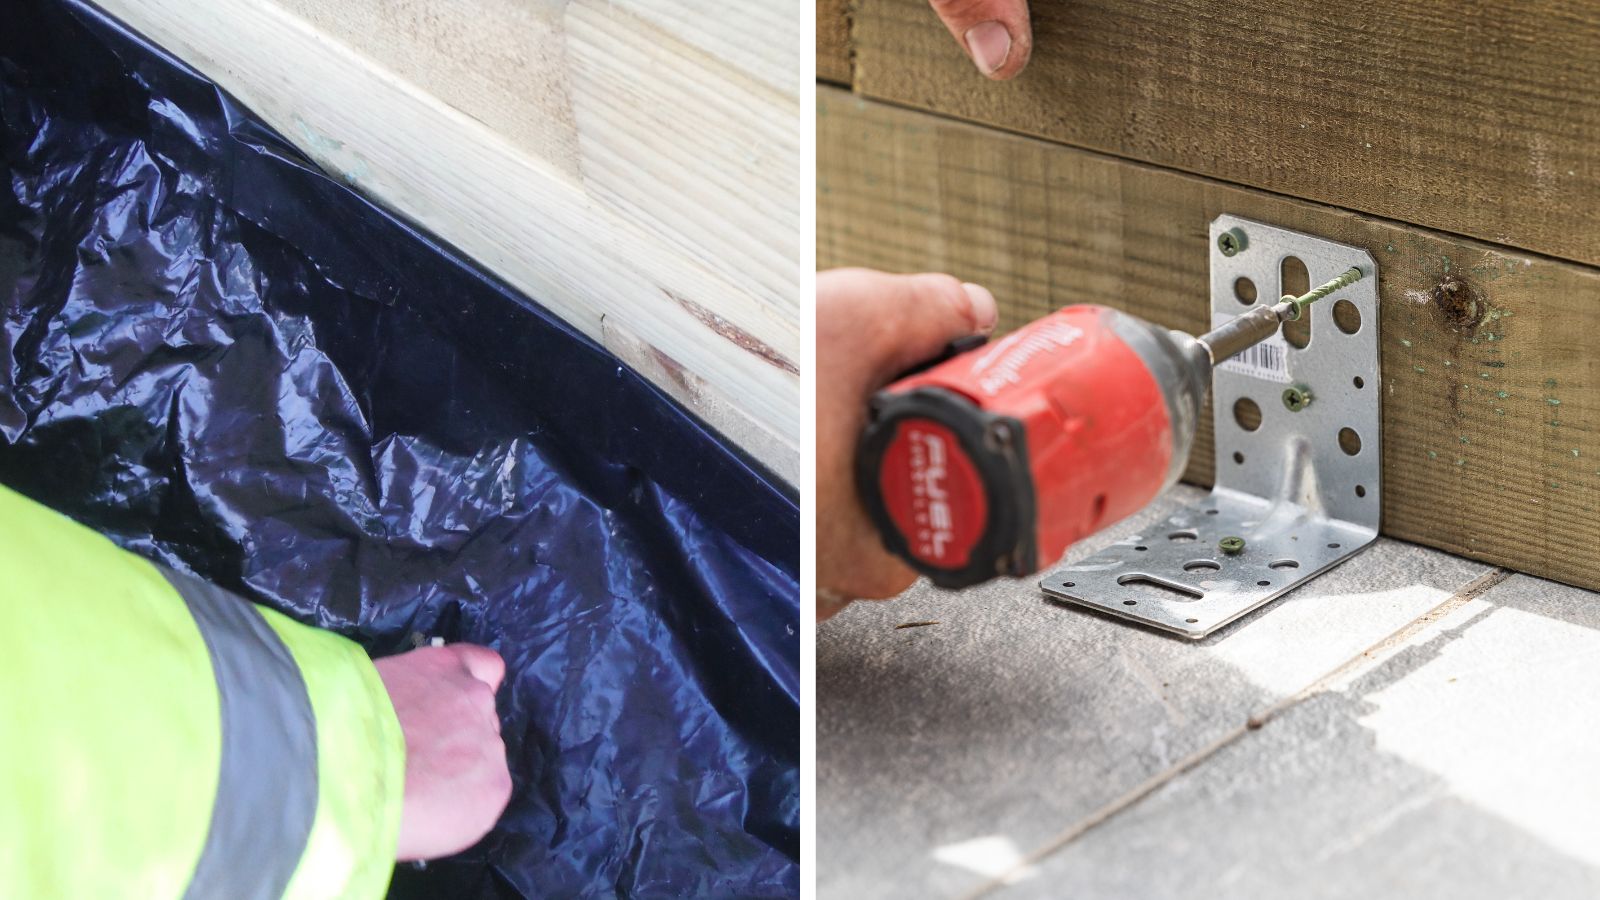
Although the planter is now sitting on a concrete form, it’s still best practice to install your angle floor brackets on the inside – attaching them to the hard surface and the first layer of WoodBlocX. These will provide extra support to the planter and stop any unwanted movement.
It’s vital you install a protective liner inside the structure to create a suitable space to contain soil and to also maximise the lifespan of your WoodBlocX. You can attach the liner inside up to the height of the capping layer using a staple gun or nails. Don’t put drainage holes in the bottom of the liner as this water will have nowhere to go – instead, you should create a deep gravel drainage layer (minimum 15cm depth) to help disperse excess water.
#6 Fill with soil and plant up!
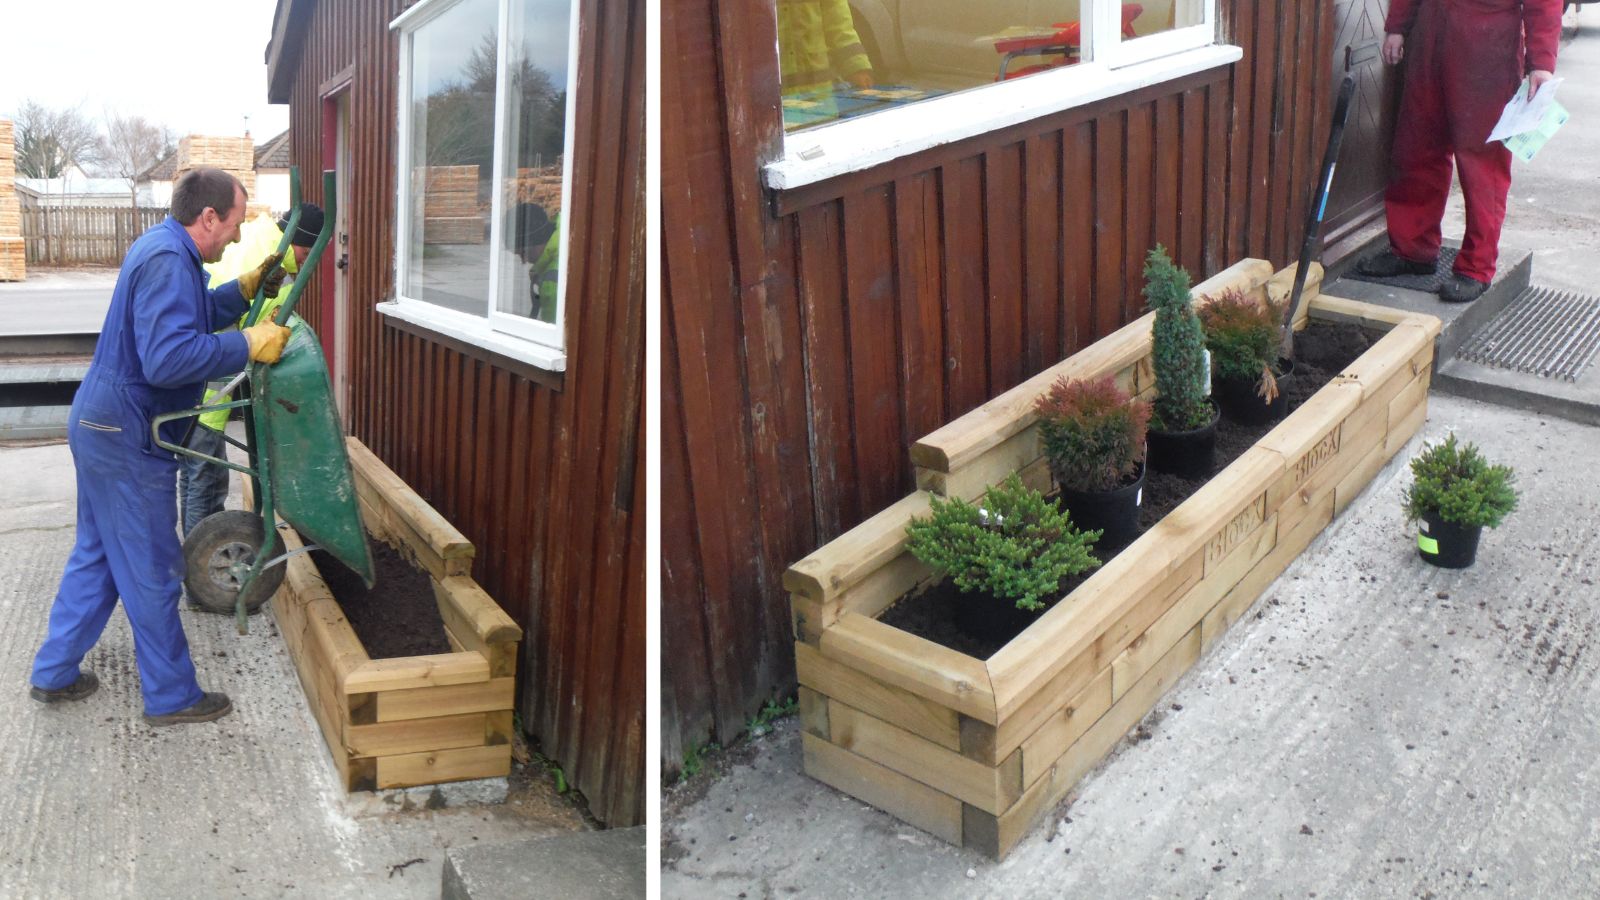
After you have lined the planter and added a suitable drainage layer, it’s time to plant up!
We always recommend using a high-quality raised bed soil mix to give your plants the best possible home. Our team can help you work out how much soil your WoodBlocX project needs, just contact us.
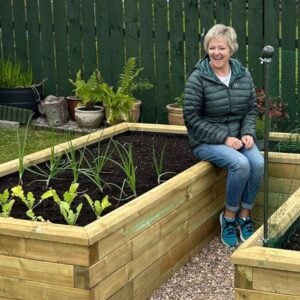
For this project we planted a mix of hebes, conifers and heathers, many of which are evergreen, to ensure the planter is always interesting throughout the year. Plants always grow faster than you think so leave plenty of space around each plant for new growth.
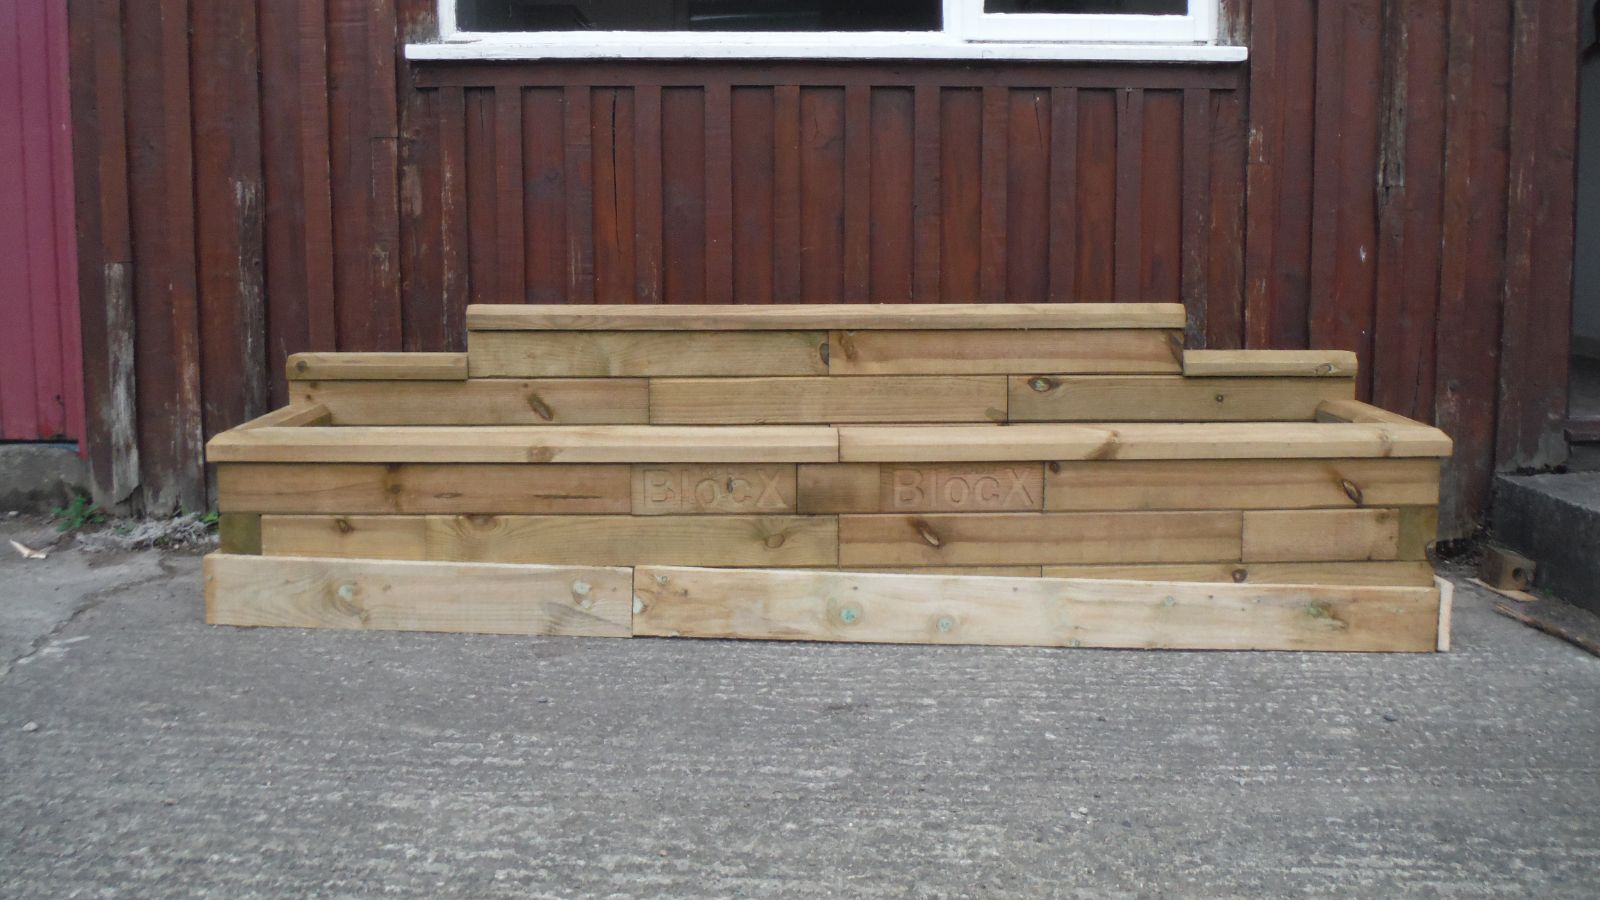
Job done!
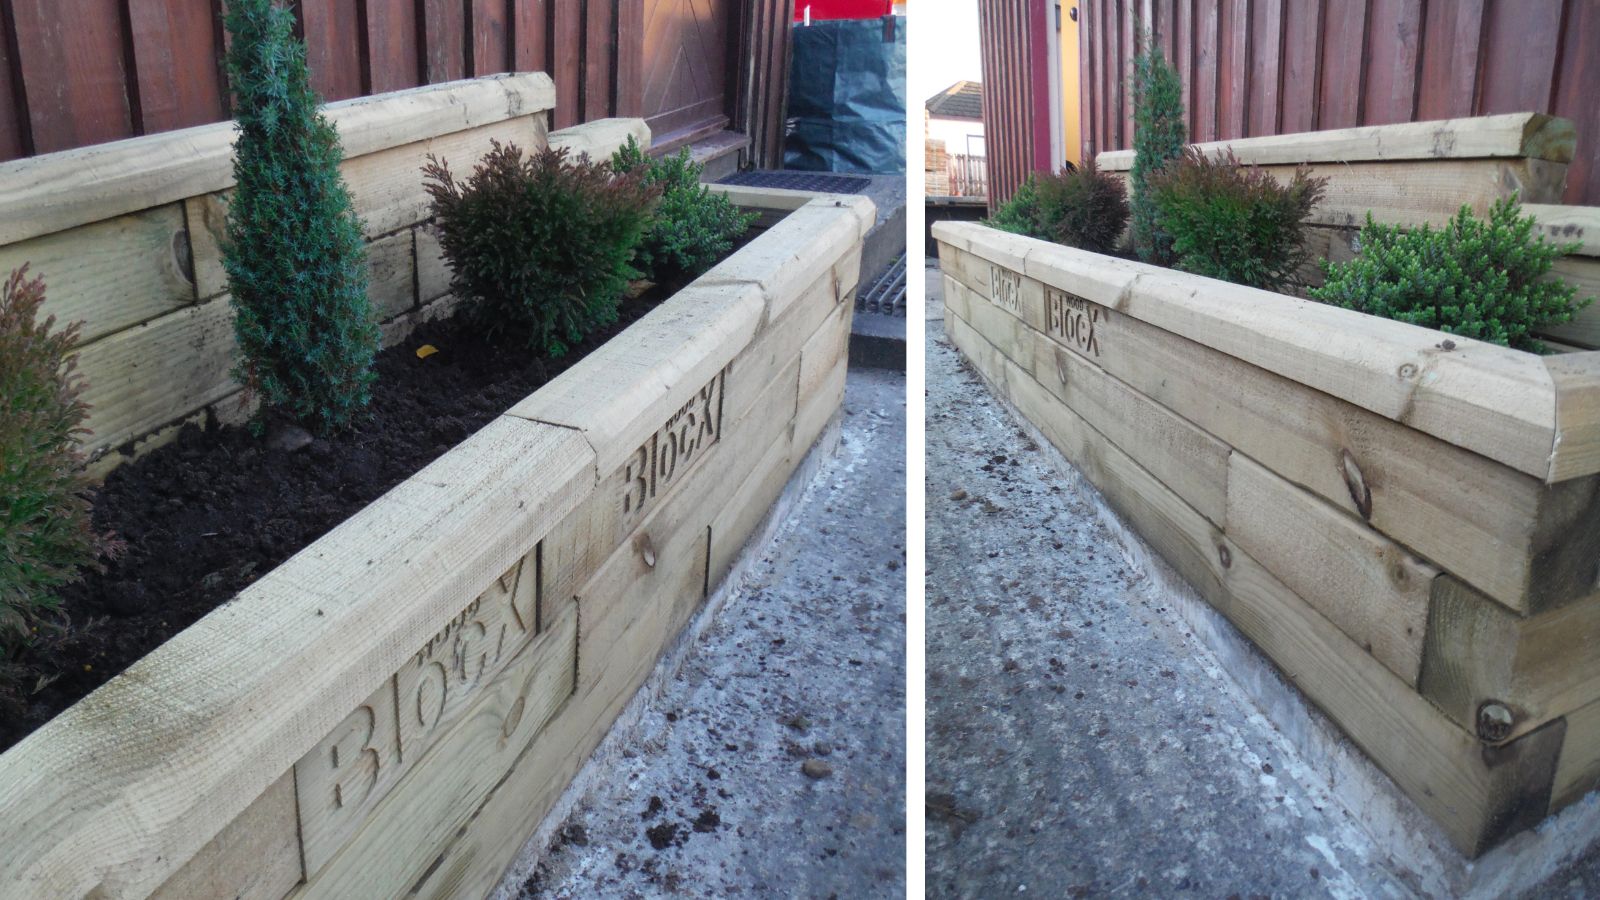
Congratulations! You’ve finished your WoodBlocX project. Now it’s time to show off your new planter and enjoy it for many years to come.
For more inspiration, visit our Customer Garden page where you’ll find before and after photos of more great WoodBlocX projects.
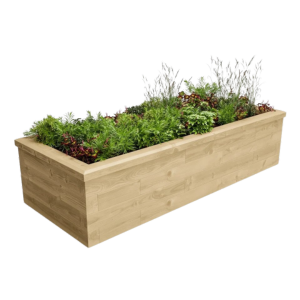
Design your own raised bed
Select your planter size and get an instant price on our website! WoodBlocX kits are easy to build and with no power tools needed, everyone can get involved. For bespoke projects, we offer a Free Design Service.